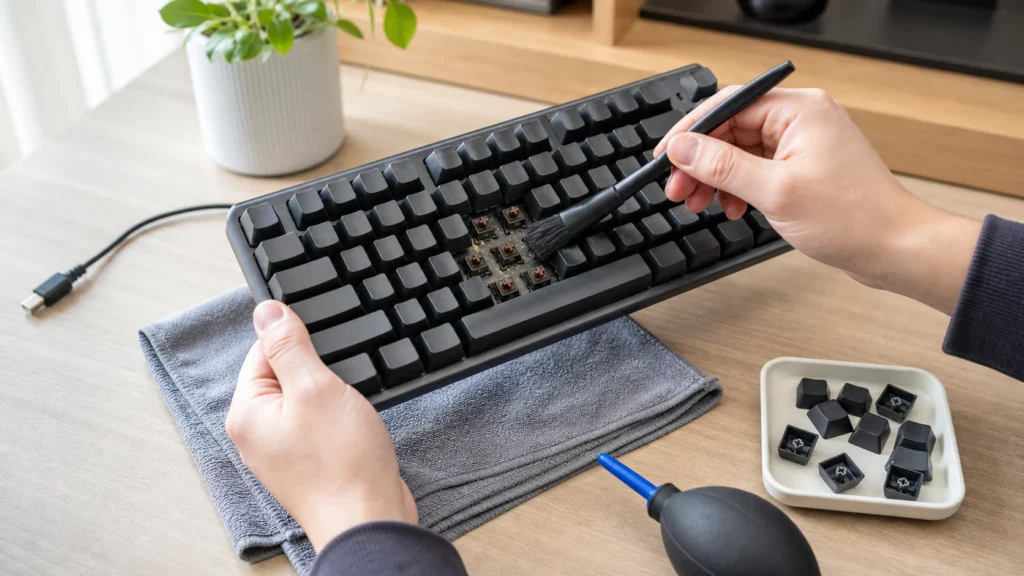
Your keyboard is one of the dirtiest things on your desk — crumbs, dust, and finger oils accumulate under the keys, so some of them start to stick or double-trigger. Regular cleaning restores the keys' satisfying feel when typing and extends your keyboard's lifespan, and the whole job takes about half an hour. Before you start, disconnect your keyboard from the computer, and for a wireless keyboard, remove the batteries or switch it off.
No special knowledge required, just pay attention to remember the key layout before removing them – the simplest way is to take a photo with your phone first.
1 Disconnect Your Keyboard
Unplug the USB cable from your computer or turn off your wireless keyboard by removing the batteries, so you don’t accidentally trigger keys while cleaning.
2 Shake Out Large Crumbs
Turn the keyboard upside down and gently shake and tap the back over a table covered with paper or above a trash can.
3 Blow Out Dust with Compressed Air
Spray compressed air between the keys at an angle, in short bursts, to blast out fine dust and hair from the gaps between keys.
4 Remove the Dirtiest Keys
Use a keycap puller to carefully remove a few of the dirtiest keys (for example, the spacebar and the most-used letter keys and Enter), but take a photo of the layout first.
? Tip: Photograph the key layout on your phone before you pull any keys, especially if your keyboard has an unusual layout or extra keys – that way you can easily put everything back where it belongs.
5 Wash the Removed Keycaps
Wash them in lukewarm water with a bit of dish soap, rinse well, and let them dry completely before putting them back on.
6 Clean the Mechanism Under the Keys
Use a cotton swab dampened with isopropyl alcohol to wipe the key stems and keyboard surface, being careful not to drip liquid into the inside in large amounts.

⚠ Warning: If you’re cleaning a built-in laptop keyboard, never spray or pour liquid directly on it – always apply the liquid to a cloth or swab first.
7 Replace the Keycaps and Wipe the Surface
Once the keycaps are completely dry, put them back in the correct spots according to your photo, then wipe the entire keyboard with a microfiber cloth.
8 Test All Keys
Plug in your keyboard and open a text document to test each key, especially the ones you removed and cleaned.
Final check
- All keys work from the first press, nothing sticks and nothing double-triggers
- All keycaps are back in the right spots according to your photo and fit snugly
- The washed keycaps were completely dry before going back on, and the keyboard works normally when you plug it in
Common problems
- A key still sticks or squeaks after cleaning.
- There's probably still a stuck crumb or dried liquid under it. Remove that keycap again, clean the mechanism with a cotton swab dampened in isopropyl alcohol, and let it dry.
- Large keys (spacebar, Enter, Shift) won't snap back on.
- They have a metal wire stabilizer that has to be hooked onto the keyboard's hooks first, then you press the keycap straight down until it clicks. Don't force it or you'll break the clips.