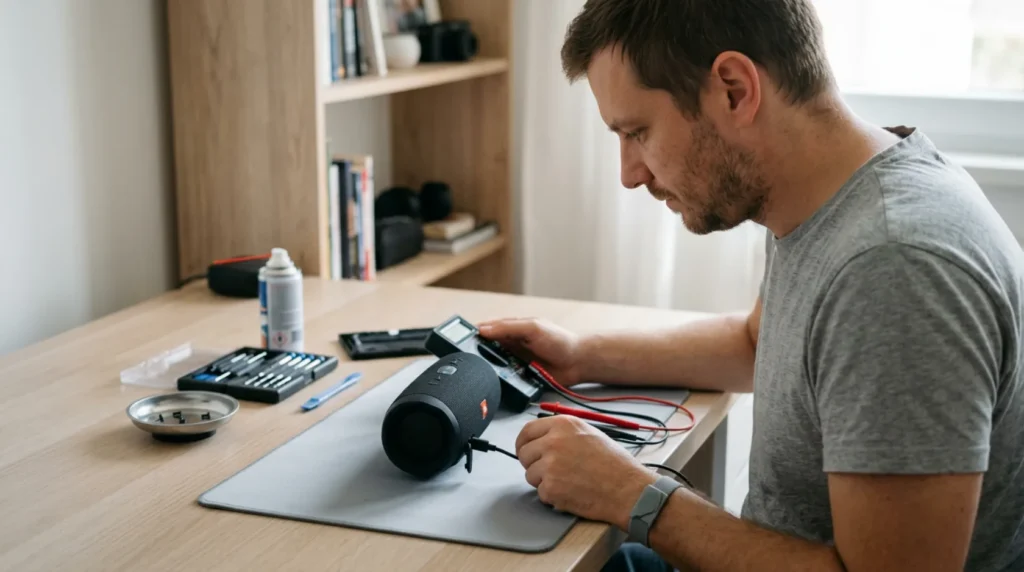
⚠ Safety note: This guide involves working with electricity. If you're not completely sure about every step, stop and call a licensed professional. Before you start, always switch off the power at the breaker or close the main water/gas valve.
1 Prepare for safe work
Turn off the device, disconnect the charger, and remove the battery if it’s user-removable. Back up important data and prepare a dry, well-lit work surface.
⚠ Warning: Do not open power supplies, screens, lithium batteries, or assemblies with capacitors. They can retain dangerous voltage or cause fire even after disconnection.
2 Determine the condition and cause
Check the indicator, device temperature, and signs of moisture. Test another verified cable and charger with the correct voltage and current.
3 Perform the key check
Leave the powered-off device plugged in for at least half an hour. Gently clean dust from the connector without liquids or metal objects.

4 Perform the repair or maintenance
Reset the speaker according to the manual. A loose connector, overheating, or a swollen battery require stopping charging and professional battery replacement.
? Tip: Take a photo of the initial state and change only one thing at a time. This way you’ll more easily figure out what really solved the problem.
5 Test the result
Put back only the safely removed parts and run a short test with a verified cable or attachment. Burning smell, overheating, swollen battery, or liquid traces require stopping work and servicing.
When to call a professional: If the job involves changes to the electrical panel, the main gas line, or load-bearing walls/beams — or if you're not sure how it will turn out — this is not a DIY task. Hire a licensed professional.