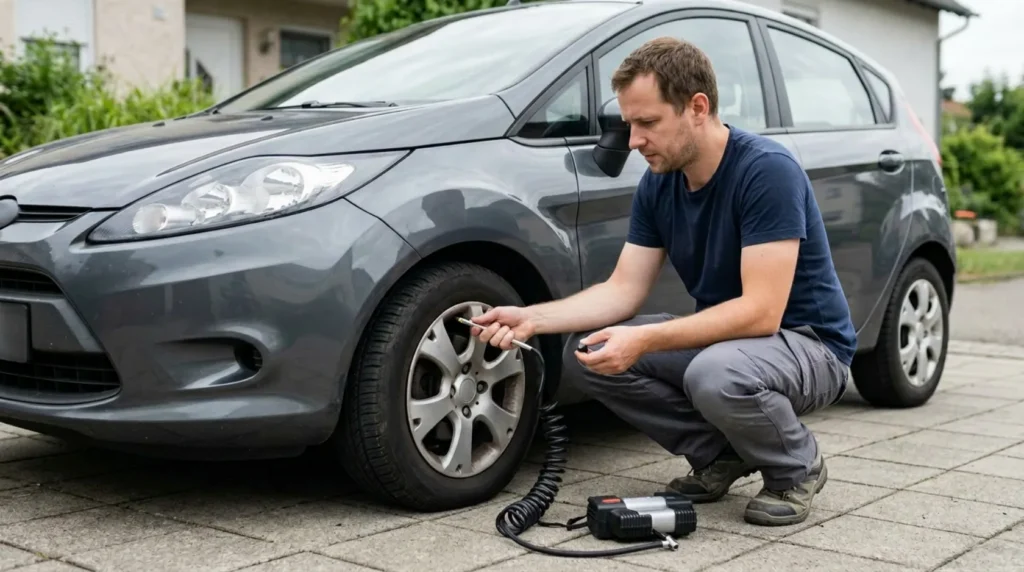
A tire that slowly loses pressure usually has a small puncture, a valve problem, or poor seating on the rim edge, but not every drop is the result of a nail in the tread zone. The key is to track how quickly the pressure drops and where exactly the traces of air escape appear. This guide helps you separate a small loss that a vulcanizer solves in half an hour from sidewall damage that requires a new tire.
You need to be able to measure pressure on a cold tire with the same gauge and tell the difference between safe visual inspection and when a tire needs to be removed right away and taken to a vulcanizer. It's helpful to know that sidewall damage or a bulge (bubble) on the side shouldn't be treated with home repair kits, because such a tire is no longer safe to drive.
1 Park on level ground and secure the vehicle before inspection
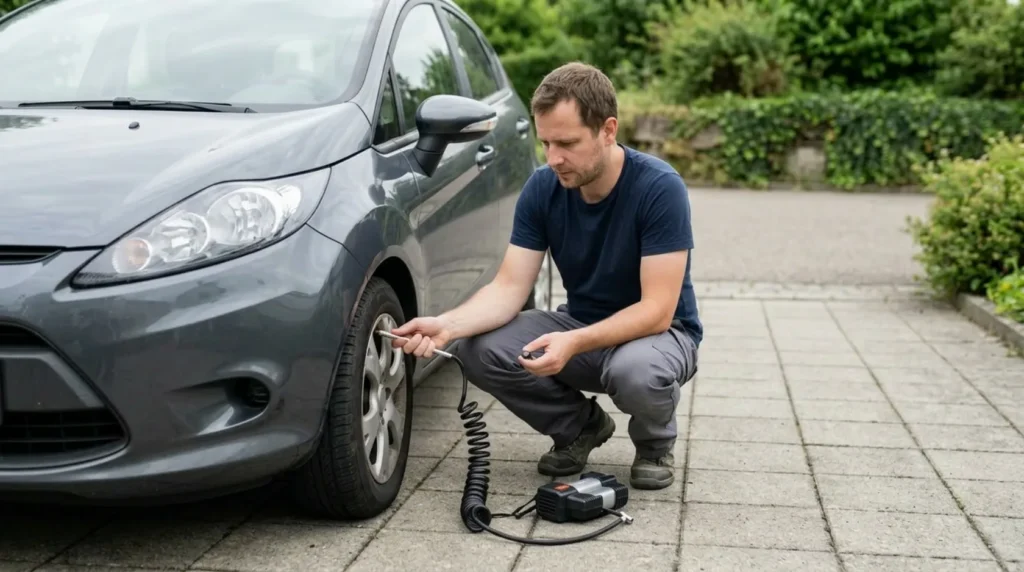
Park on a flat, firm surface, engage the parking brake, and turn off the engine. If you need to remove the tire, lift the vehicle only at the prescribed contact points and lower it onto sturdy stands, never work under a car that’s only on a jack. A common beginner mistake is to rush with inspection while the tire is still hot after driving, because warm air gives a higher and falsely reassuring reading.
2 Measure the pressure drop on a cold tire over several days
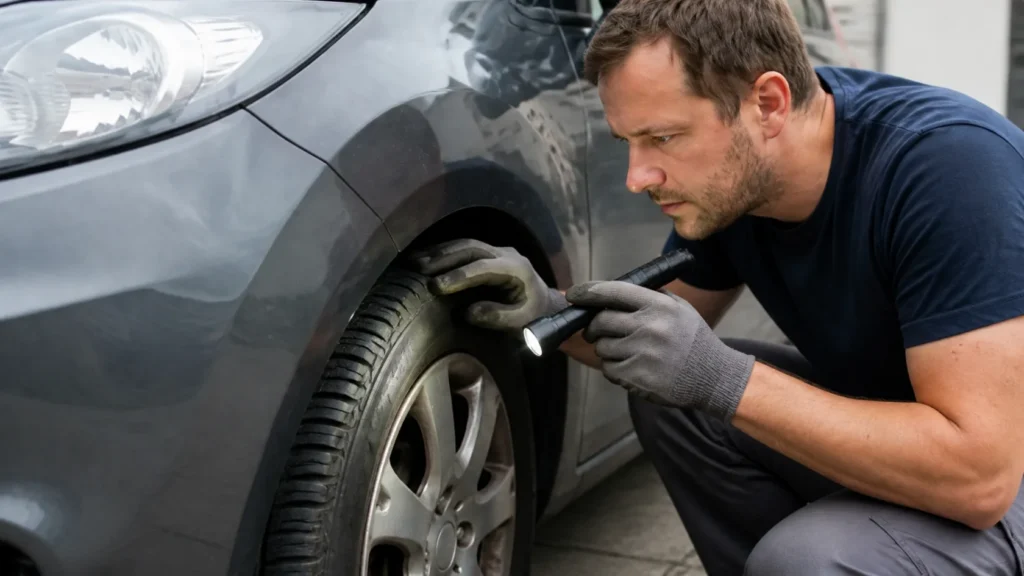
Inflate a cold tire to the pressure specified on the door or fuel tank cap sticker and record the value. Use the same gauge for every subsequent reading, again on a cold tire, and track how much pressure drops over one to three days. A loss of 0.1 to 0.2 bar per month is normal; if a tire loses 0.3 bar or more in one to two days, there’s a real leak. Don’t rely on your eye, because a difference of half a bar is hard to see.
3 Find the leak spot with soapy water on the tread and valve
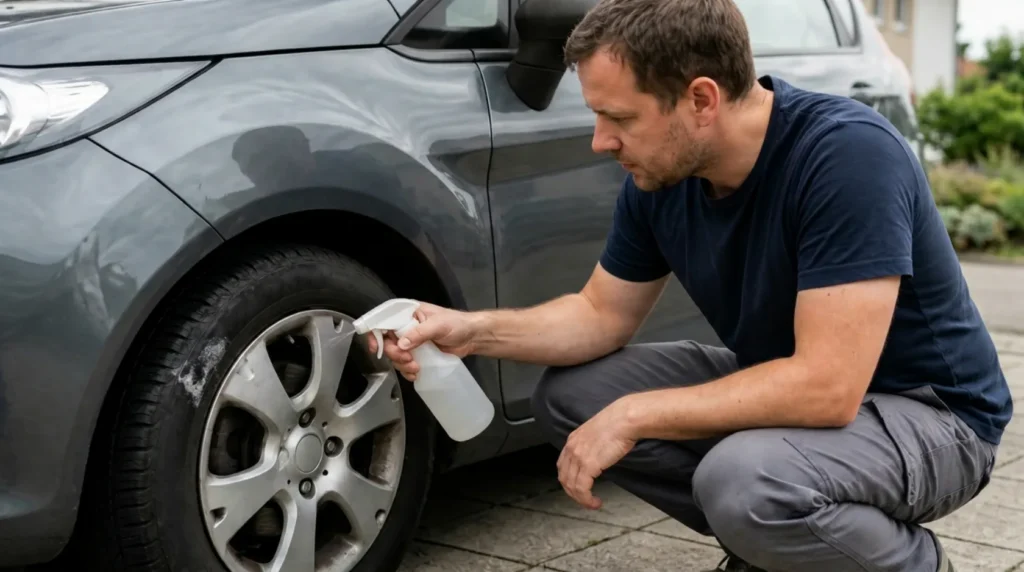
Make thick soapy water and coat the entire tread, the whole valve body, and the rim edge where the tire meets the rim. Growing bubbles show exactly where air is escaping. If you find a foreign object in the tread, leave it in place because it often slows the leak and helps a vulcanizer locate the puncture. Pulling out a nail at the parking lot is a common mistake because then the tire often deflates completely before you reach the shop.
4 Separate a repairable puncture from damage that requires replacement
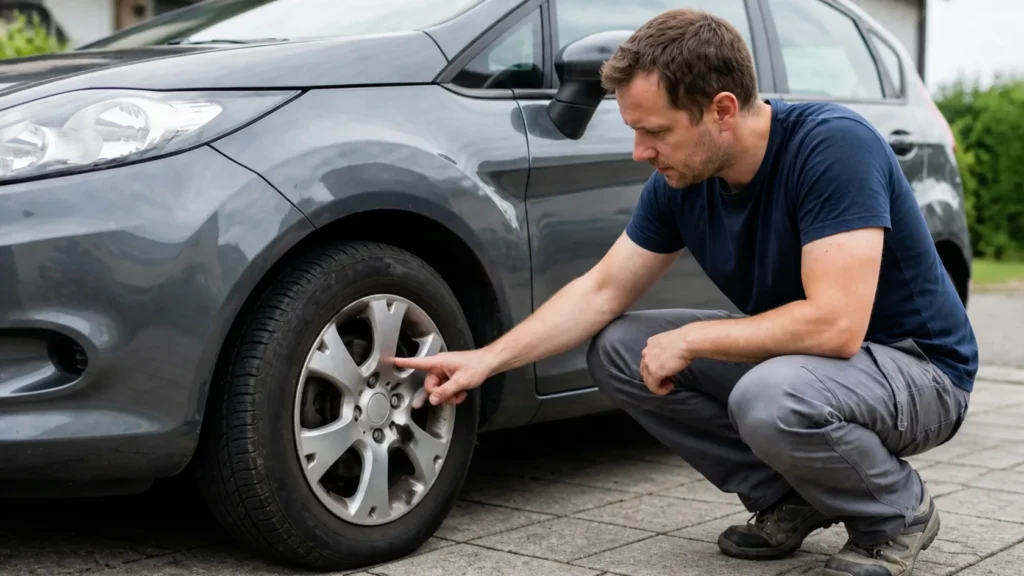
A puncture in the centre, tread zone is usually repairable, but only from inside, so the tire needs to be removed and a vulcanizer needs to check the interior. A cut or puncture in the sidewall, a bulge on the side, a crack, or a tire that’s been driven almost flat means replacement, not patching. Home sprays and plugs from the outside are temporary fixes to reach the shop, not permanent repairs. The line is clear here: anything that isn’t a clean puncture in the tread zone goes to the expert.
5 Verify that pressure stays stable for several days after repair
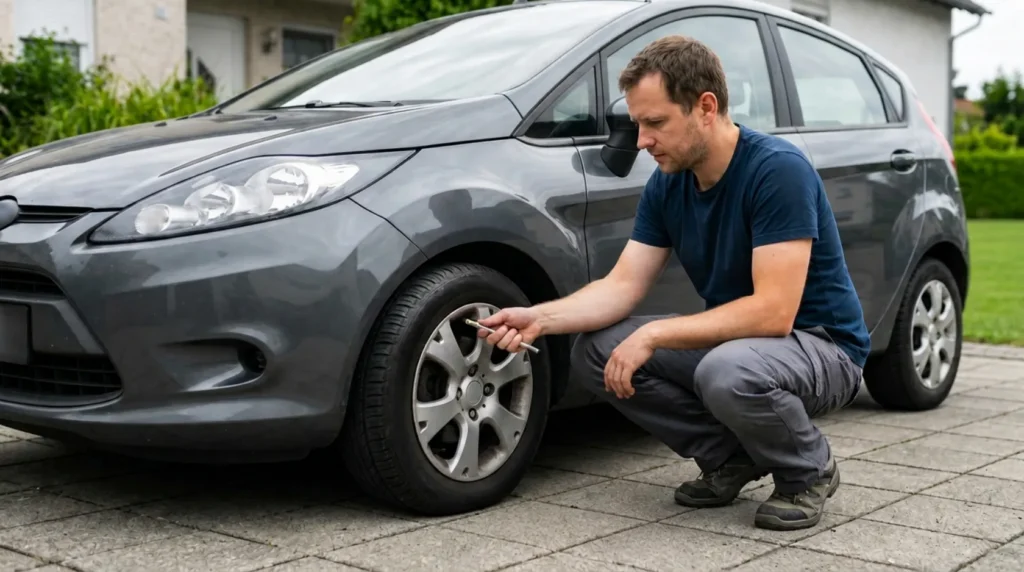
After repair, inflate the tire to the prescribed pressure, replace the valve cap and tools, and take a short test drive to a safe location. The real proof comes only from measuring on a cold tire over two to three days: if the pressure holds, the repair works. One good reading on the gauge right after inflation is not proof, because slow leaks only show up over time. If the pressure drops again, go back to the soapy water or look for another leak point.
Final check
- Pressure drop has been measured on a cold tire with the same gauge over multiple readings.
- Tread, valve, sidewall, and rim edge have been visually and with soapy water inspected.
- The leak point has been confirmed with soap bubbles, not guesswork.
- After repair, pressure remains stable over several days of cold readings.
Common problems
- A foreign object is removed from the tire as soon as it's noticed, so the tire quickly goes flat.
- A nail or screw in a tire often slows the leak by itself while it's in place. Leave it there until you're at the vulcanizer or ready for a tire change; removing it at the parking lot usually just speeds up complete deflation.
- There's a suspicion of a nail in the tread zone, but the real cause is the valve or rim edge.
- Slow losses very often come from the valve or the joint between tire and rim, not from the tread zone. That's why you must coat the valve and the entire edge with soapy water, not just the tread part.
- Pressure looks good right after inflation, so the problem is called solved.
- With slow leaks, the real verdict comes only after several days. Measure pressure on a cold tire for two to three days in a row before you conclude the repair worked.