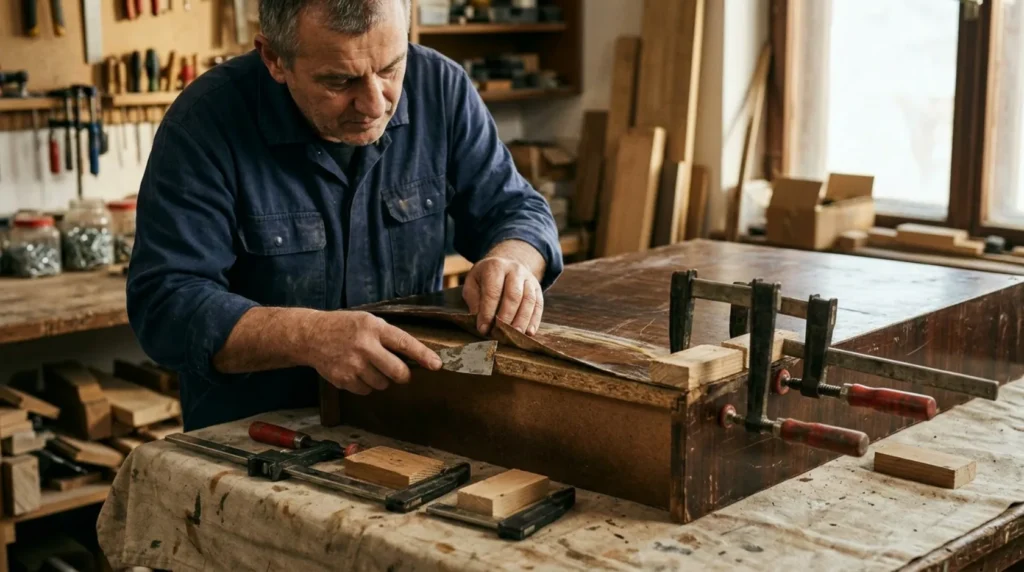
1 Prepare for safe work
Clean the item using a mild method, photograph the existing patina, and first test the procedure in a hidden spot. Work with ventilation and preserve original parts and hardware.
⚠ Warning: Do not bend brittle veneer by force. Valuable or bubbled veneer with missing pieces requires a professional patch of the same cut and species.
2 Determine the pattern of the problem
Check if there is dust, old glue, or warping under the veneer and if the sheet can be pressed down without cracking.
3 Check the most common cause
Using a thin spatula, introduce a small amount of compatible glue, then press the veneer down through protective paper and a flat board.
4 Apply the appropriate solution
Clamp evenly until completely dry, remove squeezed-out glue immediately, and only after that touch up the edge and the finish coat.
? Tip: Photograph the initial state and change only one thing at a time so that you know which check really affected the result.
5 Test the result and set limits
Allow the glue, filler, or coating to cure completely, then inspect the connection under day and side light. The finish should be reversible or at least not unnecessarily remove original material.