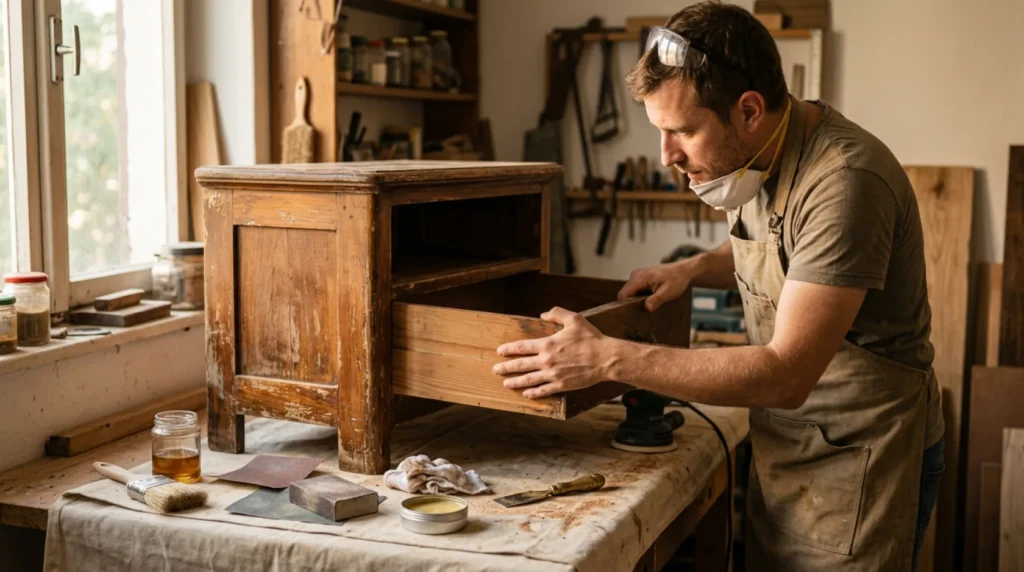
1 Prepare for safe work
Photograph the object, check stability and value, and test the procedure on a hidden area first. Work with ventilation, gloves, and eye and respiratory protection.
⚠ Warning: Old coatings may contain lead, and a valuable antique can lose value with inexpert cleaning. Assess unknown coatings and serious structural damage with a conservator first.
2 Determine the condition and cause
Empty the drawer and mark contact points with chalk. Check if the problem is seasonal swelling, a loose joint, or a deformed runner.
3 Perform the key check
Secure the joints before removing material. Scrape or sand high spots very slightly, with frequent trial reinsertions.
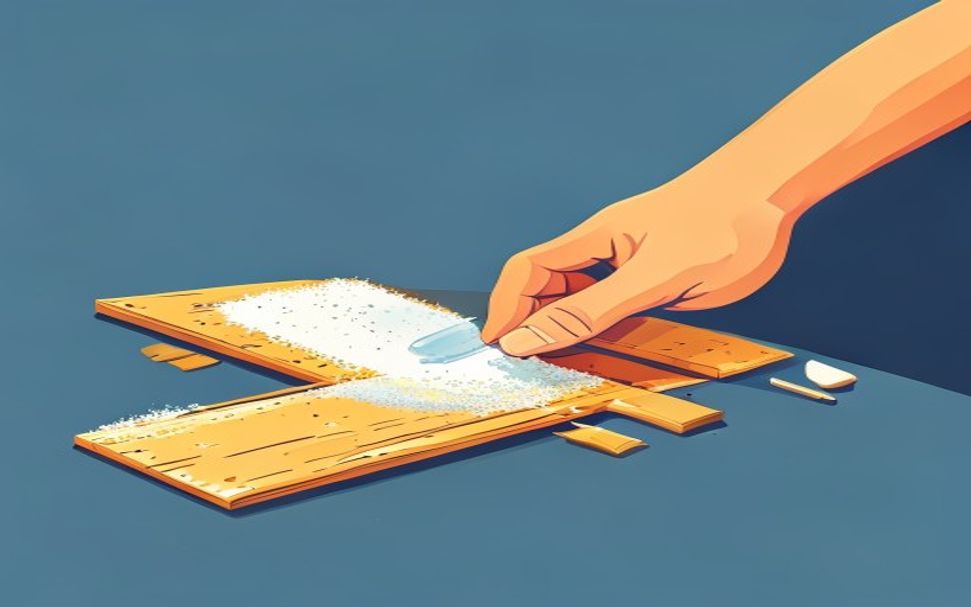
4 Do the repair or maintenance
Apply a thin layer of hard wax to clean wooden sliding surfaces. Do not use greasy oil that collects dust and soils the contents.
? Tip: Photograph the initial state and change only one thing at a time. This makes it easier to determine what really solved the problem.
5 Test the result
Let the glue, coating, or finish dry completely according to the manufacturer, then gradually load the item and inspect the joints in good light.