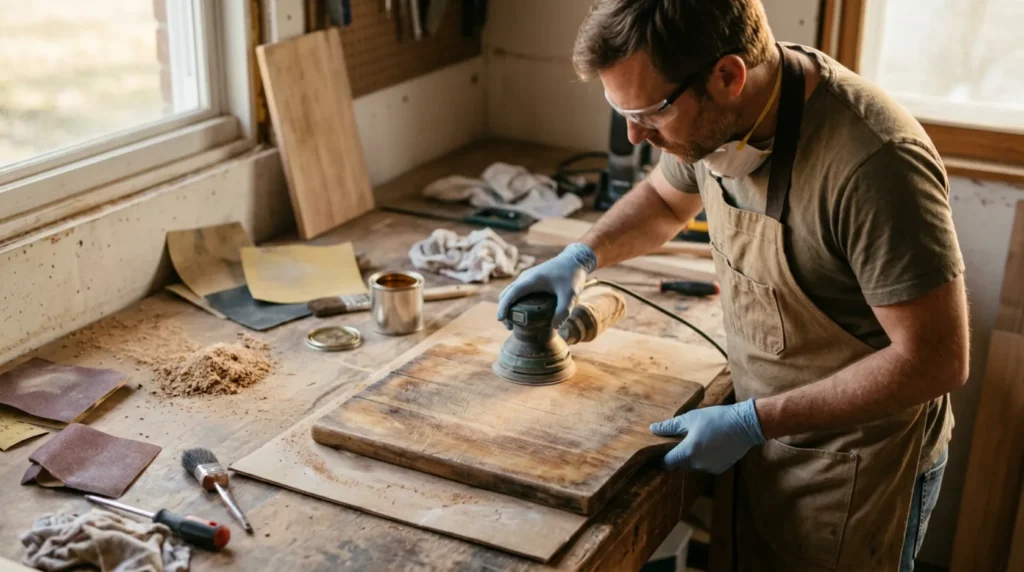
1 Prepare safe work
Photograph the item, check its stability and value, and first test the process in a hidden spot. Work with ventilation, gloves, and eye and breathing protection.
⚠ Warning: Old finishes can contain lead, and a valuable antique can lose value through improper cleaning. Have an unknown finish and serious structural damage assessed by a restorer first.
2 Determine the condition and cause
Discard the board if it has a deep crack, mold, or a separated glued joint. Wash a sound board and dry it completely.
3 Perform the key check
Sand both sides evenly through several grits, removing cuts without creating dips. Round sharp edges only slightly.
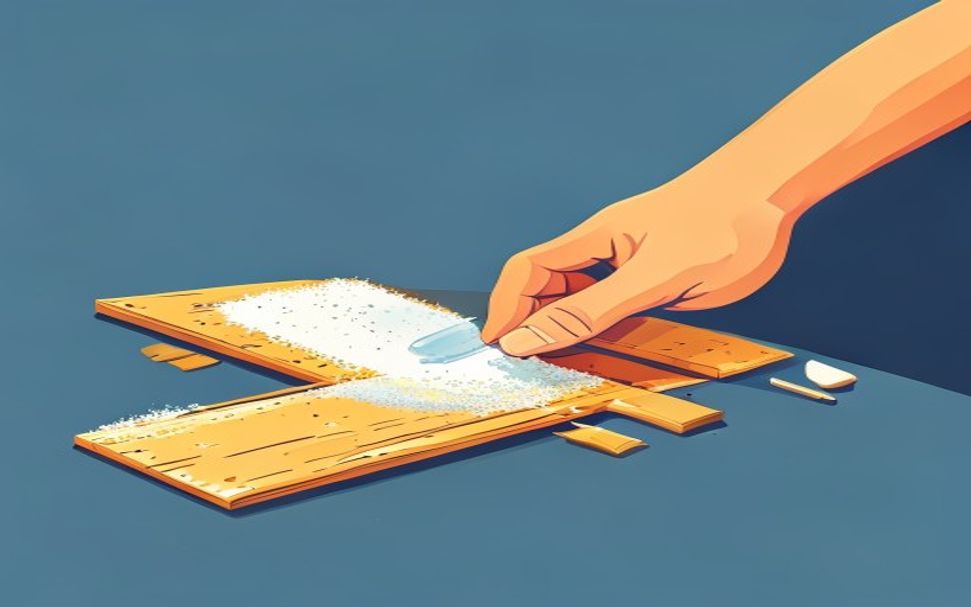
4 Do the repair or maintenance
Remove the dust and apply food-safe mineral oil in several thin coats. Do not use edible oils that can go rancid.
? Tip: Photograph the initial condition and change only one thing at a time. That makes it easier to tell what actually solved the problem.
5 Test the result
Let the glue, coating, or finish dry completely according to the manufacturer, then gradually load the item and inspect the joints in good light.