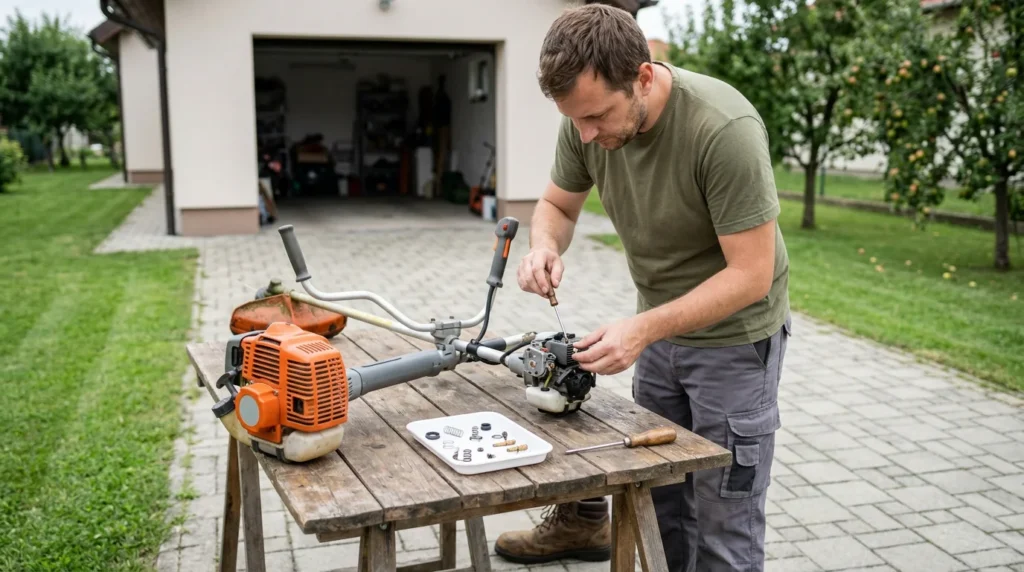
1 Empty fuel and clean the exterior
Work outside, on a cold engine and away from flames. Empty the tank into an approved container, remove the spark plug boot, and use a brush to clean the dirt around the filter and carburetor.
2 Check filters before disassembly
Remove the air filter and replace it if it’s crumbling or soaked. Inspect the fuel filter and hoses, as a clog or crack often causes the same symptoms as a dirty carburetor.
? Tip: On trimmers that have been sitting for a long time, old mixture and a stiffened diaphragm are a more common cause of problems than a dirty jet.
3 Photograph and disconnect attachments
Photograph the position of fuel hoses, throttle cable, and choke lever. Mark the hoses before removal, then carefully unscrew the carburetor and keep the order of gaskets and spacers.
4 Inspect diaphragms and clean channels
Open the covers over a clean container. Replace a hard, wavy, or punctured diaphragm. Spray carburetor cleaner into the metal channels and blow them out with gentle compressed air; do not push wire through calibrated holes.

⚠ Warning: Spray and gas are highly flammable. Do not smoke, do not work in a closed room, and wait for the solvent to evaporate completely before starting.
5 Assemble and test basic adjustment
Reassemble the parts with new gaskets, connect the hoses according to your photo, and add fresh mixture. If the engine still doesn’t run properly, leave the adjustment of the L, H, and idle screws to a service center with a tachometer.