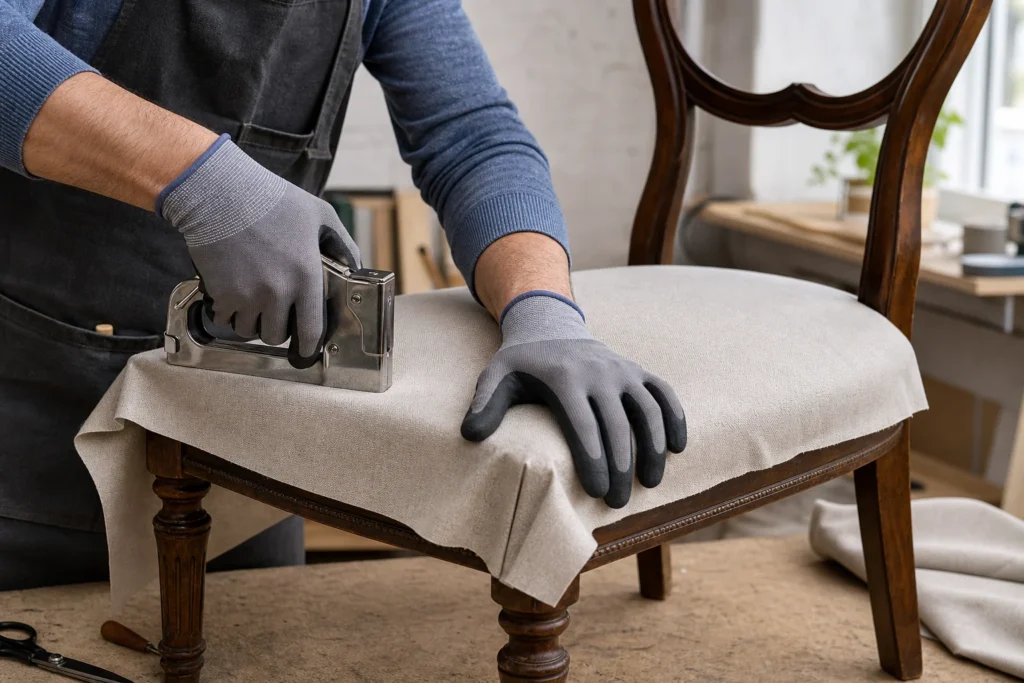
Upholstery by a professional often costs more than a new armchair, but an old armchair with a solid wood frame far surpasses most of today's mass production in quality. If you strip it to the frame, replace the foam, and carefully stretch the new fabric, you will get a practically new piece of furniture in a pattern of your own choosing. This is a more demanding project — plan for an entire weekend and work without rush, step by step.
n
Experience with cutting and basic sewing is desirable, along with patience for precise handwork — this is not a project for a complete beginner.
n
1 Photography and analysis
Before disassembly, photograph the chair or armchair from multiple angles so you know the exact arrangement of fabric layers and the assembly order later.
2 Removing the old cover
Using a staple remover, carefully remove all staples securing the old fabric to the wooden frame, remove the layers in order, and save them as a template for the new fabric.
⚠️ Warning: Be careful when removing old staples and tacks – sharp points can cause cuts, and working with protective gloves is recommended.
3 Inspection and replacement of foam
Check the condition of the foam and batting under the fabric – if the foam is indented, hard, or crumbling, replace it with a new one of the same dimensions.
4 Cutting the new fabric
Place the old pieces of fabric on the new material as a template, mark the shape with chalk adding about a 3–5 cm margin on each side, and cut carefully.
? Tip: Buy about 15–20% more fabric than measured to have reserves for matching the pattern (e.g., with striped or floral fabrics).
5 Positioning and stretching the fabric
Place the new fabric over the foam and frame, starting from the middle of each side towards the corners, stretching it evenly with your hands before stapling to avoid wrinkles.
6 Stapling the fabric
Secure the fabric to the underside of the wooden frame with a stapler, working alternately on opposite sides (middle-middle, then corners) to keep the tension even on all sides.
7 Processing the corners
Create neat folds or mitered corners on the fabric, similar to gift wrapping, to avoid thick bunches of material and achieve a neat look.
8 Finishing and assembly
Cover the underside of the seat with thin black fleece for a neat look, then return the seat to the chair or armchair frame and secure it according to the original screw arrangement.
Final check
- The fabric is evenly tensioned everywhere – no wrinkles, waves, or sagging when you press the seat
- The corners are neatly folded and symmetrical, and the staples are hidden or covered with decorative trim
- The armchair is stable after assembly, and the fabric pattern is straight and centered on the seat and backrest
Common problems
- The fabric wrinkles and forms diagonal waves on the seat after tensioning.
- It was stretched unevenly or only from two sides. Remove the staples from the problematic side and always stretch alternately from the middle of each side towards the corners – first front-to-back, then left-to-right, checking the straightness of the pattern after every few staples.
- Staples do not go all the way into the hard old frame wood and the fabric sags.
- A manual stapler is too weak for hard wood – press it down firmly with your full weight against the frame, and drive in any protruding staples with a hammer. If that doesn't help either, use shorter staples or an electric stapler.