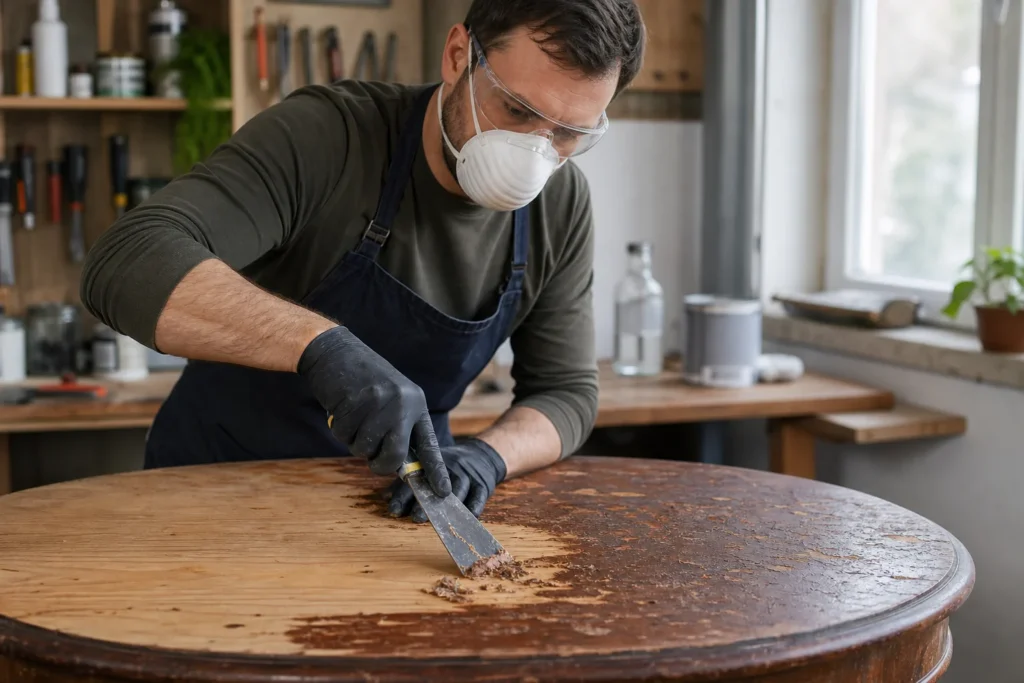
Removing old paint and varnish is the foundation of any serious restoration — without a clean substrate, no new coating will adhere well or look nice. By combining sanding, chemical stripper, and a heat gun, you can remove even decades of accumulation and reveal the natural wood beneath. The result is a smooth, clean surface ready for stain, oil, or new paint.
No special prior knowledge is required, but it is important to carefully read and follow the chemical paint stripper instructions.
1 Assessment of coating type
Inspect the piece of furniture and determine if it is paint, varnish, or a combination of multiple layers, as this affects the choice of method (mechanical, chemical, or thermal).
2 Preparation of the workplace
Work outside or in a well-ventilated room, cover the floor with plastic sheet or old newspapers, and make sure to put on protective gloves and safety glasses.
3 Mechanical removal by sanding
For thinner layers of paint or varnish, use a sander or sandpaper with 80–100 grit, working in the direction of the wood grain until you reach clean wood.
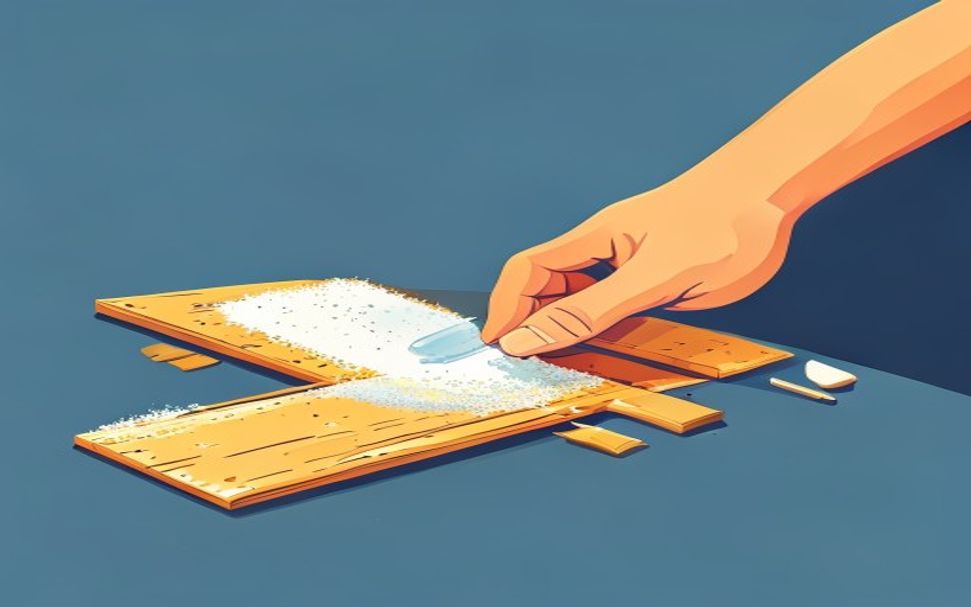
4 Chemical stripping of thicker layers
Apply the paint stripper with a brush in a thick layer, leave it for 20–30 minutes to soften the coating, and then carefully scrape the softened paint with a spatula.

⚠️ Warning: Paint strippers contain strong chemicals – avoid contact with skin and eyes, work exclusively with good ventilation, and keep them out of reach of children.
5 Removal with a heat gun (optional)
For stubborn multi-layer coatings, use a hot air blower (heat gun) – heat a small surface until the paint starts to bubble, then scrape it immediately with a spatula while it is warm.
⚠️ Warning: A heat gun can ignite the wood, and fumes from old paint (especially if it contains lead) can be toxic – never use it in an enclosed space without ventilation and do not keep it in the same spot for too long.
6 Final surface cleaning
Wipe the wood with a cloth soaked in paint thinner to remove stripper residues and fine particles, then let the wood dry completely before further processing.
? Tip: Older coatings (before 1990s) sometimes contain lead – if you are unsure of the furniture’s age, wear a respirator mask with a filter and avoid dry sanding without dust extraction.
7 Fine sanding
Sand the entire surface with a finer sandpaper (180–220) to prepare it for a new coat of paint, stain, or varnish.
Final check
- All old paint and varnish are removed — the surface has a uniform color of bare wood, without shiny coating residues
- Chemical stripper residues are completely neutralized and rinsed according to the manufacturer's instructions
- After fine sanding, the surface is smooth to the touch and completely dry before the new coating
Common problems
- The chemical stripper was applied, but the paint does not separate, only softens on the surface.
- The stripper did not act long enough or dried too quickly. Apply a thicker layer, cover the surface with foil to slow down evaporation, and let it work for the full time from the instructions (often 20–45 minutes), then scrape with a spatula.
- The heat gun leaves dark, scorched marks on the wood.
- The gun was held in one place for too long or was too close. Keep it 5–10 cm from the surface, move it constantly, and scrape the paint as soon as it starts to bubble — scorched areas will have to be sanded deeper.