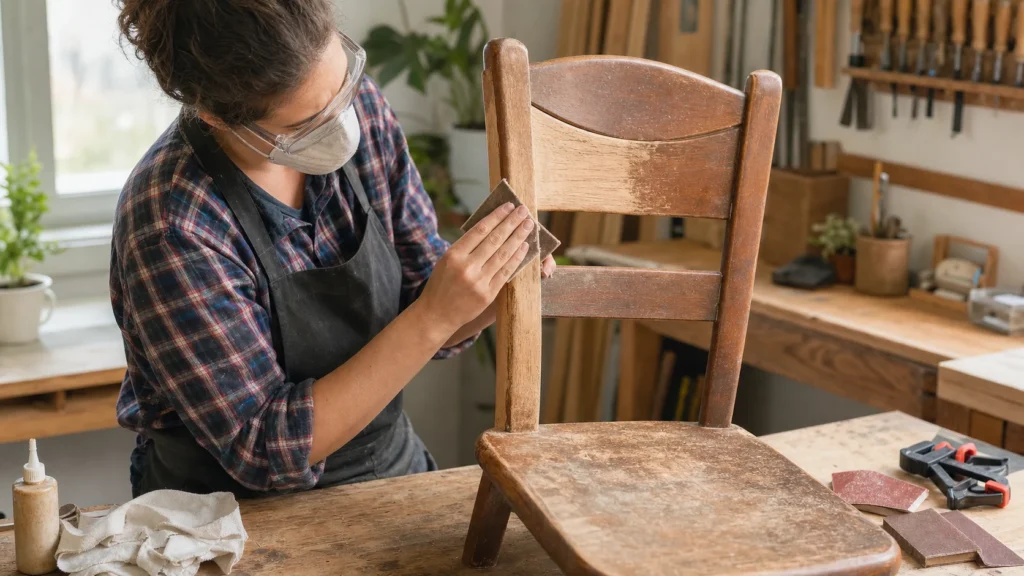
Restoring an old wooden chair is worth it when the frame is sound and the wood hasn't been attacked by woodworm or deeply cracked at load-bearing points. The most common beginner mistake is jumping straight to sanding without first fixing loose joints; then even the nicest varnish just hides the problem for a few days. This job is great for a home workshop, but it requires patience because of drying time, not because it's complicated.
Basic skill with sandpaper, a brush, and wood glue is enough. If you've never worked with varnish before, practice a thin coat on a hidden surface or a scrap piece before the final finish.
1 Clean the chair and assess what actually needs fixing
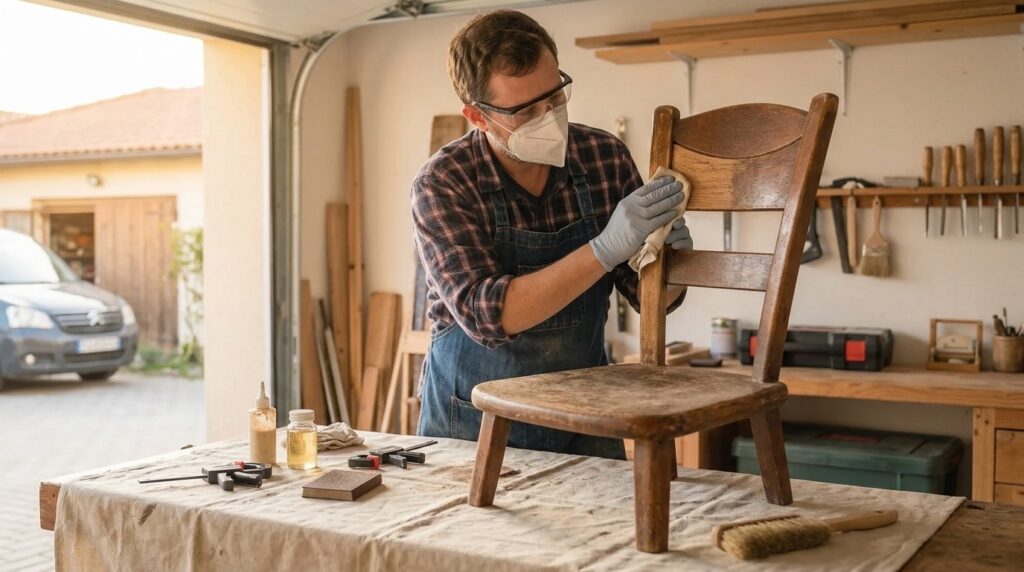
First wipe off all dust, grease, and grime, because only on clean wood can you see where the finish is damaged and where the problem is in the joint itself. Rock the chair in every direction and note which joints are loose, where it creaks, and whether there are cracks in the wood itself, not just in the finish.
2 Disassemble and glue only the loose joints
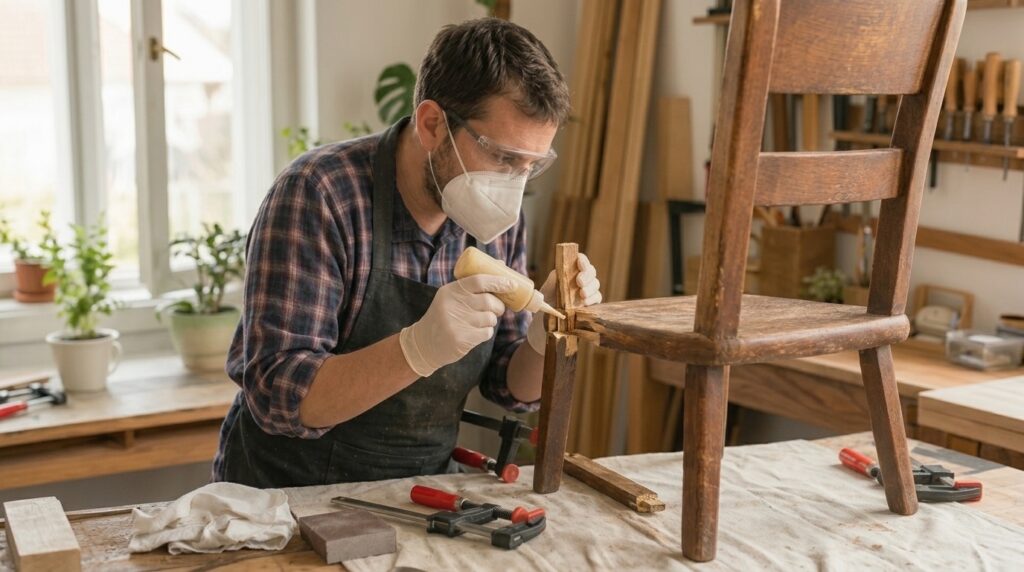
Take apart loose joints as much as necessary, but not by force if the wood holds well and only one end is loose. Clean off old glue down to bare wood, dry-fit the joint as a test, then apply fresh wood glue and hold the joint with clamps or a tightly wound strap until it's fully dry.
3 Strip the old finish with controlled sanding
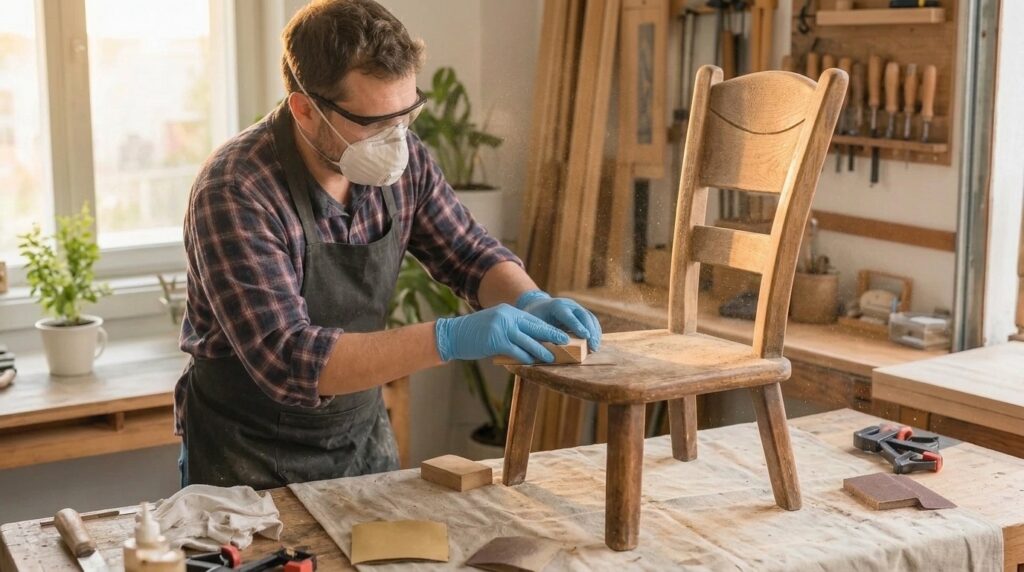
Start sanding with coarser grit only as much as needed to remove the old finish, not to change the shape of edges and details. Always work in the direction of the wood grain and slow down especially at edges, since that's where you most easily sand through to bare wood more than you intended.
4 Remove dust and fill small damage
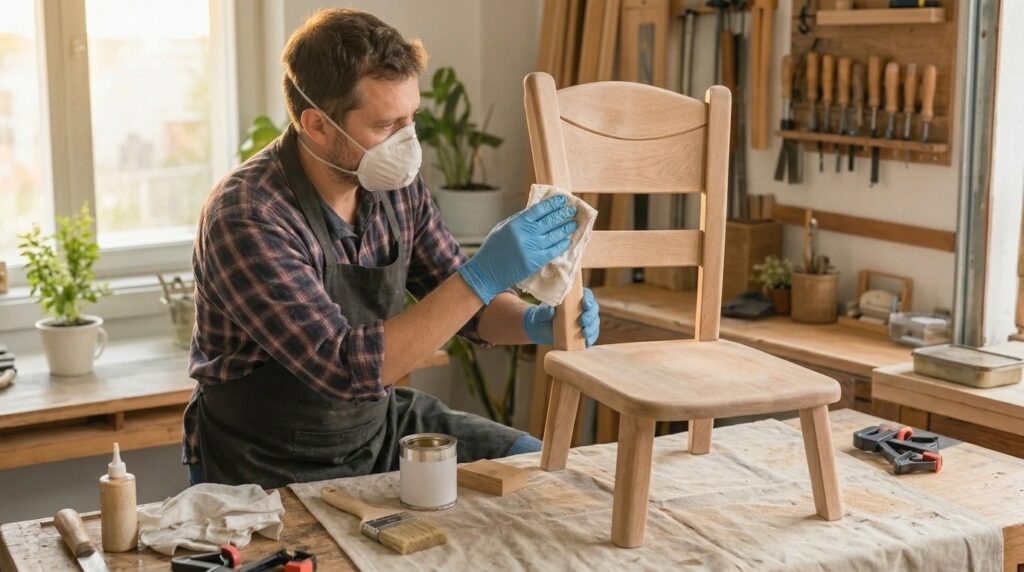
After the rough sanding, vacuum or thoroughly wipe off all the dust, then check for dents, small holes, or scratches worth filling with wood filler. Once the filler is dry, sand only those spots with finer grit so the transition can no longer be felt under your fingers.
5 Apply the first thin coat of finish
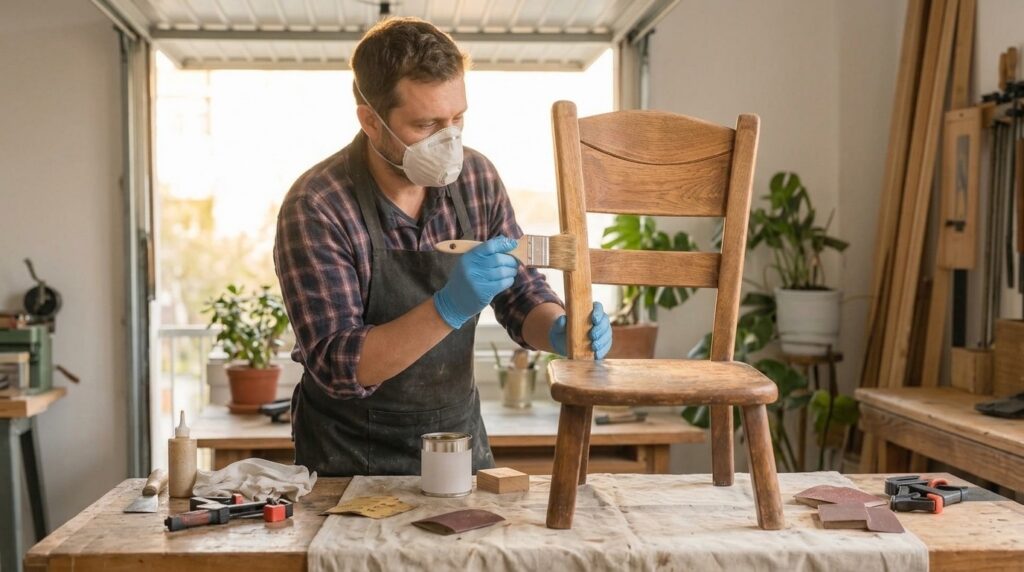
Apply varnish or another finish thinly, evenly, and without going back over the same spot ten times. The goal of the first coat isn't to create a 'glass' finish right away, but to even out absorption and seal the surface without runs or thick spots.
6 Sand between coats, apply the second coat, and allow plenty of drying time
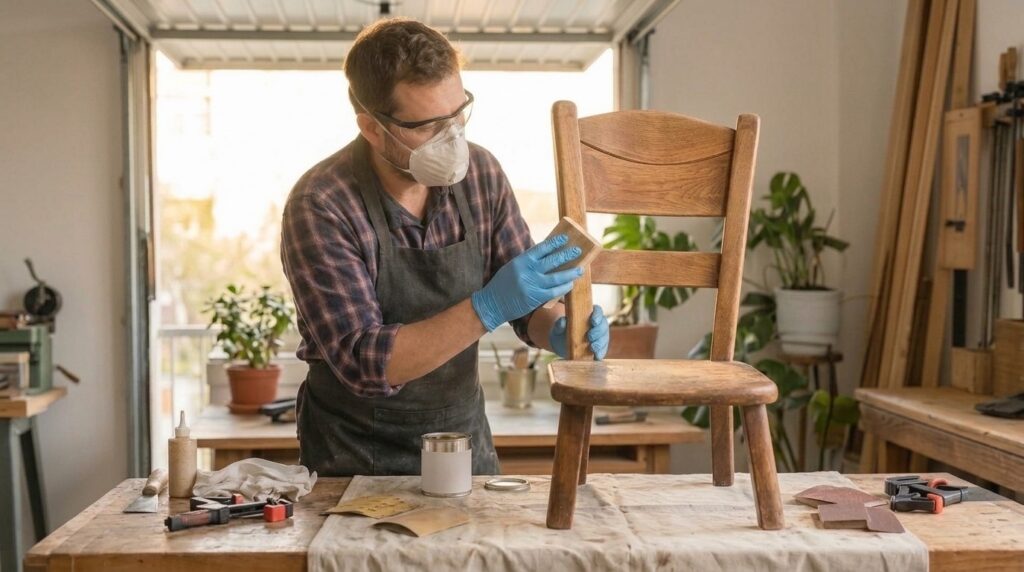
Once the first coat has cured for the time the manufacturer specifies, very lightly go over it with fine paper just to knock down raised grain and tiny dust specks. Only then wipe the surface, apply the second coat, and let the chair rest a full 24 hours before use, even if it feels 'dry' to the touch much sooner.
Final check
- The chair doesn't wobble when you load it with weight and gently rock it in every direction.
- The joints are clean, with no squeezed-out glue and no cracks left open.
- The finish is even, with no dry 'clouds', thick drips, or visible brush marks.
- The surface is dry to the touch and doesn't stick when you leave your palm on the back or seat for a few seconds.
Common problems
- The varnish feels rough after drying.
- This usually means the surface wasn't dusted off enough, or the wood grain rose after the first coat. Lightly sand between coats with fine paper, wipe off the dust, and apply another thin coat in a cleaner space.
- The joint loosens again a few days after gluing.
- Most often the old glue wasn't fully removed, or the joint wasn't clamped tightly enough while drying. Take it apart, clean down to sound wood, and redo the gluing without rushing.
- Lighter patches appear at the edges from over-sanding.
- Edges are always hit hardest because that's where the brush and sandpaper remove the most material. Even out the surface with fine sanding, and if the tone is very different, consider staining before the final varnish.