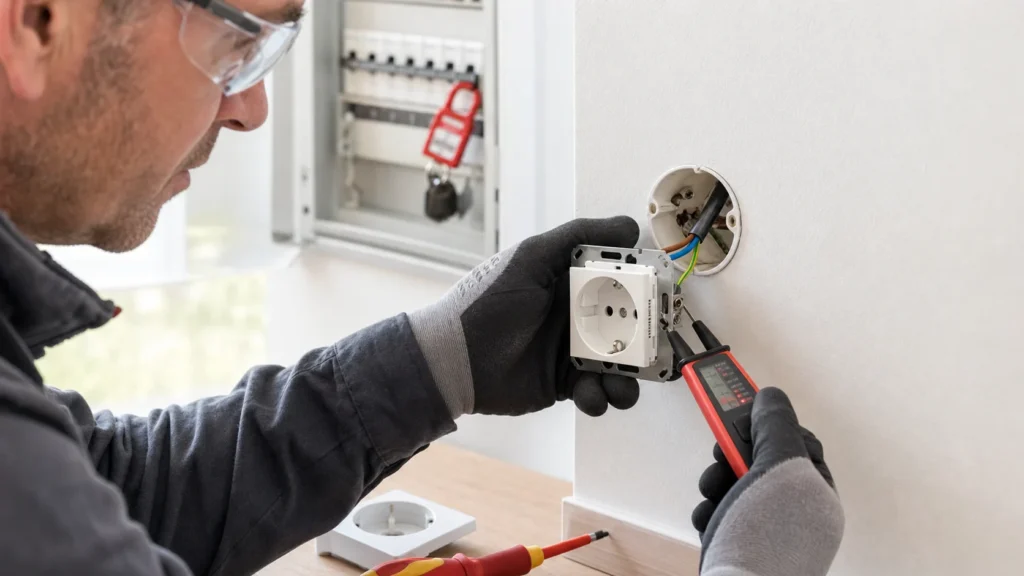
Replacing a standard wall outlet in a dry room is a job a home handyman can do alone, but only if the wiring is tidy and the copper conductors are sound. If, after removing the old outlet, you see scorched insulation, crumbly old plastic, aluminum wires, or no ground where you'd expect a grounded outlet, stop and call an electrician. In every other case, the biggest difference between a good job and a bad one is a properly tightened terminal and an accurate no-voltage check.
You need basic familiarity with an insulated screwdriver and a voltage tester. If you're not sure which wire is live and which is the protective ground conductor, master those basics first before replacing an outlet.
⚠ Safety note: This guide involves working with electricity. If you're not completely sure about every step, stop and call a licensed professional. Before you start, always switch off the power at the breaker or close the main water/gas valve.
1 Switch off the right breaker and label it
In the electrical panel, switch off the breaker that feeds this outlet, and if the panel is unlabeled, stick on a piece of tape or write down which room has lost power. This saves time later and lowers the chance someone flips the breaker back on while you're working.
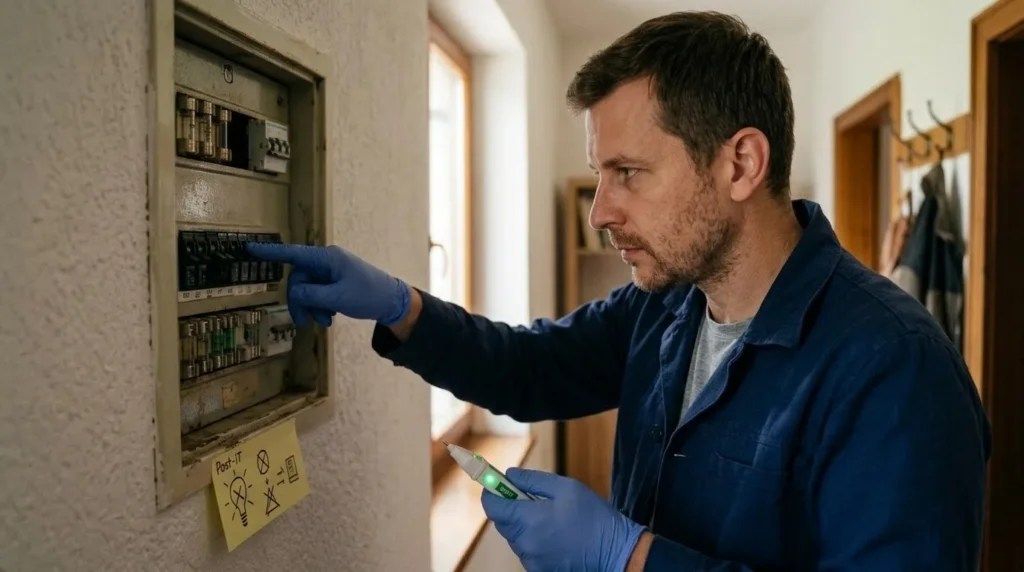
2 Confirm there's no voltage at two points
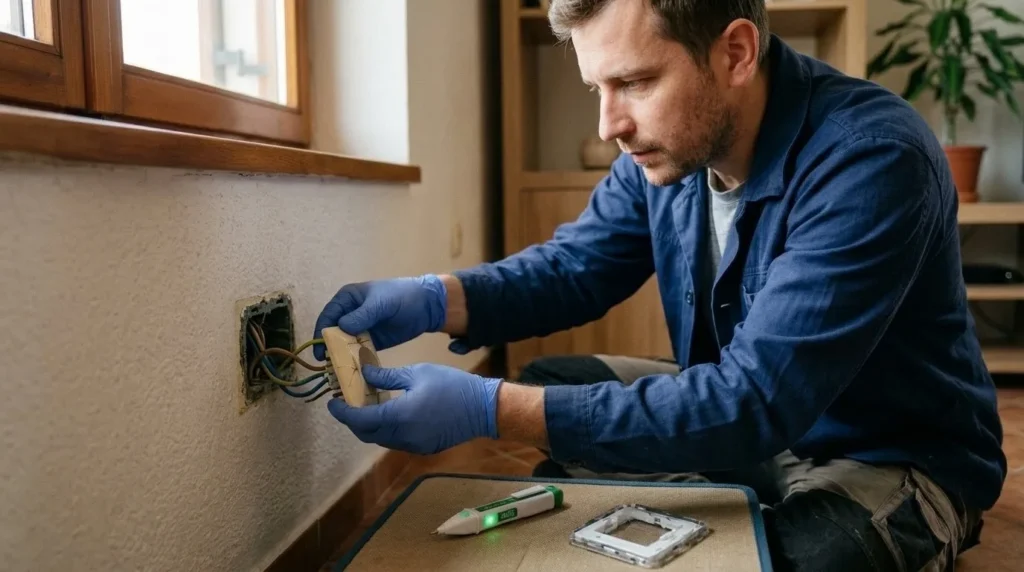
First check that your tester works on another outlet you know is live, then test the one you're replacing. After removing the cover plate, check the metal contacts and the terminals themselves too, because a mislabeled breaker isn't rare in older apartments.
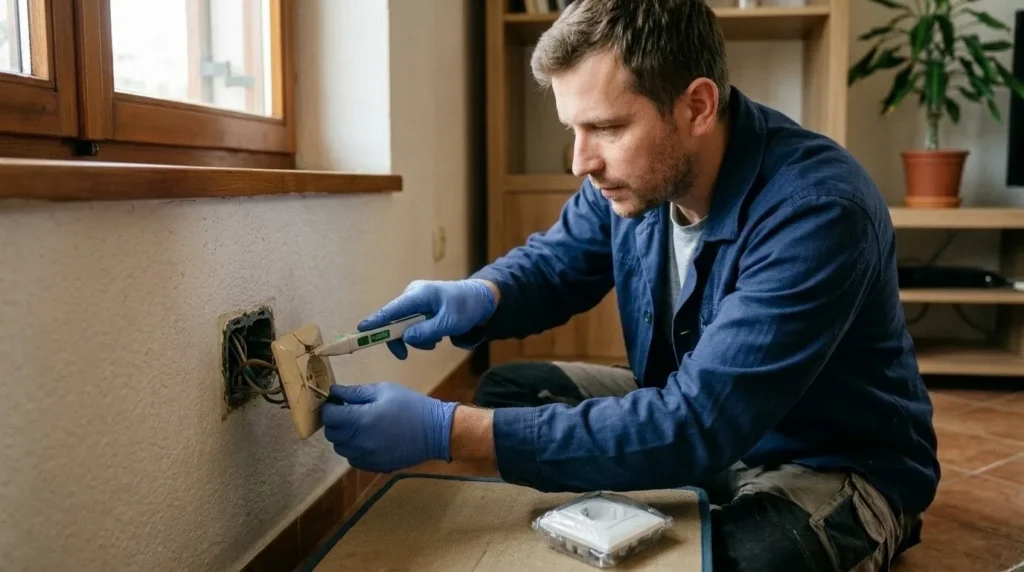
3 Remove the cover plate and inspect the box
Unscrew the center screw on the cover plate, then loosen the screws holding the mechanism in the electrical box. As you pull the outlet body out, don't yank the wires; first check whether there's enough room, any signs of melting, black residue, or a crumbling box.
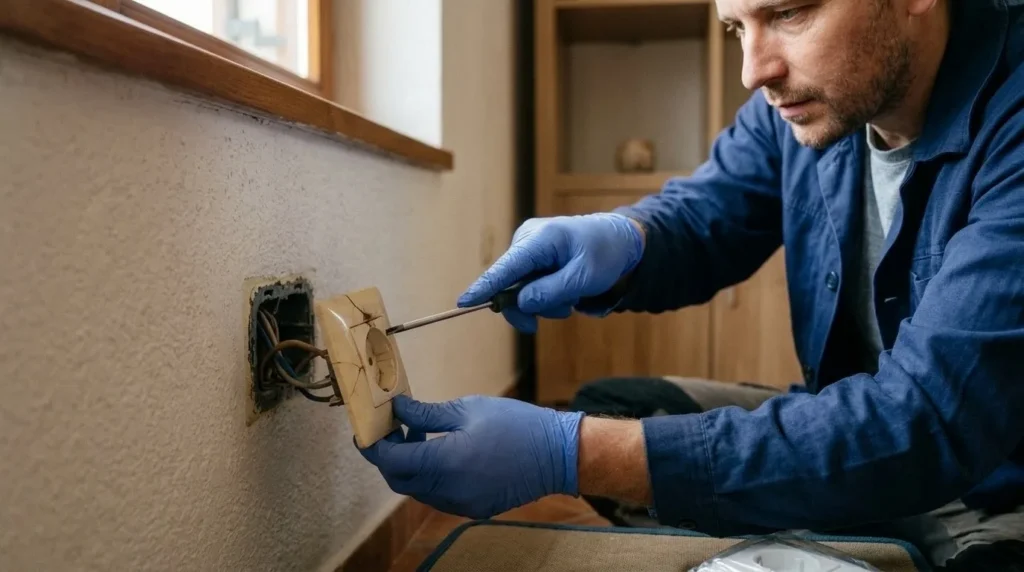
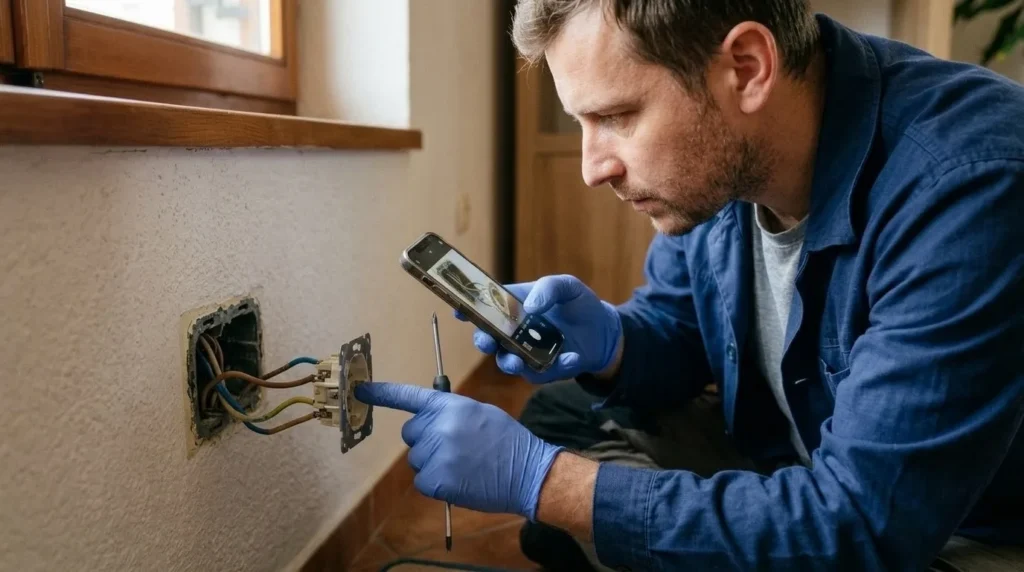
4 Photograph the layout and assess the wires
Before disconnecting anything, photograph the existing layout and identify the conductors: live, neutral, and ground. If the copper is dark but solid, it can be trimmed and re-stripped; if the wire is brittle, aluminum, or the insulation has hardened and cracks, that's a job for a professional.
5 Wire in the new outlet of the same type
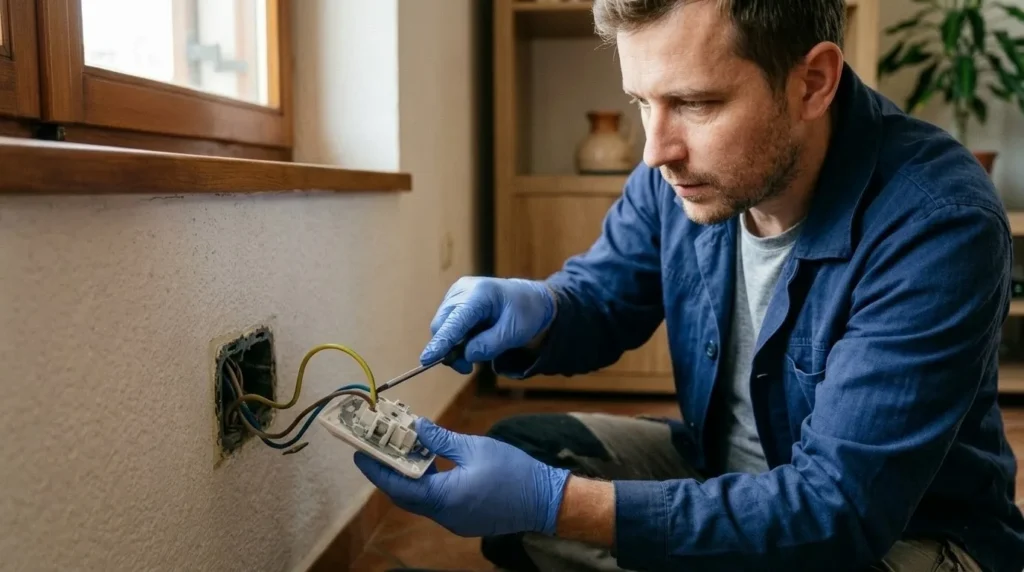
Connect the new grounded outlet of the same mounting style so the protective conductor goes to the ground terminal and the live and neutral wires go to the side terminals. Strip only as much insulation as the manufacturer specifies, usually 10 to 12 mm, and after tightening gently tug each wire to check the terminal really holds.
6 Put the mechanism back in the wall and run a load test
Fold the wires in without kinking them, put the mechanism back straight into the box, and tighten it so the cover plate will later sit flush against the wall with no gap. After switching the breaker back on, first check it works with a lamp or charger, then briefly with a heavier appliance; a properly done outlet doesn't heat up or crackle.
When to call a professional: If the job involves changes to the electrical panel, the main gas line, or load-bearing walls/beams — or if you're not sure how it will turn out — this is not a DIY task. Hire a licensed professional.
Final check
- The outlet sits flush, doesn't push into the wall, and doesn't shift when you pull out a plug.
- The live wire is still on the expected terminal after installation, and the tester reads normally.
- The connected device runs without interruption, sparking, or the smell of hot plastic.
- The cover plate sits flush against the wall with no gap, so dust and moisture can't get into the box.
Common problems
- The wires in the box are too short to comfortably reach the new terminals.
- Don't force them by stretching. Extend them with a piece of wire of the same gauge using a proper connector, then wire in the new outlet; a taut conductor loosens and heats up more easily.
- The new outlet heats up after installation when you plug in a higher-power appliance.
- The most common cause is a loosely tightened terminal or a wire stripped too much so it doesn't sit with full contact area. Cut the power, re-trim and strip the end to the manufacturer's spec, and retighten everything.
- You find only two wires in the box and no protective conductor.
- That's a typical old two-wire installation. In that case, don't invent a 'fake ground' and don't connect the ground terminal to neutral; only fit a compatible fixture if it's allowed for that wiring, and consider having the circuit professionally rewired.