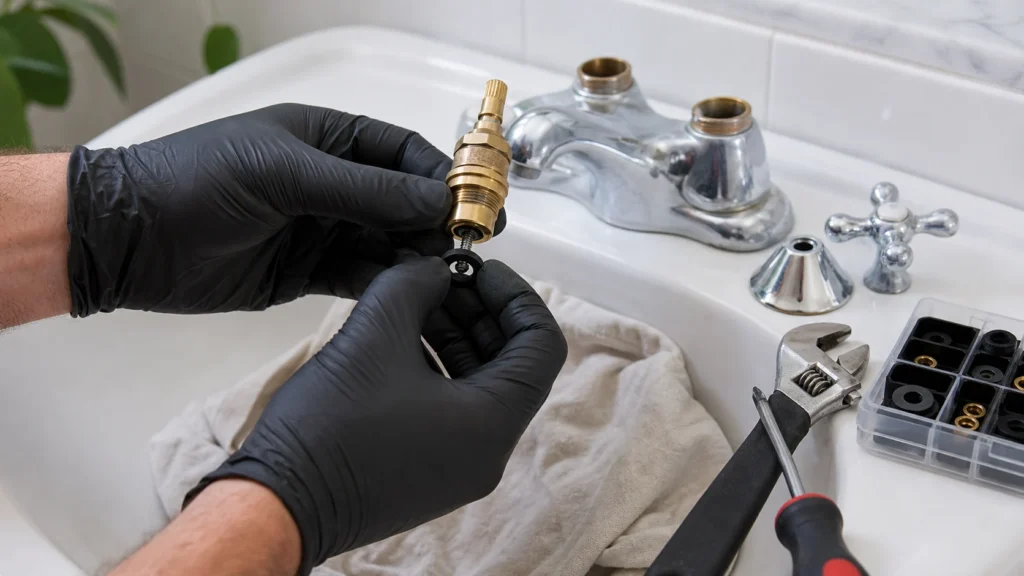
This guide applies to a classic tap with a valve head, where dripping is usually caused by a worn washer (gasket, seal). If you have a single-lever mixer tap with a ceramic cartridge, the fault usually isn't fixed with a washer but by replacing the cartridge of the same diameter. On an ordinary tap the job is quick, cheap, and very rewarding, but success depends on whether you spot a possibly damaged valve seat.
No special knowledge is needed. It's enough to know how to shut off a valve, carefully take apart the handle, and put the parts back in the same order they came off.
⚠ Safety note: This guide involves working with plumbing. If you're not completely sure about every step, stop and call a licensed professional. Before you start, always switch off the power at the breaker or close the main water/gas valve.
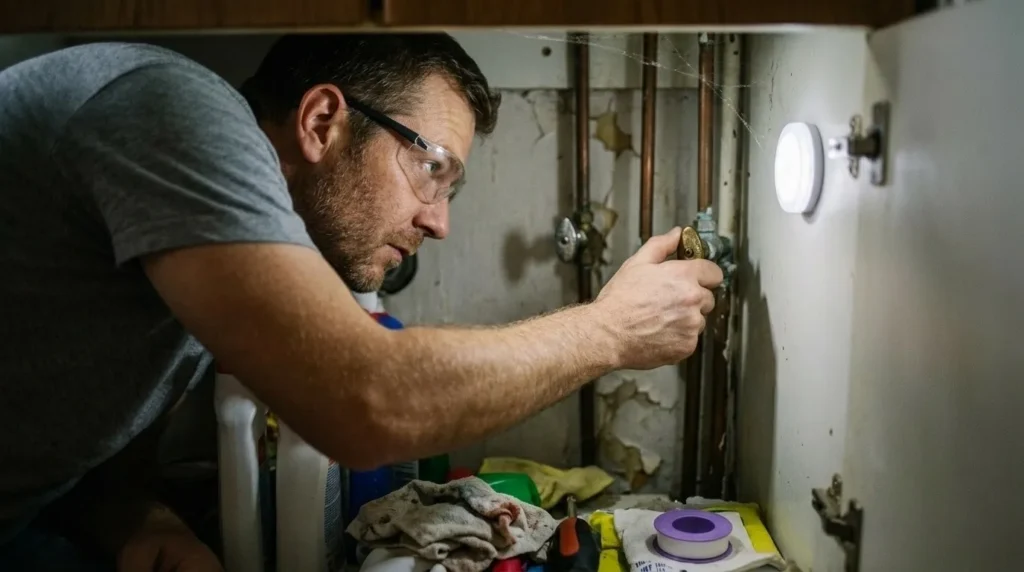
1 Shut off the water supply and confirm the valve holds
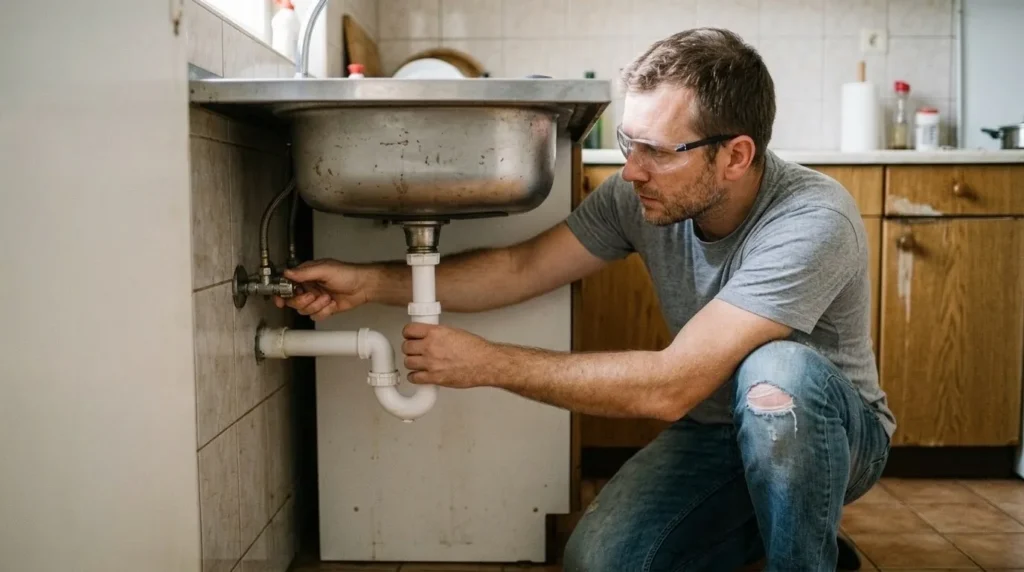
Close the valve under the sink or basin, and if there isn't one or it doesn't seal, shut off the main valve for the apartment or house. Then briefly open the tap and check whether the flow actually stops; if water still runs at full force, the local valve isn't holding and you need to shut the main one.
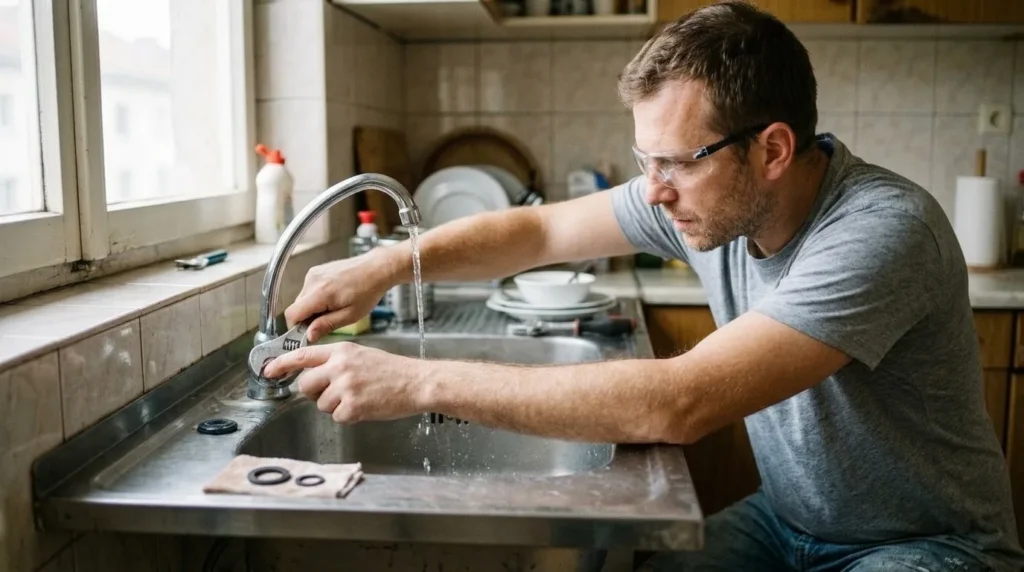
2 Release the pressure and protect the drain
Open the tap until it stops flowing, to relieve the remaining pressure in the body. Before continuing, close the drain plug or lay a cloth over the drain, because small screws and springs easily slip straight down into the trap.
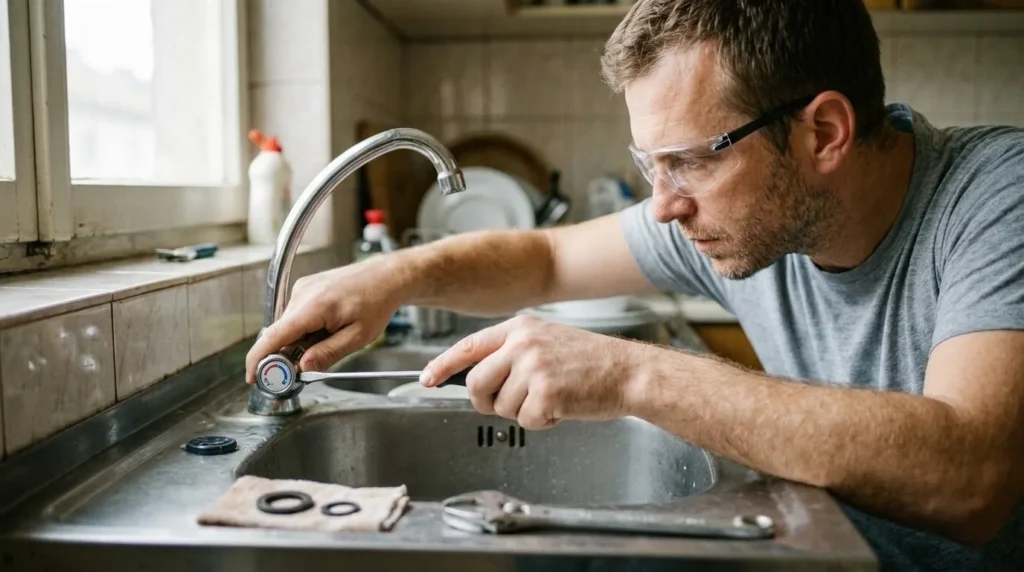
3 Remove the handle without breaking the plastic
Carefully pop out the decorative cap marked hot-cold, then loosen the screw beneath it and pull the handle straight up. If it's stuck from limescale, don't wrench it side to side with force; drip on a little penetrating fluid and wait a few minutes.
4 Remove the valve head and inspect the seat
Using an adjustable wrench, unscrew the valve head and take it out of the tap body, ideally over a cloth so you don't scratch the chrome. Also inspect the seat inside the tap body: if it's raised, scratched, or has a worn edge, a new washer may help briefly, but the dripping often comes back.
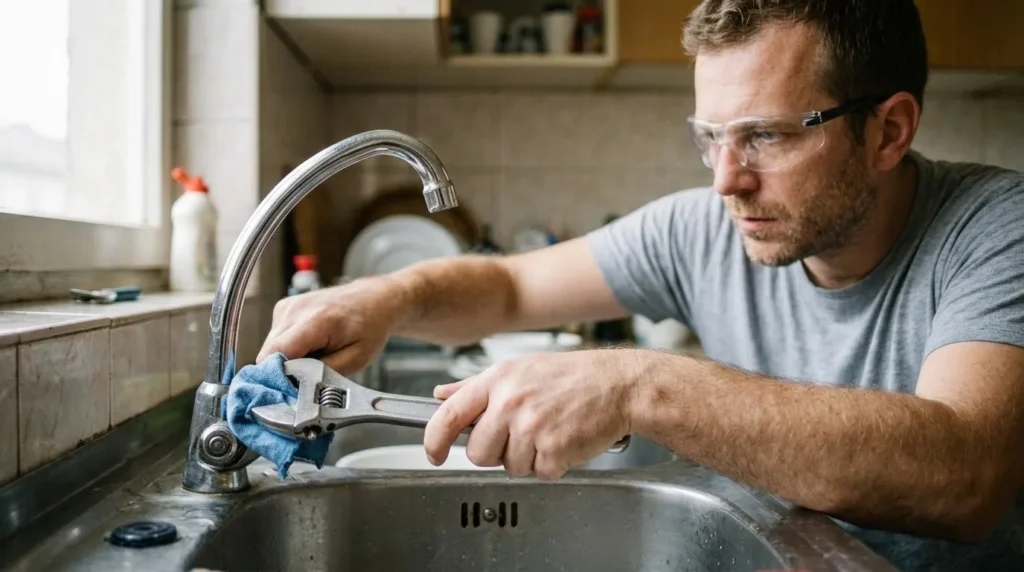
5 Replace the washer with one of the same size and clean off limescale
Remove the old washer, compare it to the new one, and fit back only a part of the same thickness and diameter; universal kits are handy, but the wrong size causes the same problem as the old seal. While you're at it, clean limescale off the seating surface and thread, and if the spindle is dry and stiff, apply a thin layer of plumber's grease to the moving parts, not to the washer itself.
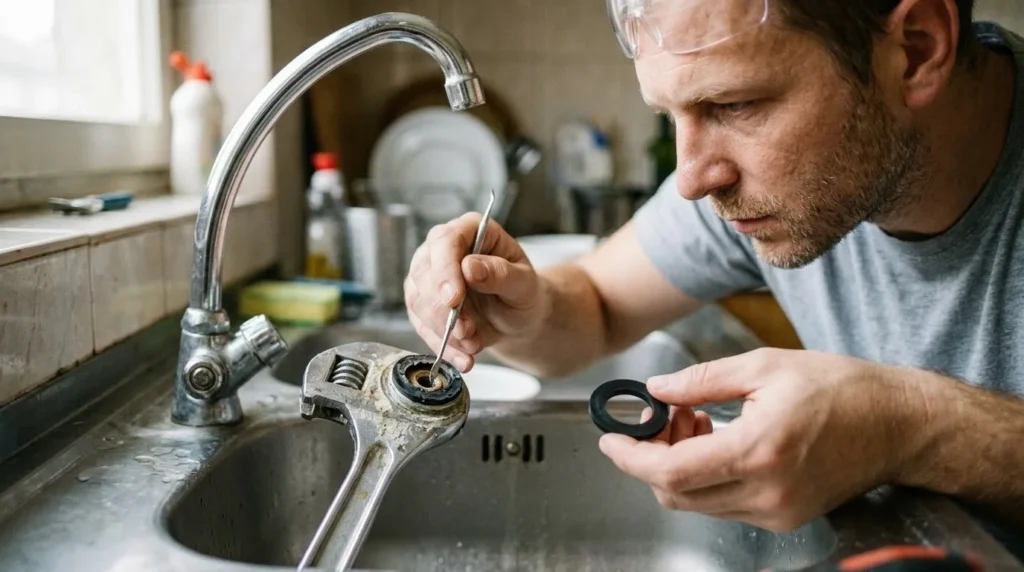
6 Reassemble the tap and slowly turn the water back on
Refit the head, tighten it firmly but without overdoing it, then put back the handle and the decorative cap. Open the water supply slowly and let the tap open and close at full flow a few times, because only then does it become clear whether the dripping is really fixed.
Final check
- The tap doesn't drip even ten minutes after closing, even with the supply fully open.
- There's no damp ring or dripping under the handle or around the thread down the tap body.
- The valves under the sink are back in working position and don't leak anywhere.
- The handle turns smoothly, without sticking and without excessive play.
Common problems
- The tap still drips after replacing the washer.
- The seat inside the tap body is most likely damaged, or you fitted a washer of the wrong size. If the seat is scratched, it's more cost-effective to replace the whole valve head, or the cartridge on a single-lever mixer.
- The handle simply won't come off the spindle.
- This often happens when limescale builds up between the spindle and the handle. Spray the joint with penetrating fluid, leave it for a few minutes, and try again while lifting evenly; forcing it by twisting easily breaks the plastic mount.
- After the repair it no longer drips from the spout, but there's moisture around the handle spindle.
- In that case the problem usually isn't the washer at the bottom but a small O-ring or seal on the tap head. Disassemble it again and check whether the seal kit includes that ring too, or replace the whole head.