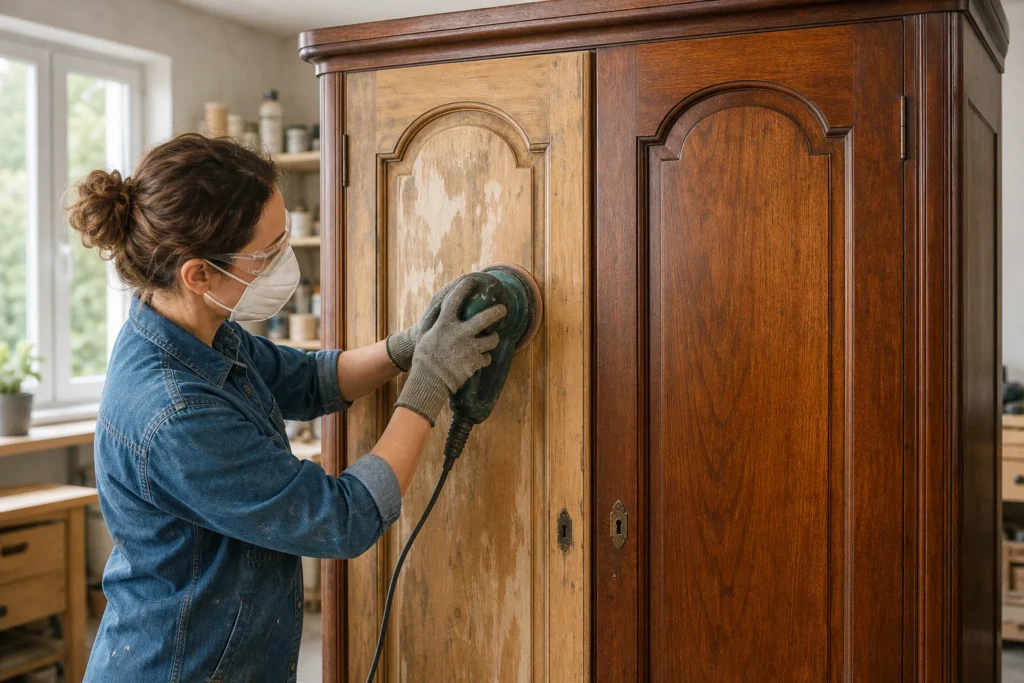
An old solid-wood wardrobe is worth restoring — you rarely find wood this thick and well made at an affordable price today, and new chipboard wardrobes do not last nearly as long. With sanding, repairs, primer, and a final coat, you get a piece of furniture that looks new in the color you choose yourself. Count on two to three days of work with drying breaks.
You need basic experience with an electric sander and painting larger surfaces with a brush or roller.
1 Prepare the space and disassembly
Move the wardrobe to a ventilated spot or garage and lay protective sheeting on the floor. Remove the doors, take out the shelves and drawers, and unscrew any handles and hinges you can reinstall.
2 Clean the surface
Wash the entire wardrobe with a mild soapy solution and warm water to remove dust, grease, and dirt, then let it dry completely.
3 Sanding the old surface
Use coarser sandpaper (80–120 grit) to remove the old varnish or paint sheen, then smooth the surface with finer paper (220) until it feels matte and even to the touch.
? Tip: Before painting the whole wardrobe, test the paint and varnish on an inconspicuous area (for example, the inside of a door) to check the shade and absorption.
4 Repair damage
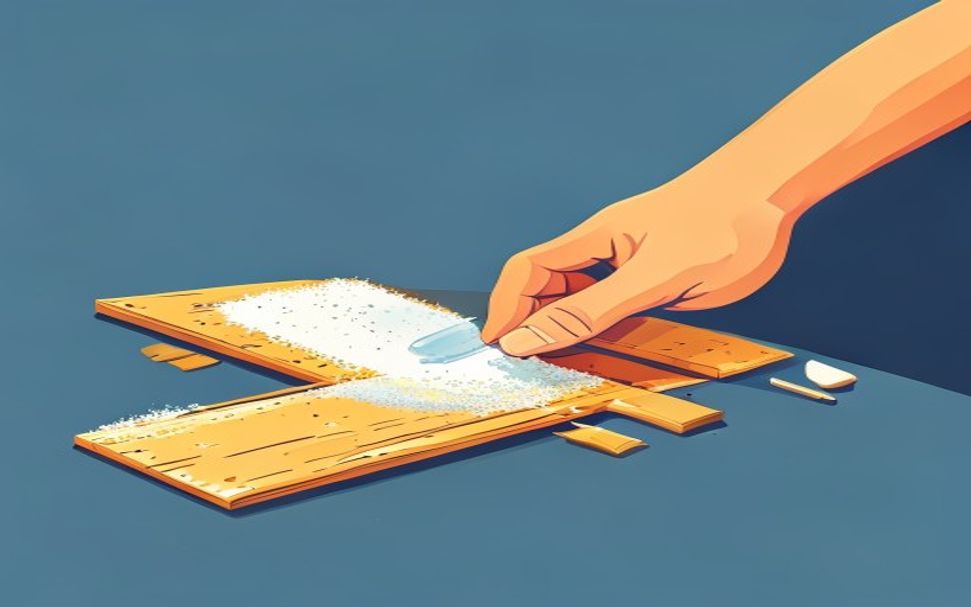
Fill all holes, scratches, and cracks with wood filler, let it dry according to the manufacturer’s instructions, then lightly sand the repair area with fine paper.
5 Apply primer
Apply a thin coat of primer with a brush or roller in the direction of the wood grain, let it dry, then lightly sand with fine paper (320) for a smooth base.

6 Painting or staining
Apply the chosen paint or stain in two to three thin coats, letting each coat dry according to the manufacturer’s instructions and lightly sanding between coats for a perfectly smooth finish.
⚠ Warning: Work in a well-ventilated space and wear a mask because paint and varnish fumes can be harmful to breathe.
7 Protective varnish
When the last coat of paint is dry, apply protective varnish in one to two coats to ensure durability and make the surface easier to clean later.
? Tip: Speed up drying with good air circulation in the room, but avoid direct sunlight, which can cause the coating to crack.
8 Reassembly and fitting hardware
When the varnish is fully dry (usually 24–48 hours), reinstall the hinges, shelves, drawers, and handles, and optionally replace the hardware if the old pieces do not match the new look.
Final check
- The paint or stain is even on all surfaces, with no streaks, drips, or missed corners
- After reattaching the hardware, doors and drawers open smoothly and sit flush, without binding
- The protective varnish has fully cured before you put items back in the wardrobe (ideally 48–72 hours)
Common problems
- The paint peels or does not stick well in some places a few days after painting.
- The surface in those places was not sanded enough or was still greasy. Sand the problem areas to a matte finish, degrease them, apply primer, and then repaint - primer is key to adhesion on an old lacquered surface.
- Yellowish or brown spots show through a light paint color after drying.
- Those are tannins or old stains from the wood bleeding through an ordinary coating. Repaint those spots with an isolating primer (a stain blocker based on shellac or solvent), let it dry, then apply the finish coat.