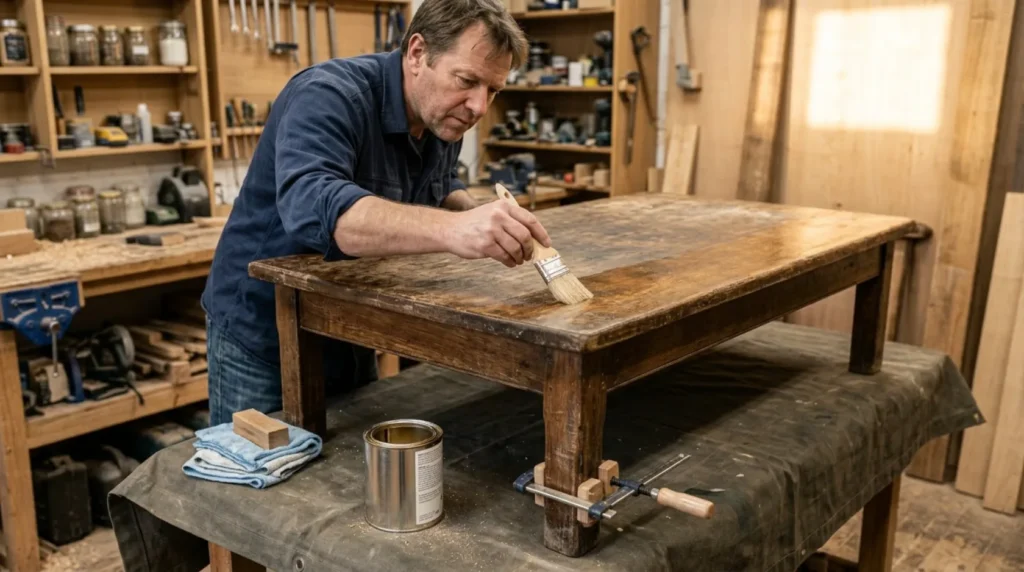
1 Prepare safe work
Clean the item with a gentle method, photograph the existing patina, and first test the process on a hidden spot. Work with ventilation and keep the original parts and hardware.
⚠ Warning: Active woodworm, valuable veneer, or a historical mark are reasons to consult a restorer before sanding.
2 Determine the problem pattern
Inspect the joints, veneer, woodworm, and finish layer before deciding whether cleaning is enough or a full restoration is needed.
3 Check the most common cause
First stabilize the structure and glue the veneer, then clean and remove the finish only as much as needed.
4 Apply the appropriate solution
Sand evenly in the direction of the grain, preserve the sharp edges, and apply a test sample of oil, varnish, or wax on a hidden spot.

? Tip: Photograph the initial condition and change only one thing at a time so you know which check really affected the result.
5 Test the result and set the boundary
Let the glue, filler, or coating fully cure, then inspect the joint in daylight and side light. The finish should be reversible or at least should not unnecessarily remove original material.