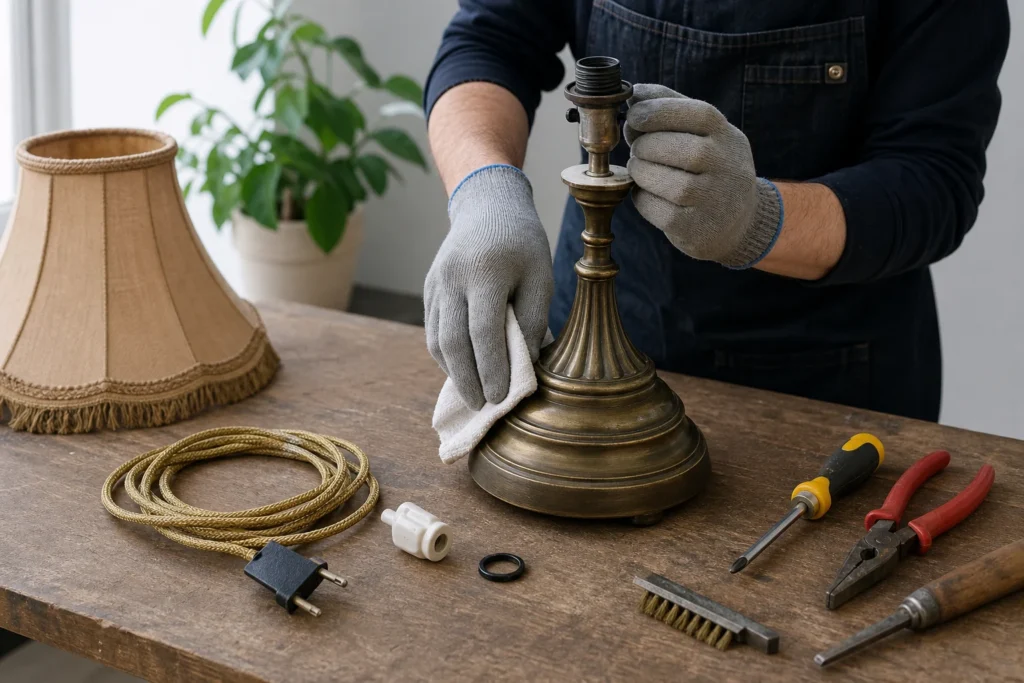
Stara stona lampa često ima postolje kakvo se više ne proizvodi — mesing, keramika, masivno drvo — i šteta ju je baciti zbog dotrajalog kabla i grla, koji su najjeftiniji dijelovi. Zamjenom kabla, grla i utikača dobijate lampu koja je i lijepa i električki sigurna, što stara instalacija s ispucalom izolacijom sigurno nije. Radi isključivo s lampom isključenom iz struje i ne žurite kod spajanja žica.
Potrebno je osnovno razumijevanje kućnih električnih spojeva — koja žica ide gdje i kako se provjerava spoj; ako toga nema, elektro-dio prepustite električaru.
⚠ Safety note: This guide involves working with electricity. If you're not completely sure about every step, stop and call a licensed professional. Before you start, always switch off the power at the breaker or close the main water/gas valve.
1 Disconnection and disassembly
Before any work, be sure to unplug the lamp from the outlet. Remove the shade, unscrew the bulb, then unscrew the nut at the bottom of the base that holds the socket and pull out the entire mechanism with the cord.
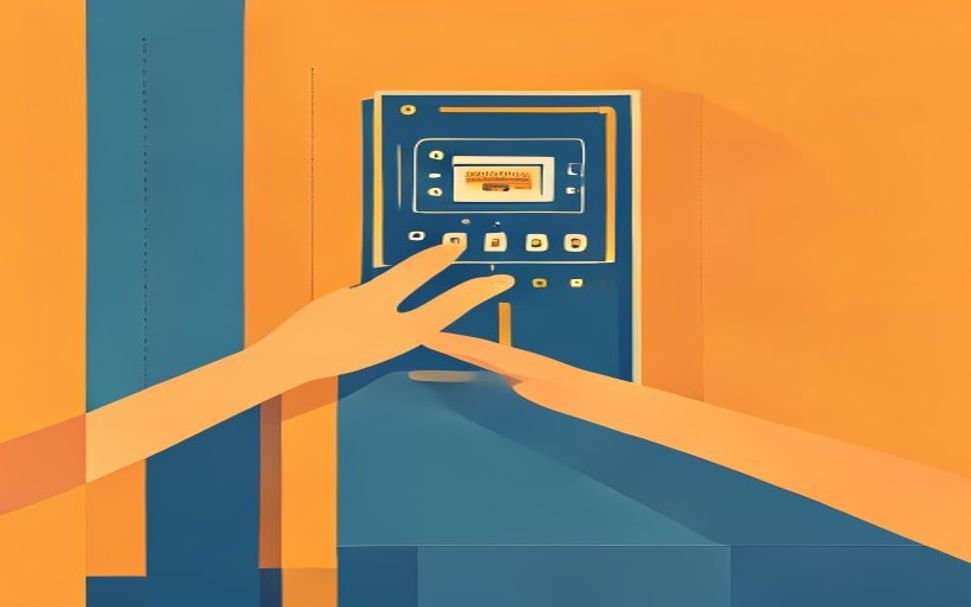
⚠️ Warning: Working with electrical installations carries a risk of electric shock – the lamp must be completely disconnected from the power supply throughout the entire procedure, and if you are not sure of your electrical knowledge, leave the cord replacement to an electrician.
2 Inspection of the old cord and socket
Examine the cord insulation – if it is cracked, brittle, or charred anywhere, or if the socket is rusty and oxidized, do not try to repair them but replace them with new ones.
3 Restoring the lamp base
Depending on the material of the base (wood, metal, ceramic), sand and varnish a wooden base, polish a metal base with metal polish, or just clean a ceramic or glass base thoroughly.
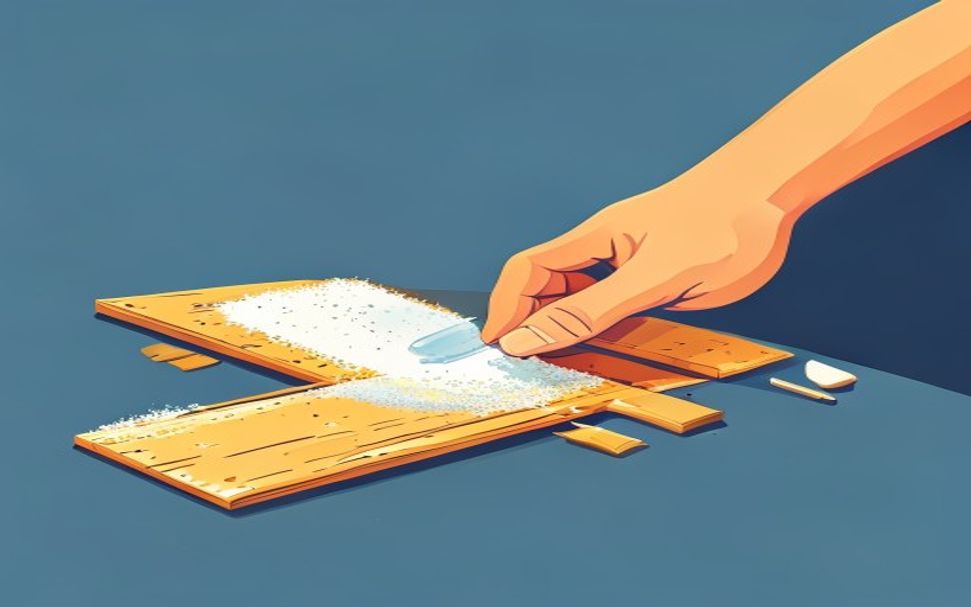
? Tip: If the lamp has a patina you like (e.g. antique brass), it is not necessary to polish it completely – sometimes just cleaning and a thin coat of protective wax are enough.
4 Threading the new cord
Thread the new power cord through the opening in the lamp base from the bottom to the top, leaving enough length to connect to the socket, and excess at the bottom end for the future plug.
5 Connecting the cord to the socket
Remove about 1 cm of insulation from each wire, twist the bare ends into a loop, and secure them under the screws on the socket contacts – phase and neutral wires go to separate contacts, and yellow-green (if present) to ground.
6 Mounting the plug
On the other end of the cord, mount the new plug according to the manufacturer’s instructions, making sure that the wires are firmly clamped under the screws so they cannot pull out.
⚠️ Warning: Never use a lamp with a damaged, frayed, or makeshift connected cord as it poses a serious risk of fire and electric shock.
7 Assembly and testing
Return the mechanism with the socket to the base, tighten the nut, install the bulb and shade, and only after that plug the lamp into the power and check if it works correctly.
When to call a professional: If the job involves changes to the electrical panel, the main gas line, or load-bearing walls/beams — or if you're not sure how it will turn out — this is not a DIY task. Hire a licensed professional.
Final check
- All connections in the socket and plug are tight — wires cannot pull out when you pull them gently, and no bare copper wire protrudes anywhere
- Checked with a multimeter that there is no short circuit between plug contacts nor breakdown to the metal lamp housing
- The lamp works stably: shines without flickering, the switch turns on and off properly, and the cord at the entry to the base has pull protection
Common problems
- The new cord won't pass through the hollow rod of the base — it gets stuck halfway.
- In the pipe are remains of the old cord, rust, or a sharp transition. First feed a thin steel wire or pulling wire, tape the cord to it in an arrow shape and pull it slowly — wrap the cord end with electrical tape beforehand to slide smoothly.
- The lamp flickers after assembly or only works when you move the cord to a certain position.
- There is a loose contact somewhere — usually in the socket or plug. Unplug the lamp from the outlet, disassemble the socket and plug, check that the insulation is stripped enough (about 8–10 mm), that the wire is firmly clamped under the screw without stray strands, and tighten all connections.