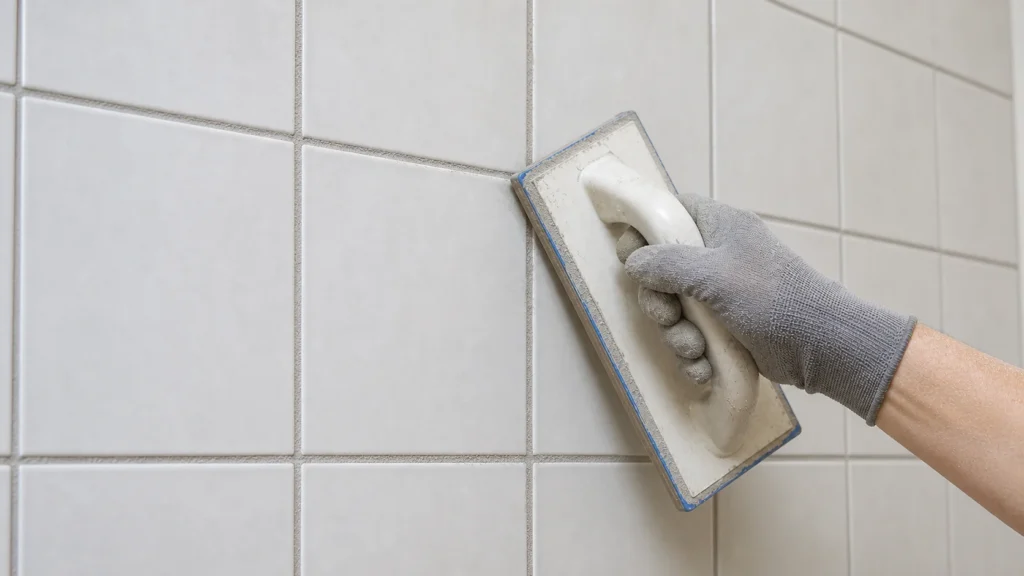
Darkened and moldy grout can make even good tiles look neglected — replacing the grout restores a fresh look to the bathroom without a costly renovation. The most demanding part is scraping out the old grout, which takes half a day for an average bathroom; the grouting itself goes quickly. Count on a weekend for the entire job, including drying before the first shower.
n
No special prior knowledge is required, just patience when scraping — the key is not to damage the edges of the tiles.
n
1 Remove the old grout
With a hand scraper or oscillating multi-tool, carefully scrape out and remove the old grout from all joints, working slowly so you do not damage the edges of the tiles.
2 Vacuum and wash the joints
Vacuum up dust and fragments of old grout, then wipe the joints with a damp sponge and let them dry.
3 Prepare the new grout mix
If it is powder, mix it with water according to the manufacturer’s instructions to a thick, creamy consistency without lumps.
? Tip: For bathrooms and shower cubicles, choose grout with an anti-mold additive, and for high-traffic floors or external surfaces consider epoxy grout which is more durable, although harder to apply.
4 Apply the grout with a rubber float
Apply the grout diagonally across the tile joints, at an angle of about 45° to the grout lines, and press it firmly to fill the entire depth of the joint.
5 Remove excess grout
While the grout is still fresh, use the float at an angle to scrape excess grout from the tile surface using diagonal strokes.
6 Shape and clean with a damp sponge
Wipe the tiles with a slightly damp, well-wrung sponge to smooth the grout lines and remove residues, changing the water when it gets dirty.
7 Polish the tiles
When the grout is slightly set (usually after 20–30 minutes), polish the tiles with a dry soft cloth to remove the remaining dust film.
8 Allow to dry
Let the grout cure completely according to the manufacturer’s instructions, usually 24–48 hours, before exposing it to water; after drying, optionally apply a grout sealer to protect against moisture and dirt.
Final check
- The grout lines are evenly filled to the full depth and width, without holes, cracks or depressions
- The tiles are polished to a shine, with no greyish cement haze on the surface
- The grout is completely dry and cured before first wetting — wait at least 24-48 hours in the shower cubicle
Common problems
- The new grout cracks or crumbles after a few days.
- The mix was prepared too thick or the old grout was removed too shallowly, so the new layer lacks depth. Scrape the problematic area to a depth of at least 2-3 mm, mix the grout precisely according to the instructions, and grout again.
- A greyish cement haze remains on the tiles and won't come off.
- Excess grout mix remained on the tiles too long. Clean it with a damp, well-wrung sponge as soon as the grout starts setting, and remove any remaining haze with a cement haze remover — never use strong acids blindly.