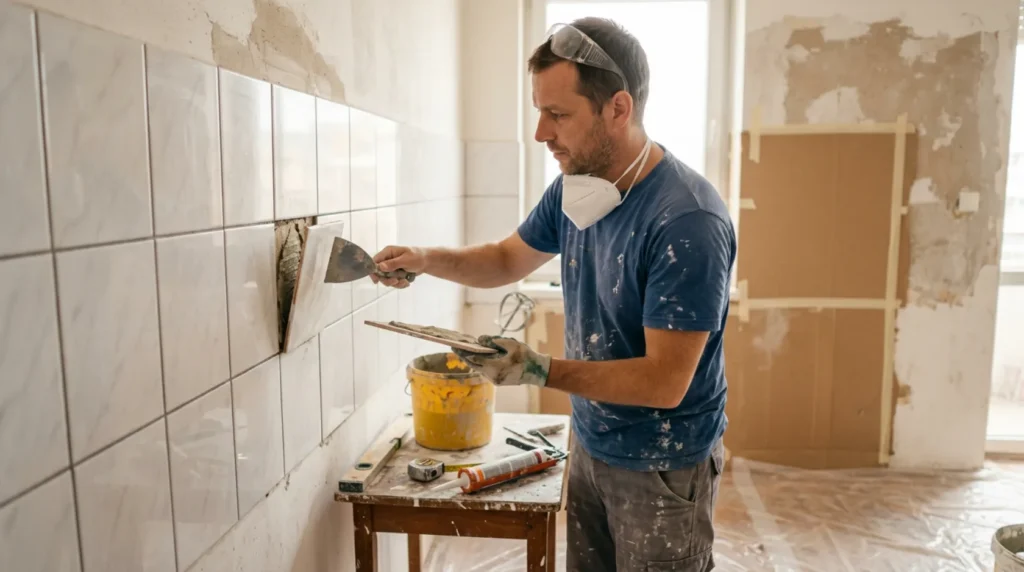
1 Prepare for safe work
Empty and protect the work area, check the substrate and utility lines, and use goggles, gloves, and respiratory protection. Mix the material according to the technical data sheet.
⚠ Warning: Do not treat structural load-bearing elements, large cracks, structural moisture, and materials that may contain asbestos without a professional assessment.
2 Determine the condition and cause
Tap the tiles to locate the hollow area and check for cracks, water intrusion, or detaching of multiple adjacent tiles.
3 Perform the key check
Remove the grout around the individual loose tile, carefully take it off, and clean the old adhesive from the firm substrate and the back of the tile.
4 Do the repair or maintenance
Apply adhesive of the appropriate class with full coverage, level with spacers, and grout only after the prescribed curing time.
? Tip: Photograph the initial state and change only one thing at a time. This makes it easier to determine what really solved the problem.
5 Test the result
After the prescribed drying time, check the flatness, strength, and edges. Do not load or seal the surface with a finish coat until moisture and bonding are within allowable limits.