⚠ Safety note: This guide involves working with electricity. If you're not completely sure about every step, stop and call a licensed professional. Before you start, always switch off the power at the breaker or close the main water/gas valve.
1 Save required settings
Check if the radio requires a security code and whether the vehicle requires registration of the new battery via diagnostics. Turn off all consumers, remove the key, and wait a few minutes.
2 Disconnect the negative terminal first
Loosen the black or negative terminal and move it so that it cannot return to the post. Only then disconnect the red positive terminal; this sequence reduces the possibility of a short circuit with a tool against the bodywork.
⚠ Warning: Never connect the positive and negative poles with a metal tool and do not work near a flame or cigarette. The battery can release flammable hydrogen.
3 Remove the old battery
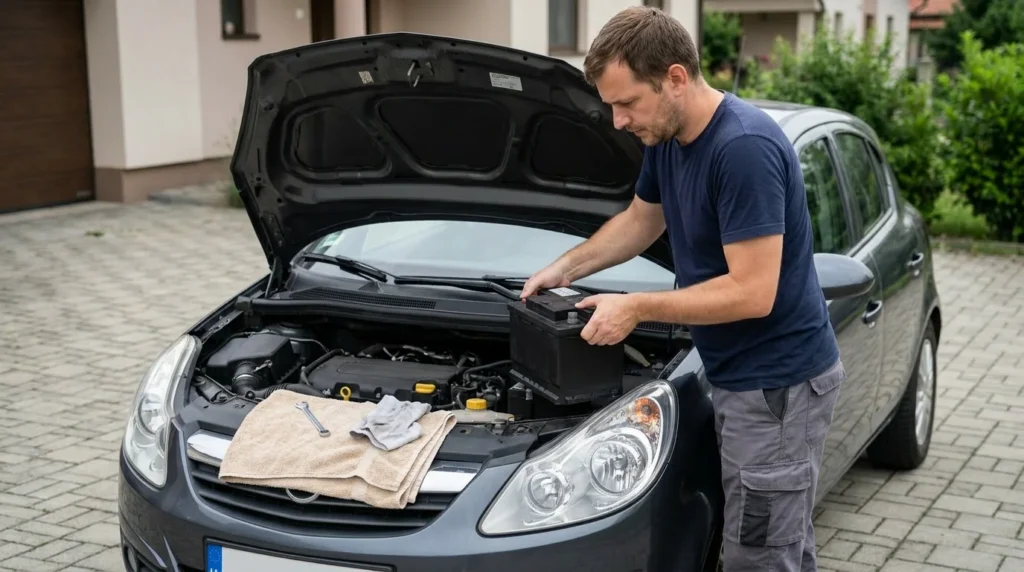
Unscrew the bottom or top bracket, grab the battery by the handle, and lift it vertically. It weighs 15–25 kg, so do not bend your back or tilt the casing, from which electrolyte can leak.
4 Clean the tray and check the new battery
Clean oxidation from the terminals and tray. Compare the dimensions, positive and negative pole layout, capacity, and cold cranking amps of the new battery with the vehicle specifications.
5 Connect positive first, then negative
Secure the battery with the bracket so it does not move. Connect and tighten the red positive terminal, then the black negative terminal. Apply a thin layer of grease and start the vehicle.
? Tip: Hand over the old battery to the retailer or an authorized collector. It must not be disposed of in municipal waste.
When to call a professional: If the job involves changes to the electrical panel, the main gas line, or load-bearing walls/beams — or if you're not sure how it will turn out — this is not a DIY task. Hire a licensed professional.