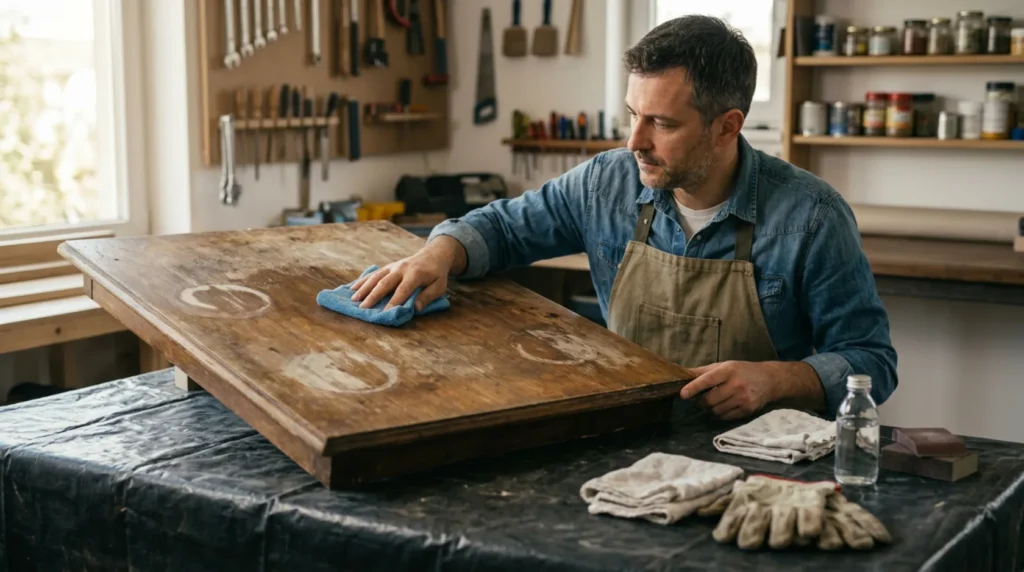
1 Prepare for safe work
Clean the item using a gentle method, photograph the existing patina, and first test the procedure in a hidden spot. Work with ventilation and preserve the original parts and hardware.
⚠ Warning: Too much heat can soften the lacquer, create bubbles, or change the color of the veneer. Stop as soon as the surface becomes hot.
2 Determine the pattern of the problem
Confirm that the mark is white and in the finish layer; a dark or black mark means water has entered the wood and requires deeper restoration.
3 Check the most common cause
Begin with gentle drying at room temperature, then test a dedicated product or very controlled mild heat through a cloth.
4 Apply the appropriate solution
Once the cloudiness recedes, clean the surface and restore a compatible wax or protective coat on the entire surface.

? Tip: Photograph the initial state and change only one thing at a time to know which test really affected the result.
5 Test the result and set limits
Allow the glue, filler, or coating to dry completely, then inspect the joint in day and side light. The finish should be reversible or at least not unnecessarily remove the original material.