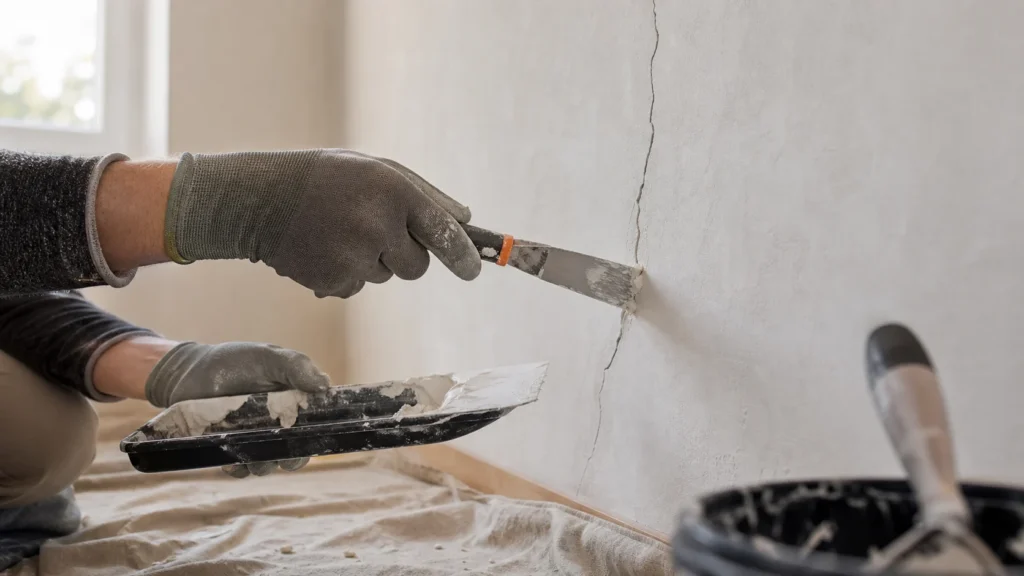
Cracks in the wall are one of the most common cosmetic problems in an apartment, and you can repair most of them yourself without a craftsman. The patching job itself takes an hour or two, but count on a whole day due to the drying of the plaster compound between layers. The key to a permanent repair is reinforcing tape — without it, the crack often returns after a few months.
n
No prior knowledge is needed — this is an ideal first plastering job, it is enough to know how to hold a putty knife.
n
1 Inspect and assess the crack
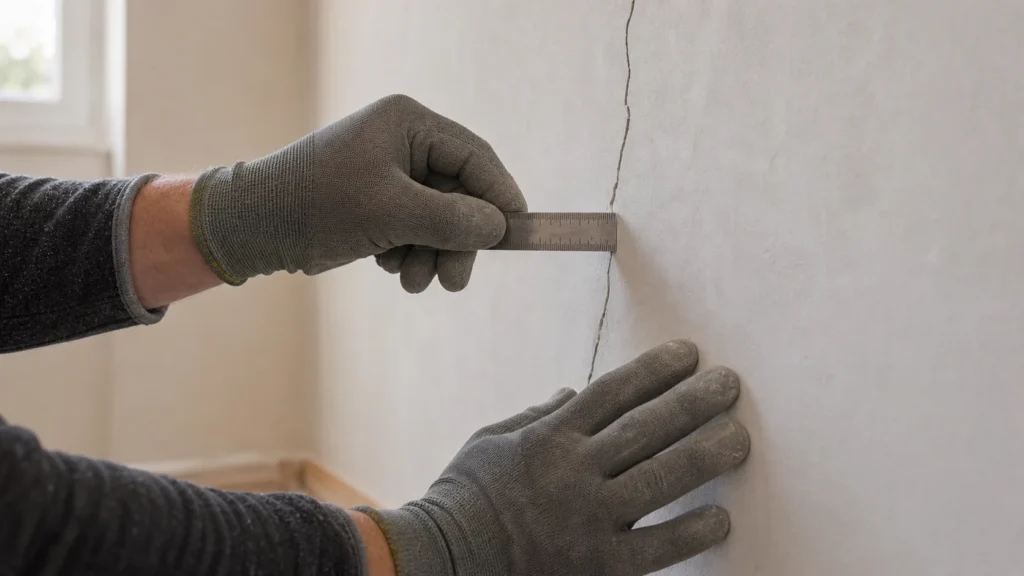
Measure the width of the crack and check if it is a thin hairline line (up to 2 mm) or wider damage, and whether it extends along multiple walls or the ceiling.
⚠️ Warning: If the crack is wider than 3–5 mm, diagonal, extends across the wall-ceiling joint, or constantly returns after repair, this may indicate foundation settling or a structural problem – be sure to consult a structural engineer before cosmetic repairs.
2 Widen and clean the crack
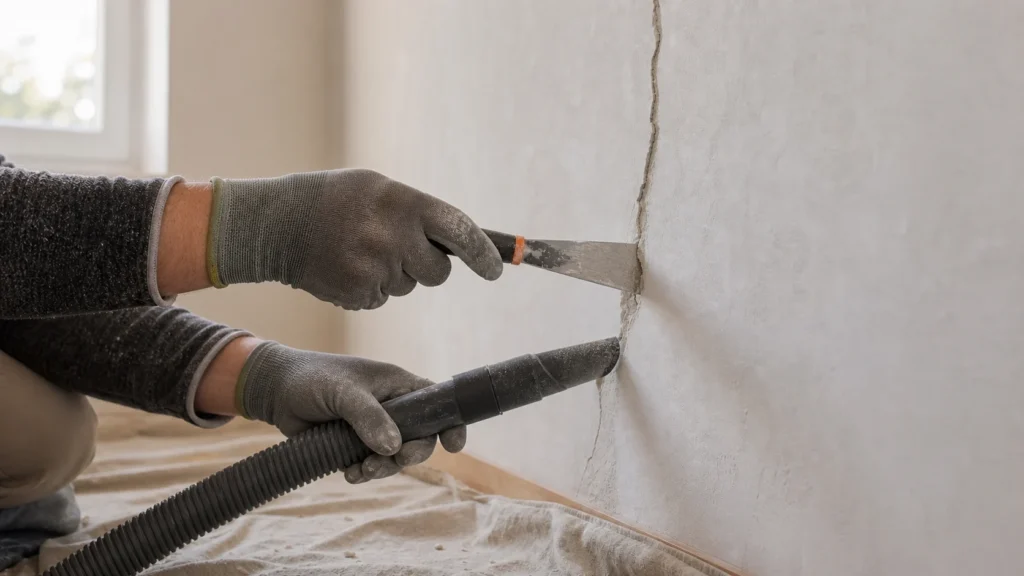
Gently widen the crack into a V-shape with a scraper or knife so that the compound adheres better, then remove all loose material and dust with a brush or vacuum cleaner.
3 Moisten the surface
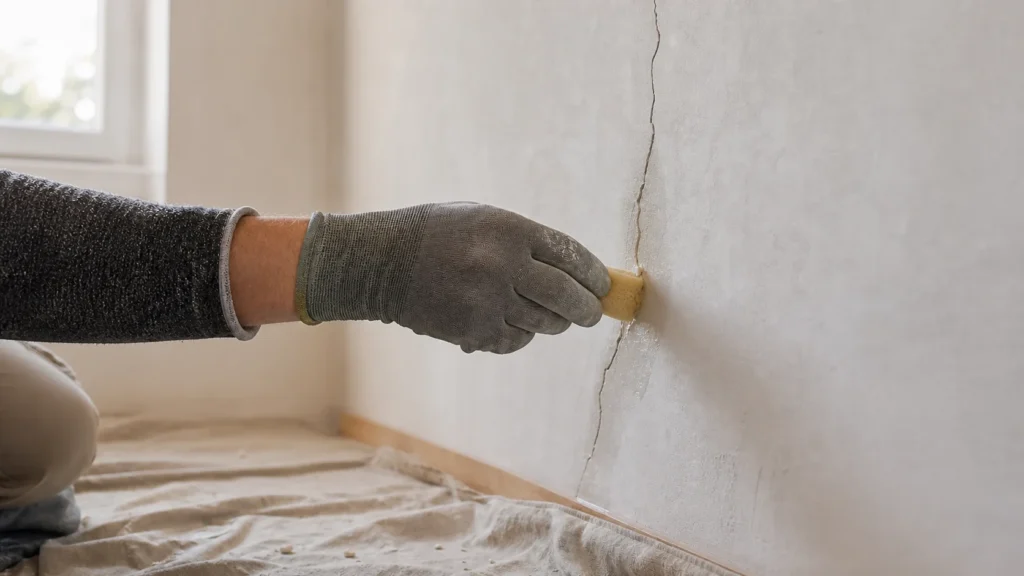
Apply water to the crack with a damp brush or sponge so that the plaster compound does not dry out too quickly and adheres better to the substrate.
4 Apply the first layer of plaster compound
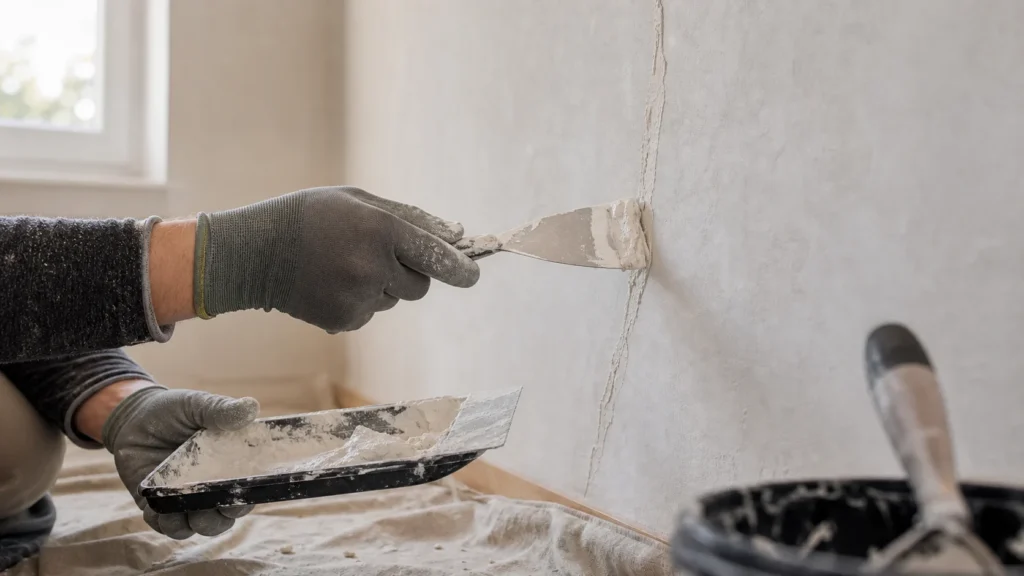
Press the compound deep into the crack with a putty knife so that it is completely filled, with no voids.
5 Apply reinforcing tape
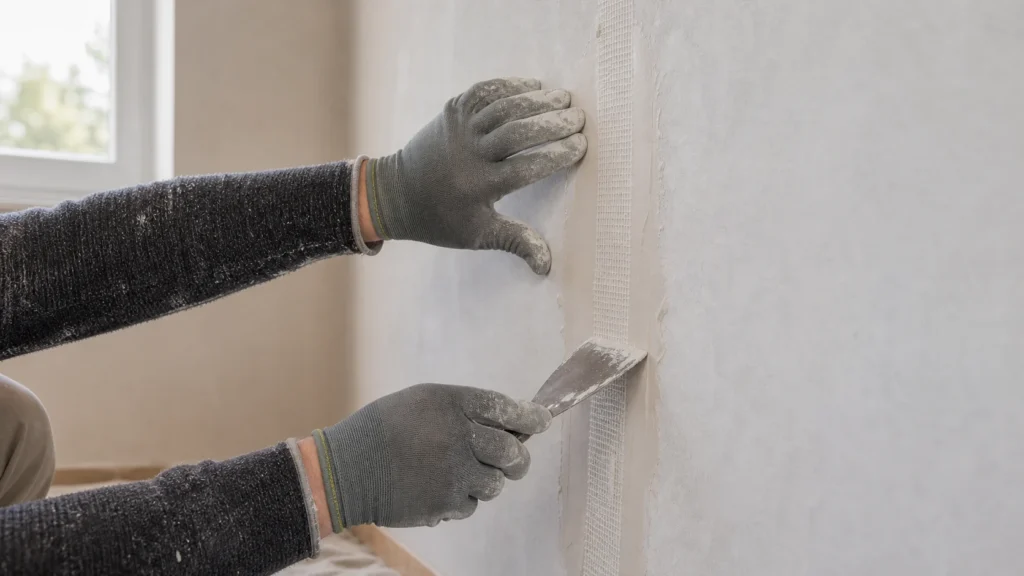
While the compound is still fresh, place a reinforcing mesh or tape over the crack so that it overlaps both edges, and press it gently into the compound.
6 Apply the finish coat and smooth out
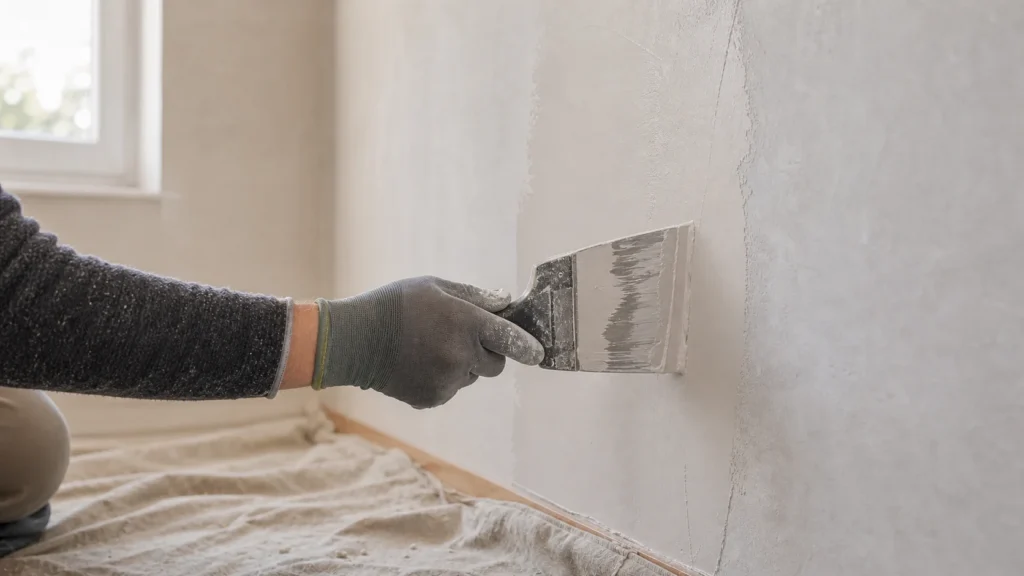
Apply another thin layer of compound over the tape, spreading it wider than the crack itself towards the edges for a seamless transition.
? Tip: Always spread the finish coat wider and thinner towards the edges than the crack itself – this way, the transition will not be visible after painting.
7 Allow to dry and sand
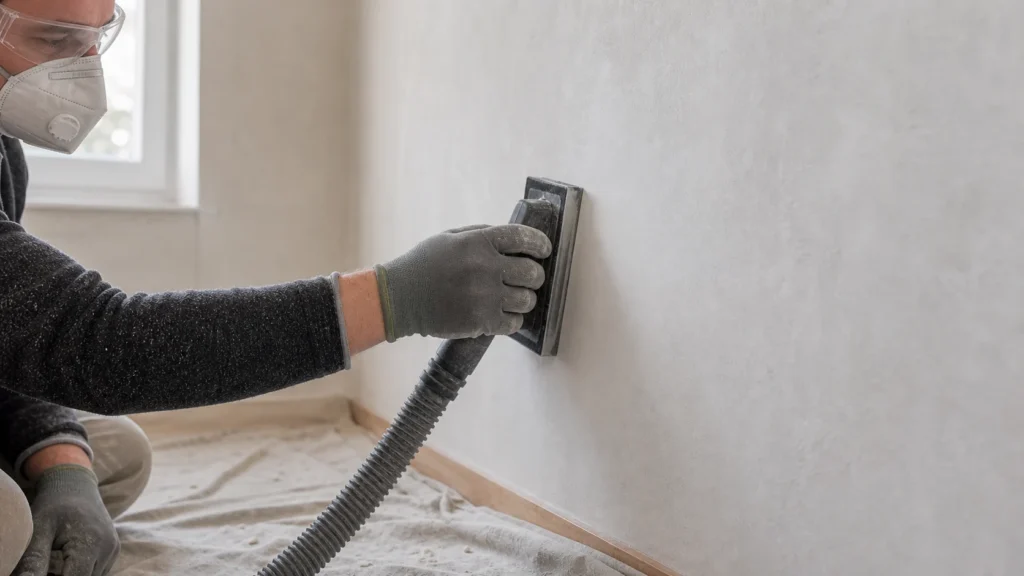
Allow the compound to dry for at least 24 hours (or according to the manufacturer’s instructions), then sand it gently with fine sandpaper to a smooth surface.
8 Apply primer and paint
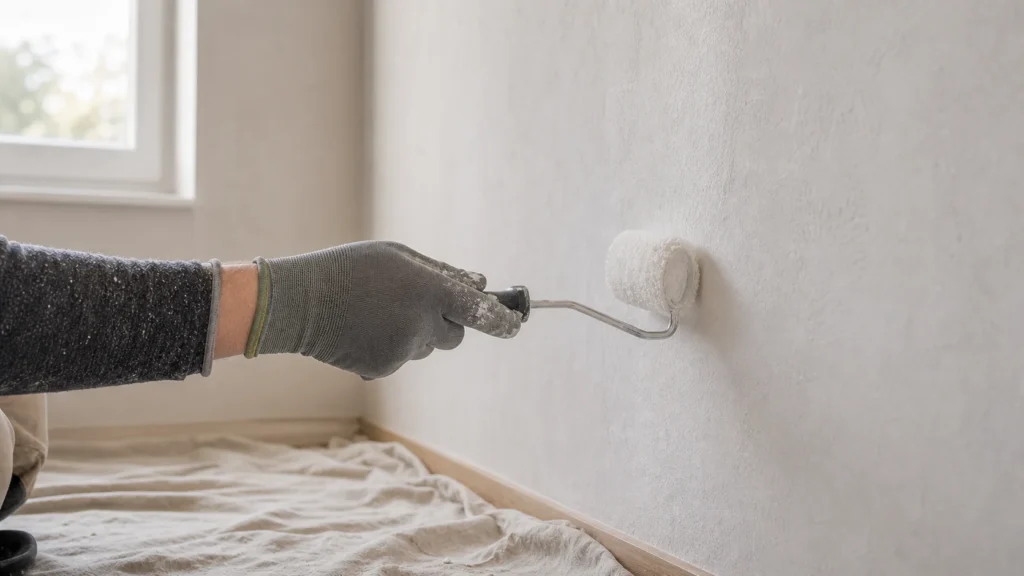
Apply a primer if necessary, then paint the repaired area with a color matching the wall, spreading it wider than the patch for a uniform appearance.
Final check
- The patched area is completely level with the surrounding wall after sanding — check with fingers and under the angled light of a lamp
- There are no depressions, bubbles, or visible edges of the reinforcing tape under the top coat
- The plaster compound is completely dry (light and uniform in color) before applying the primer and paint
Common problems
- The crack reappeared a few weeks after the repair.
- Reinforcing tape was probably skipped, or the crack is structural (the whole building is settling). Repeat the repair with a mesh over the entire length of the crack, and if the crack is wider than 5 mm and growing — consult a structural engineer.
- The plaster compound peels off or does not adhere inside the crack.
- The substrate was dusty or dry. Clean the crack with a brush or vacuum cleaner and be sure to moisten it (or apply primer for absorbing surfaces) before plastering.