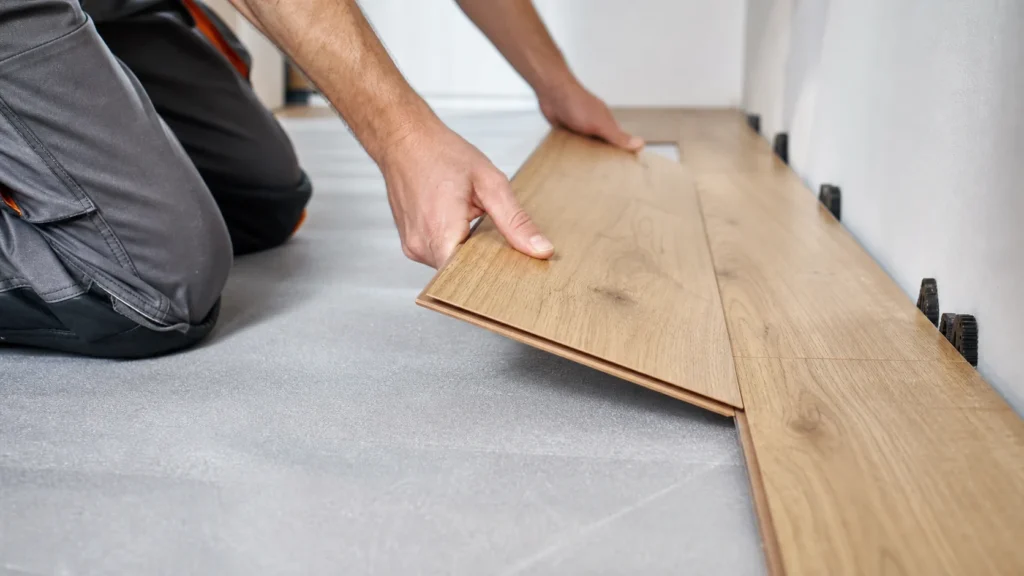
Installing laminate with a click system is a rewarding job for DIYers — it requires no glue, and mistakes in a row are relatively easy to correct. For an average room of 15-20 square meters, count one full day of work, plus 48 hours of acclimation of the packs before starting. Cutting around doors and pipes takes the most time, so do not rush.
Basic experience with measuring and cutting is desirable — if you have ever cut a board to size, you will manage.
1 Prepare and check the subfloor
The subfloor must be dry, solid, level (deviation up to 2 mm per 1 m), and clean; correct larger irregularities with self-leveling compound, and clean the surface well from dust.

2 Acclimate the laminate
Leave unopened packages of laminate in the room where it will be installed for at least 48 hours before installation, at room temperature.
? Tip: The greater the difference in temperature and humidity between the storage location and your room, the longer the acclimation period – for underfloor heating and new construction, extend it to 72 hours.
3 Install the vapor barrier and underlay
Roll out the PE film over the entire surface with overlaps of about 20 cm taped together (if the underlay does not already contain this), and then place the underlay for impact noise reduction over it.
4 Determine the direction and lay the first row
Laminate usually runs parallel to the light source or the longer wall; place spacers of 10–15 mm thickness along all walls for expansion and lay the first row with joints on the shorter side of the planks.
5 Continue laying row by row
Offset each subsequent row so that transverse joints are spaced at least 30–40 cm from the previous row for stability, and cut the last plank in the row to size with a jigsaw.
6 Connect the planks and check the joints
With a tapping block and hammer, carefully connect the tongue-and-groove system without damaging the edges, and pull the planks near the wall using a pull bar.
7 Work around doors and installations
At door frames, undercut the bottom of the jamb so the laminate can slide underneath, and drill a hole slightly larger than the pipe diameter around pipes, covering it with a pipe collar.

8 Remove spacers and install skirting boards
Remove the wall wedges, place the skirting boards covering the expansion gap, and fix them to the wall, not to the laminate itself, so that the floor retains the possibility of free expansion.
? Tip: Never glue or nail laminate to the subfloor – it must remain free (‘floating’) so that it can expand and contract with changes in temperature and humidity.
Final check
- The floor is laid without visible gaps and height differences at the plank joints — run your hand over the joints
- An expansion gap of 8-10 mm is left along all walls and obstacles, now covered by skirting boards
- The floor does not creak or 'bounce' when walking anywhere in the room
Common problems
- Joints between planks separate or do not want to click all the way.
- Check that there is no sawdust or debris in the groove and adjust the plank with a tapping block and hammer — never hit the edge of the plank directly. If the rows separate later, the floor is probably touching the wall somewhere, leaving no room to 'breathe'.
- The floor creaks or sags when walking.
- The subfloor was not flat enough — allowed deviation is 2-3 mm over 2 m. For minor irregularities, a thicker underlay helps; for larger ones, you must level the floor with self-leveling compound before installation.