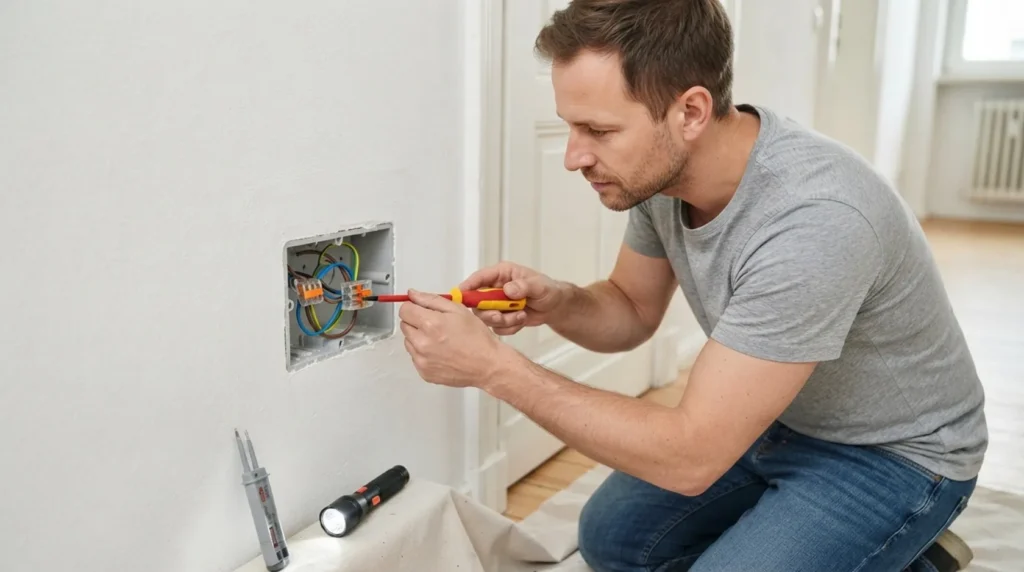
⚠ Safety note: This guide involves working with electricity. If you're not completely sure about every step, stop and call a licensed professional. Before you start, always switch off the power at the breaker or close the main water/gas valve.
1 Prepare for safe work
Turn off the corresponding fuse or main switch, prevent accidental reactivation, and confirm the absence of voltage with a two-pole voltage tester. If you cannot reliably identify the circuit, stop work.
⚠ Warning: WAGO is not a solution for oxidized aluminum and copper without a product and procedure approved for such a transition.
2 Determine the pattern of the problem
Select the original connector for the type, cross-section, material, and number of conductors; models for solid and stranded conductors are not always the same.
3 Check the most common cause
Strip exactly the length marked on the housing, without damaging the copper, insert completely, and check the position through the window.
4 Apply the appropriate solution
Pull each conductor gently, place the joint in the appropriate box, and do not exceed the current of the weakest part of the circuit.
? Tip: Photograph the initial state and change only one thing at a time so that you know which check really affected the result.
5 Test the result and set the boundary
Reinstall covers and guards before turning on. Turn on the power from a safe distance and turn off immediately if a spark, smell, heat, buzzing, or protection reactivation occurs.
When to call a professional: If the job involves changes to the electrical panel, the main gas line, or load-bearing walls/beams — or if you're not sure how it will turn out — this is not a DIY task. Hire a licensed professional.