⚠ Safety note: This guide involves working with electricity. If you're not completely sure about every step, stop and call a licensed professional. Before you start, always switch off the power at the breaker or close the main water/gas valve.
1 Prepare for safe work
Turn off the corresponding circuit breaker, mark it against accidental switching on, and confirm the absence of voltage with a suitable two-pole voltage tester before touching the conductors.
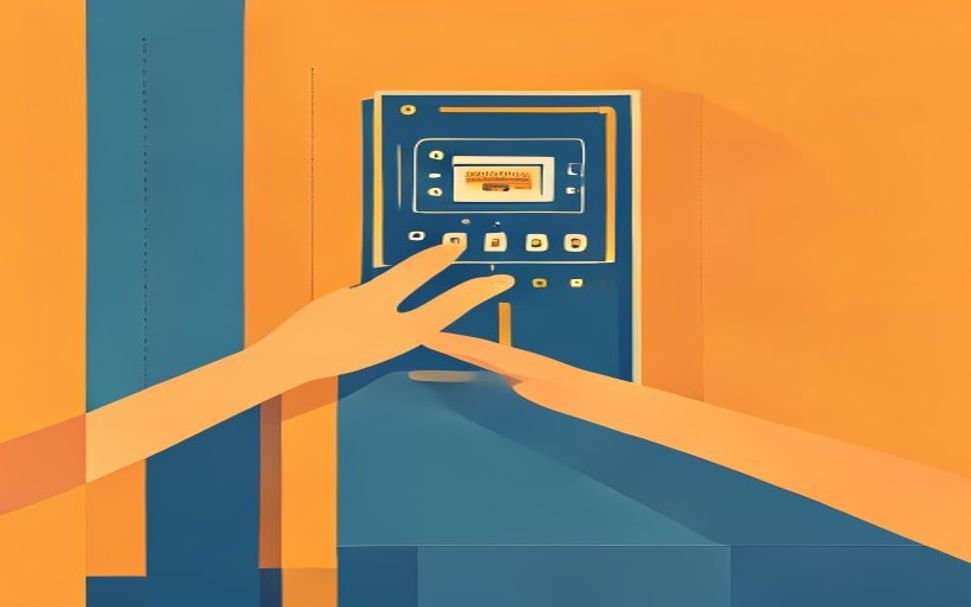
⚠ Warning: Mains voltage can be lethal. If you cannot safely shut off and confirm the absence of voltage, if the wire colors are unclear or the installation is damaged, do not proceed on your own.
2 Determine the condition and cause
Notify household members and turn off sensitive electronic devices as the test will interrupt power to the protected circuits.
3 Perform the key check
While the switch is on, press the TEST button. The lever should immediately trip to the off position according to the manufacturer’s instructions.
4 Do the repair or maintenance
Switch the device back on. If it does not trip during the test, cannot be switched on, or trips frequently, call an electrician and do not bypass it.
? Tip: Photograph the initial state and change only one thing at a time. This makes it easier to determine what really solved the problem.
5 Test the result
Reinstall the covers and guards before turning the power back on. Test the function without touching exposed parts; any heating, buzzing, sparking, or tripping of protection requires an electrician.
When to call a professional: If the job involves changes to the electrical panel, the main gas line, or load-bearing walls/beams — or if you're not sure how it will turn out — this is not a DIY task. Hire a licensed professional.