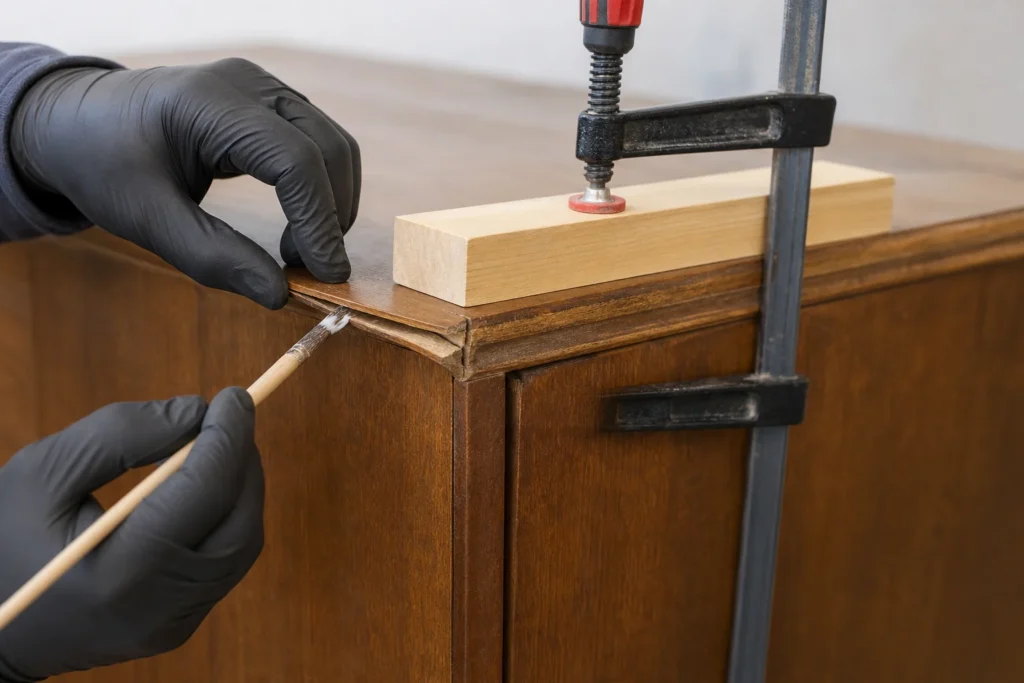
Damaged veneer — a bubble, a chipped corner, or a peeled patch — looks dramatic, but it is repairable and does not have to mean the end of a piece of furniture that is often of higher quality than anything you would buy as a replacement. Bubbles are repaired with glue and heat, and missing parts with a patch of new veneer that is color-matched to the surroundings. With a sharp utility knife, patience, and careful sanding, the repair will eventually be almost invisible.
A steady hand for precise utility knife cutting and a feel for fine sanding are required — prior experience with woodworking is desirable.
1 Assess the damage
Inspect the damaged area – determine if the veneer has just lifted from the substrate (bubble), if it is cracked, or if a piece is missing, as each case requires a different approach.
2 Repair a lifted bubble
If the veneer is only separated from the substrate without cracking, carefully insert a thin layer of PVA glue under the raised section using a spatula or syringe, then press it and leave it under a weight to dry for 24 hours.
3 Remove the damaged area
If a piece of veneer is cracked or missing, carefully cut away the irregular and damaged edges with a sharp utility knife until you get a clean, straight edge for inserting the patch.
⚠️ Warning: The utility knife is extremely sharp and the veneer is thin, so it easily slips – always cut with strokes directed away from yourself and use a metal ruler as a guide if possible.
4 Prepare the patch from new veneer
Choose a piece of replacement veneer with a texture and wood color as similar as possible, then cut it exactly to the shape and size of the cut-out opening, preferably following the fiber direction of the surrounding wood.
? Tip: You can buy veneer in sheets at specialized carpentry shops or online, and for small repairs, a piece cut from an inconspicuous part of the same furniture (e.g., from the inside) is sufficient.
5 Glue the patch
Apply a thin layer of glue to the substrate and edges of the opening, insert the new piece of veneer, press it well, and secure it with a weight or a heavy object over protective paper until the glue is completely dry.
6 Sanding and leveling
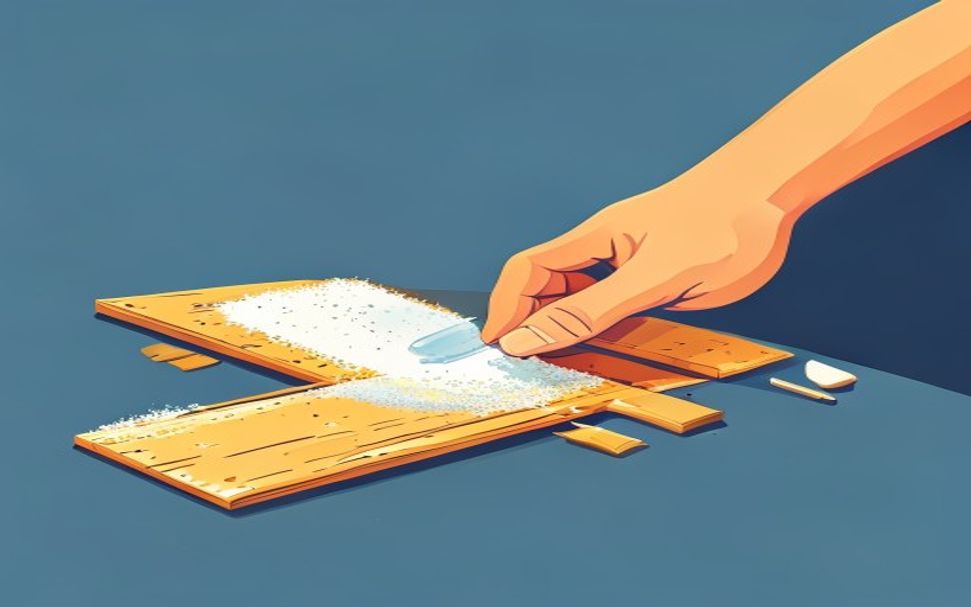
Once the glue is dry, finely sand the joint with 220-grit, then 320-grit sandpaper, being careful not to sand through the veneer as it is very thin (usually only 0.5–3 mm).
7 Color matching
Use a furniture retouch marker or wax crayon to match the color of the patch to the surrounding wood, applying the color in thin layers until an unnoticeable transition is achieved.

8 Protective coating
Finally, apply a thin layer of varnish or wood oil over the entire surface (not just the repaired area) so that the shine and texture are uniform across the entire piece of furniture.

Final check
- The patch is flush with the surrounding veneer — the transition is not felt under the fingers and is not visible under angled light
- The bubbles and patch are firmly glued — nothing clicks hollow or gives way under pressure
- The tone of the patch matches the surroundings, and the protective coating is even over the repair and completely dry
Common problems
- The bubble lifts again after a day or two after ironing and pressing
- Not enough glue got under the bubble or there was no pressure while the glue was bonding. Cut the bubble with a utility knife along the fibers, insert wood glue under both ends of the cut with a syringe or a thin spatula, squeeze out the excess, and press with a weight or a clamp over a flat board for at least 12 hours.
- The patch is glued neatly, but clearly differs in color and pattern from the rest of the surface
- Before gluing, always turn the patch so that the direction and density of the fibers follow the surrounding veneer. If it is already glued, match the tone with diluted wood stain applied in thin layers with constant comparison, then apply a protective coating over everything — never try to darken the surroundings.