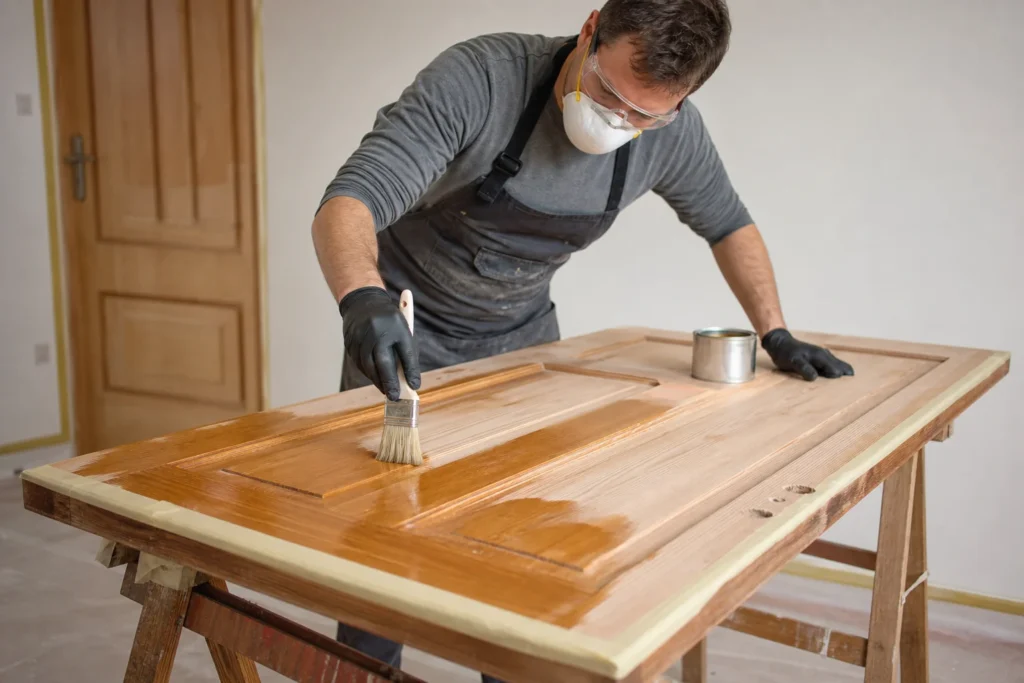
Old solid wooden doors are better made than most modern hollow replacements, and a fresh finish can completely transform them for a fraction of the cost of new doors with installation. Take them off the hinges, sand them, repair dents, apply primer and then paint or varnish, and you will get a smooth, even surface that looks professional. Work horizontally whenever you can, because the coating levels out more neatly that way, without runs.
Potrebno je osnovno iskustvo s brušenjem i bojanjem većih ravnih površina.
1 Removing the door from its hinges
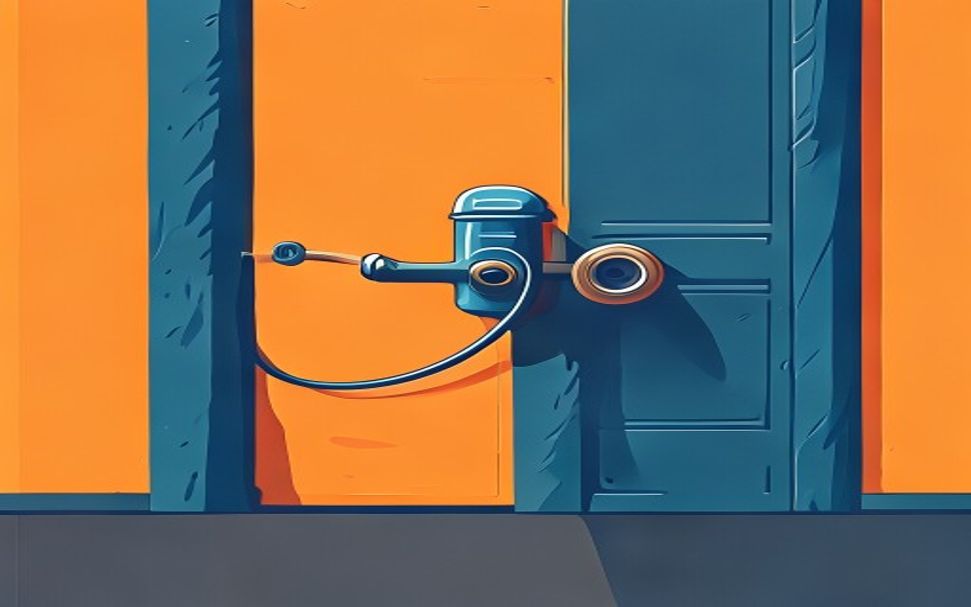
If possible, remove the door from its hinges and place it horizontally on sawhorses or two chairs – this will give you a more even coat without paint runs, and at the same time disassemble the handle, lock, and other hardware.
2 Cleaning and degreasing
Wash the door with mild soapy water to remove dirt and grease from the handles, then let them dry completely.
3 Sanding the old surface
Start with a coarser paper (P80-P120) to remove the shine and imperfections of the old coating, and then move to a finer paper (P180-P240) for a smooth surface ready for the new coat.
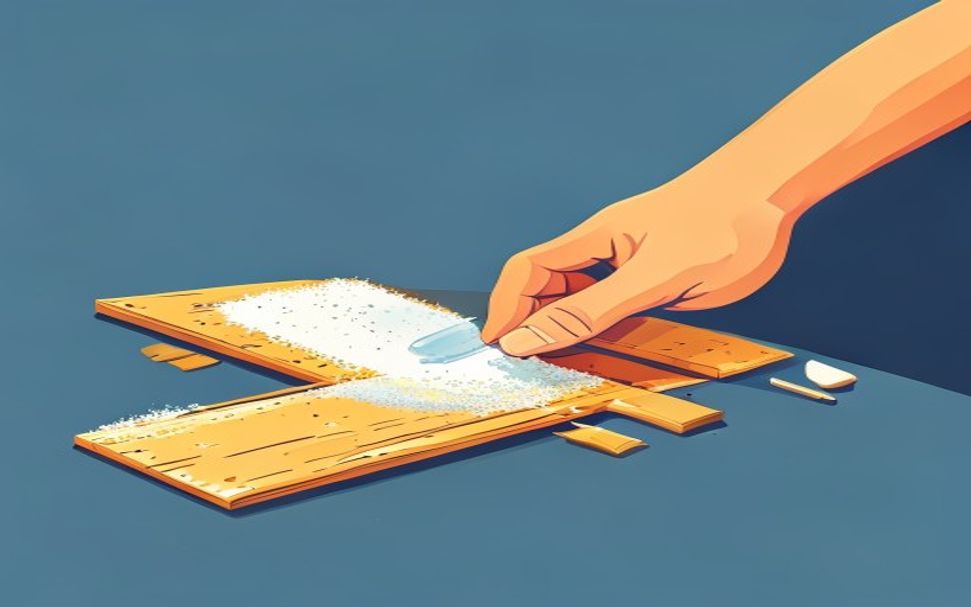
? Tip: If the door has multiple layers of peeling old paint, a faster and cleaner solution than sanding is a chemical paint stripper or a scraper after softening with hot air.
4 Repairing damages
Fill dents, cracks, and holes from old hardware with wood putty, let it dry according to the instructions, and sand finely to a flat surface.
5 Masking and priming
Protect glass surfaces and parts you are not painting with masking tape, then apply a thin layer of primer (undercoat) and let it dry completely.

6 Applying paint or varnish
Apply two to three thin coats of paint or varnish in the direction of the wood grain, starting from the profiled parts and edges towards the large flat surfaces, with light sanding with fine paper between coats.
⚠️ Warning: Work in a well-ventilated area and wear a vapor mask – especially if you use oil-based varnishes or solvent-based coatings, as the vapors are flammable and harmful to inhale.
7 Drying and assembly
Leave the last coat to dry for at least 24 hours (and ideally 48–72 hours before re-hanging, otherwise the door may stick to the frame), then reinstall the hinges, handle, and lock.
Final check
- The paint or varnish is even over the entire surface, without runs along the edges, streaks, and missed spots
- The coating is completely dry and cured before returning the door to the hinges (ideally 24–48 hours)
- The door opens and closes smoothly after assembly, does not rub against the frame, and the lock catches properly
Common problems
- Paint ran and made 'tears' on vertical parts or edges.
- Too thick a layer was applied. Wait for it to dry completely, sand the drops with fine paper (P240) until they level with the surface, wipe away the dust, and apply a new, thinner layer – better two thin ones than one thick one.
- The door sticks to the frame or is difficult to close after painting.
- Paint layers on the edges made the door a millimeter or two thicker. Find the exact point of sticking (a sheet of paper gets stuck there when closing), lightly sand the edge at that point and repair the coating – and in the future paint the edges with a thinner layer.