1 Prepare for safe work
Clean the object with a mild method, photograph the existing patina, and test the procedure on a hidden area first. Work with ventilation and save original parts and hardware.
⚠ Warning: Epoxy can be irreversible and too hard for a historical piece. On valuable furniture, choose a conservation approach.
2 Determine the pattern of the problem
Determine if the crack is still active due to moisture and construction; an active joint is not solved with hard filler alone.
3 Check the most common cause
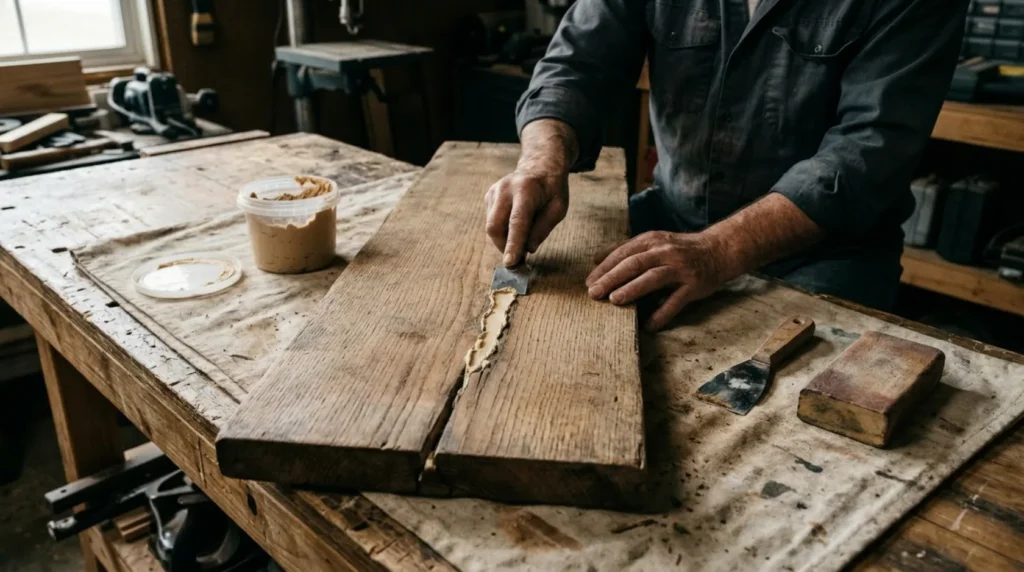
Clean the crack without widening it, stabilize the object, and use glue for a narrow crack, and an insert strip of the same wood for a wider crack when possible.
4 Apply the appropriate solution
Level the repair after drying, match the color, and apply a top coat over a wider zone so that the transition does not remain visible.
? Tip: Photograph the initial state and change only one thing at a time so that you know which check really affected the result.
5 Test the result and set the boundary
Let the glue, filler, or coating cure completely, then inspect the joint in daylight and side light. The finish should be reversible or at least must not unnecessarily remove the original material.