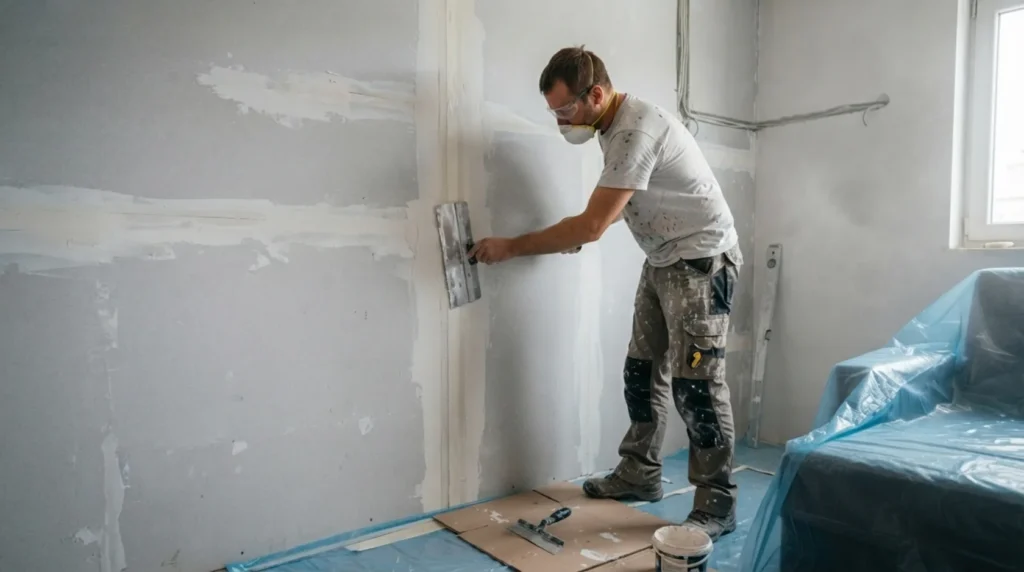
1 Prepare for safe work
Protect the floor and furniture, turn off hidden utilities in the drilling or cutting zone, and check the moisture and load-bearing capacity of the base. Wear dust protection and work on a stable surface.
⚠ Warning: Mesh self-adhesive tape requires a compound that is compatible with it; the wrong combination often cracks again.
2 Determine the pattern of the problem
Check that the boards are firmly attached, screws are slightly countersunk, and gaps are cleaned of dust.
3 Check the most common cause
Apply a layer of joint compound, press paper or system tape without bubbles, and remove excess with a trowel.
4 Apply the appropriate solution
After drying, apply a wider second and finishing coat, sand the edges lightly, and illuminate the joint from the side for inspection.
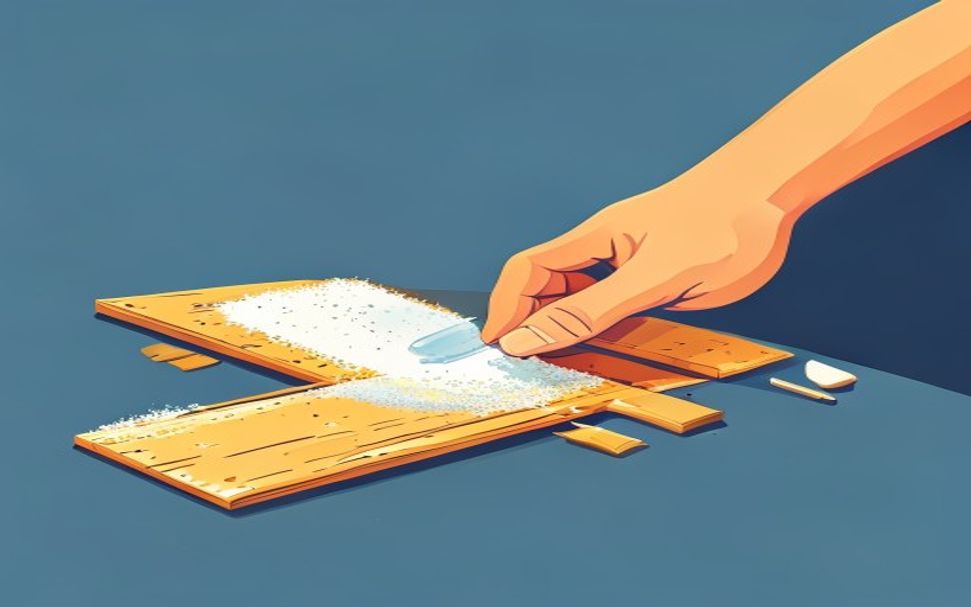
? Tip: Photograph the initial state and change only one thing at a time so that you know which check really affected the result.
5 Test the result and set the boundary
Let the material dry or cure for the full period from the label, then inspect the flatness, adhesion, and cracks in side light. Do not cover active moisture or a structural problem with a finishing coat.