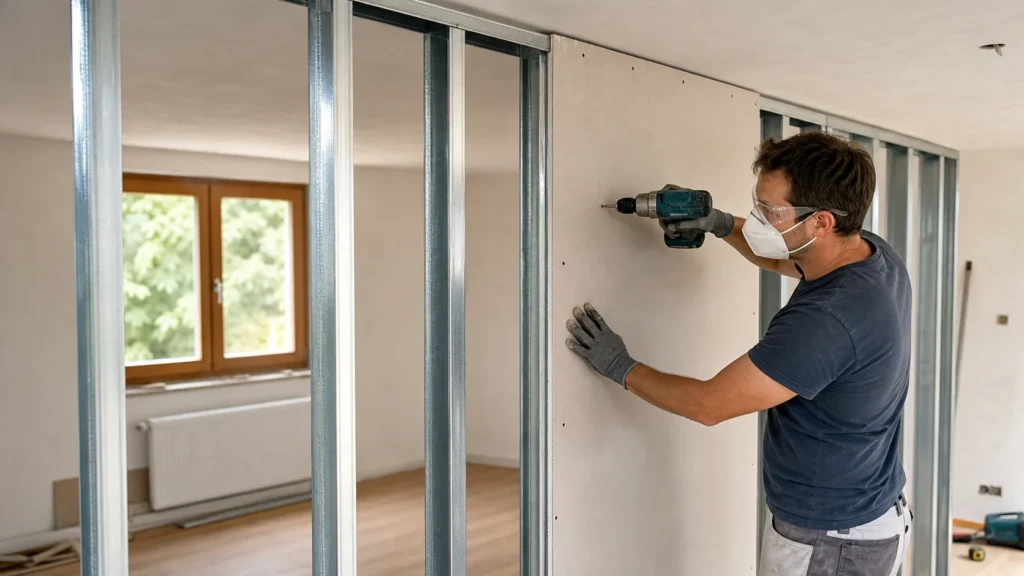
A drywall partition wall is the fastest way to turn one room into two, and dry construction does not make the kind of mess that masonry does. Still, this is a serious project: for an average-sized wall, count on two to three days of work, including taping and drying the compound over several rounds. If you are running power into the wall, leave that part to an electrician or work only with the breakers switched off.
You need solid experience with a drill, measuring and leveling — this is not your first go with tools, but it is doable for a capable DIYer.
⚠ Safety note: This guide involves working with electricity. If you're not completely sure about every step, stop and call a licensed professional. Before you start, always switch off the power at the breaker or close the main water/gas valve.
1 Plan and mark the wall position
Determine where the new wall will go and how thick it should be, draw the line on the floor with a tape measure and level, then transfer it to the ceiling and side walls with a plumb bob or laser.
⚠ Warning: This wall is a non-load-bearing (partition) element – do not use it to replace or remove a load-bearing (structural) wall. If you are thinking about removing an existing wall, consult a structural engineer before doing any work.
2 Install the UW tracks on the floor, ceiling and walls
Drill the holes and fasten the UW tracks with wall plugs all along the marked outline, and place sealing tape under the profiles if needed for sound insulation.
3 Install the vertical CW studs
Insert the CW studs into the UW tracks at a spacing of about 60 cm (or 40 cm for greater stiffness), level them, and fasten them to the UW tracks.
4 Cover one side with drywall
Fasten the boards vertically to the frame with self-tapping screws spaced about 25 cm apart, making sure the board joints land in the middle of a stud.
? Tip: If you plan to hang heavier items (shelves, cabinets) on this wall, add an extra wooden or metal backing between the studs at those spots before closing the boards – a regular drywall anchor will not carry heavy loads.
5 Run the services and install insulation
Run any electrical cables through the open side in protective conduit (after turning off the power at the breaker), then fit mineral wool tightly between the studs.
⚠ Warning: Before working on electrical installations inside the wall, switch off the appropriate breaker in the breaker box, and if you are not sure about the layout of existing installations in adjacent walls, hire an electrician.
6 Close the other side of the wall
Install drywall boards on the other side of the frame as well, making sure their joints do not land in the same place as on the first side.
7 Tape and fill the joints
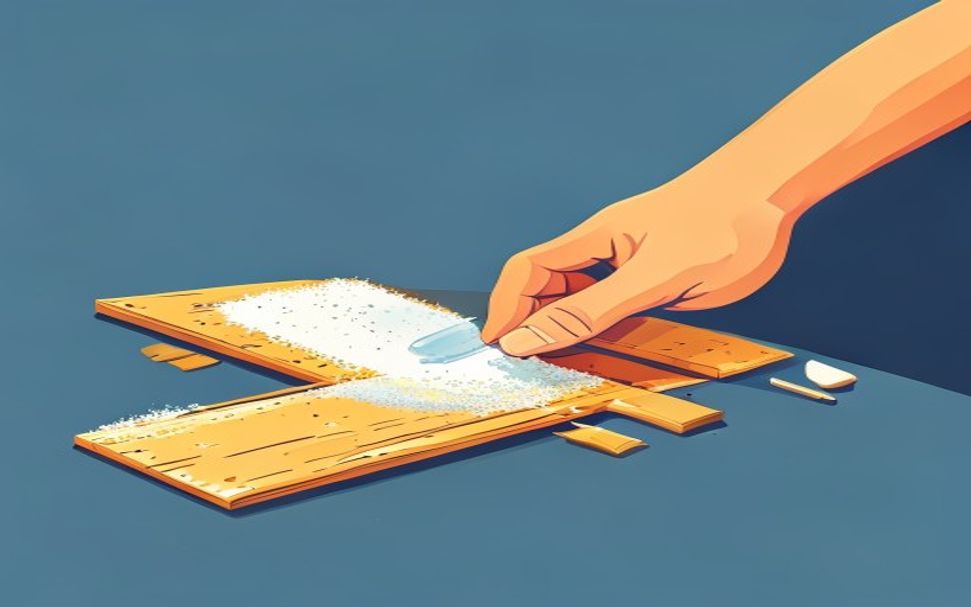
Apply joint compound over all joints and screw heads, embed the joint tape, then after drying apply two more thinner, wider coats of compound, sanding between coats.
8 Finish the surface
When everything is dry and sanded, apply a primer over the whole surface before painting, wallpapering or tiling.

When to call a professional: If the job involves changes to the electrical panel, the main gas line, or load-bearing walls/beams — or if you're not sure how it will turn out — this is not a DIY task. Hire a licensed professional.
Final check
- The wall is vertical and flat across its entire surface — check with a level and a long straightedge in several places
- The board joints are taped and filled with no visible tape, dents or visible screw heads after sanding
- The wall is solid and does not "drum" too much when tapped — the boards are screwed to every stud at a spacing of about 25 cm
Common problems
- Cracks appear at the board joints after some time.
- The joints were not taped or the boards were joined without support on a stud. Open the crack, tape it with mesh or paper tape and fill in two layers — every board joint must sit on a CW stud.
- The screws break through the cardboard or the board cracks while fastening.
- Use a driver with a magnetic bit and a depth stop — the screw head should sit slightly below the cardboard, not punch through it. Place the screw at least 10 mm from the board edge.