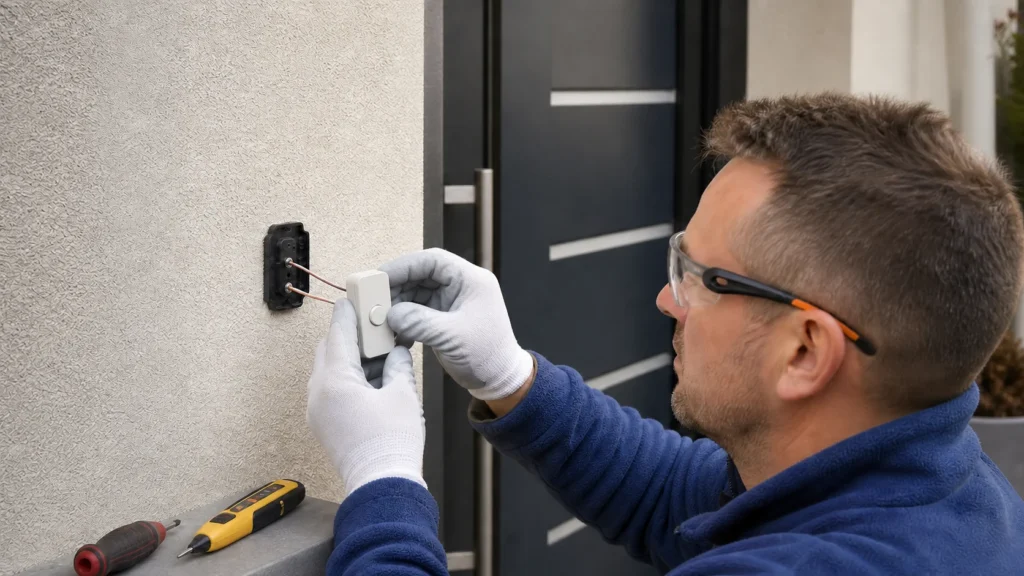
A crackling doorbell, one that works every other time, or one that has gone completely silent is easy to replace — classic doorbells work through a transformer at a safe low voltage (usually 8–12V), so the only really critical part is working with the transformer itself, which is connected to mains power at 230V. That's why you turn off the breaker and check with a tester before you start, and the rest of the job is just connecting a couple of wires without worry. Alternatively, you can go wireless, where there is practically no installation involved.
No special knowledge is needed — just basic screwdriver skills; only connecting to the transformer requires power off and a voltage check.
⚠ Safety note: This guide involves working with electricity. If you're not completely sure about every step, stop and call a licensed professional. Before you start, always switch off the power at the breaker or close the main water/gas valve.
1 Turn off power at the breaker
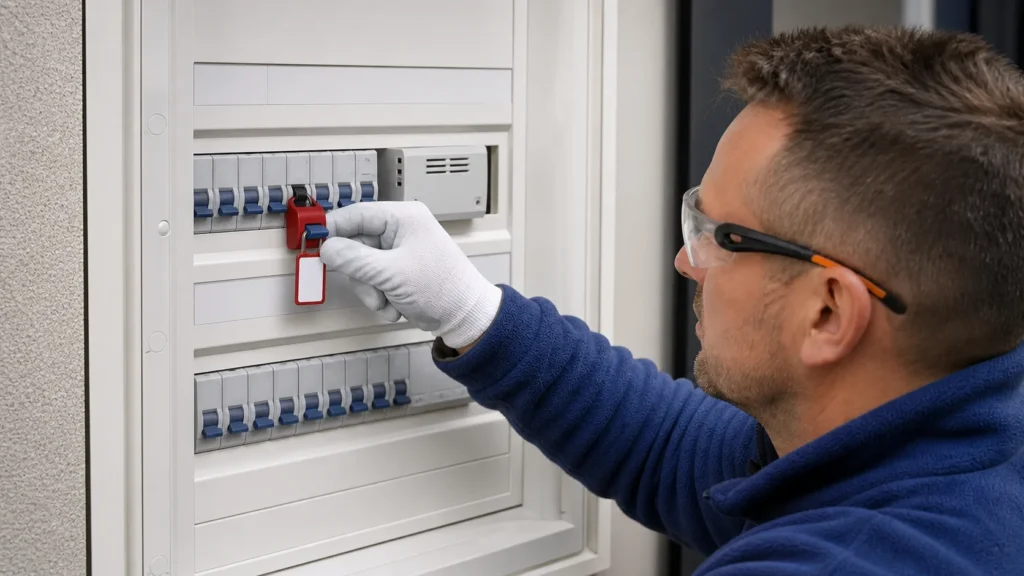
Find the breaker that powers the existing doorbell transformer (usually located in the breaker box, basement, or right next to the front door) and switch it off.
2 Check with a voltage tester
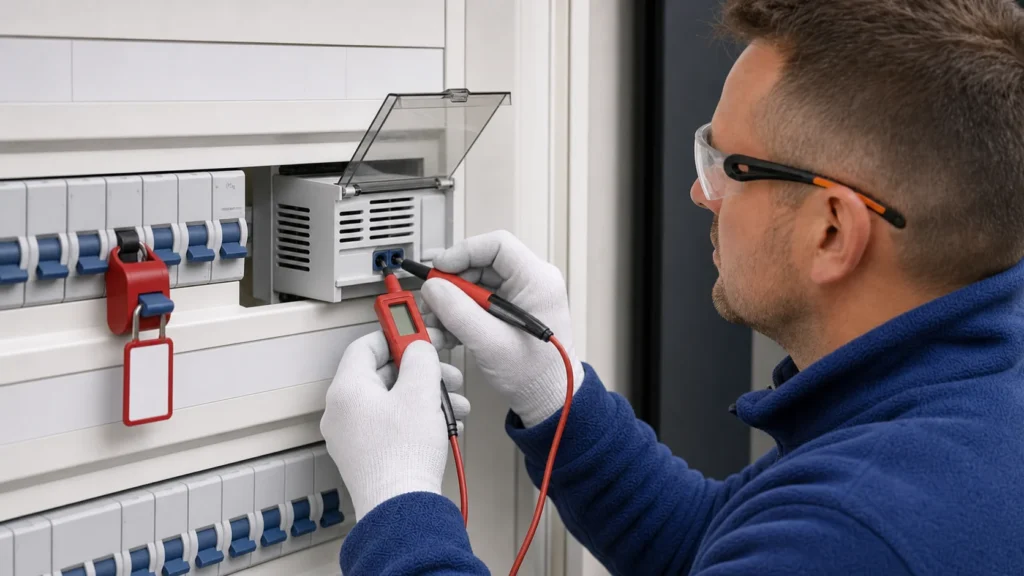
On the transformer terminals, on the mains side (230V), use a voltage tester to confirm there is no power before you touch any connections.
⚠ Warning: The secondary side of the transformer (8–12V going to the button and chime) is safe to touch, but the primary side connected to the mains (230V) remains dangerous until you switch off the breaker – do not assume the entire system is 'low voltage' before you have turned off power to the transformer.
3 Disconnect the old button and chime unit
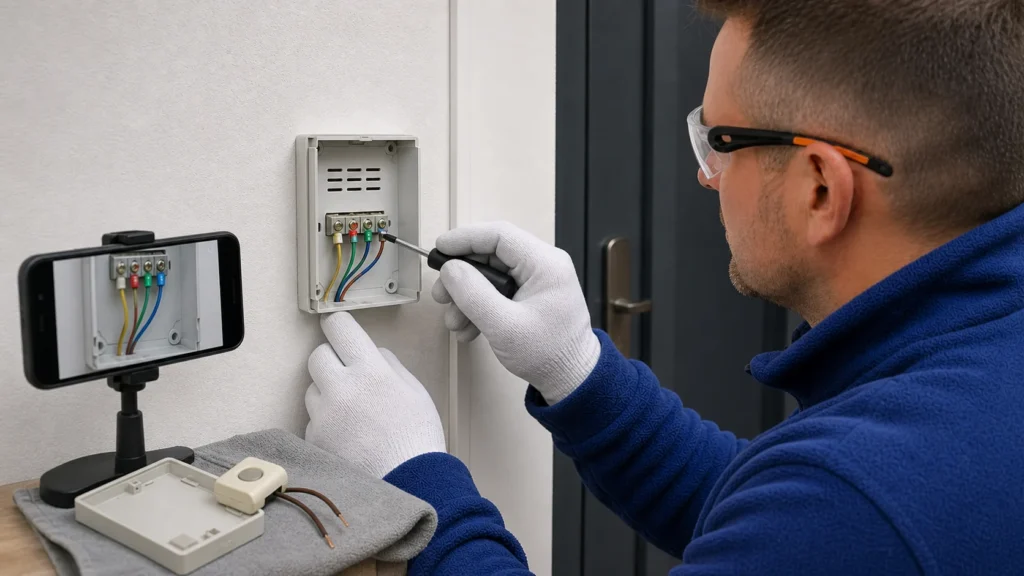
Remember or mark the arrangement of the low-voltage wires (usually 2 or 4 wires) that connect the button, chime unit, and transformer.
? Tip: The wires between the button and chime carry only low voltage so it is safe to work on them after you disconnect them from the transformer; the hazard exists only on the transformer side connected to the mains, which is why turning off power at the breaker and checking with a tester is still the mandatory first step.
4 Decide on the system
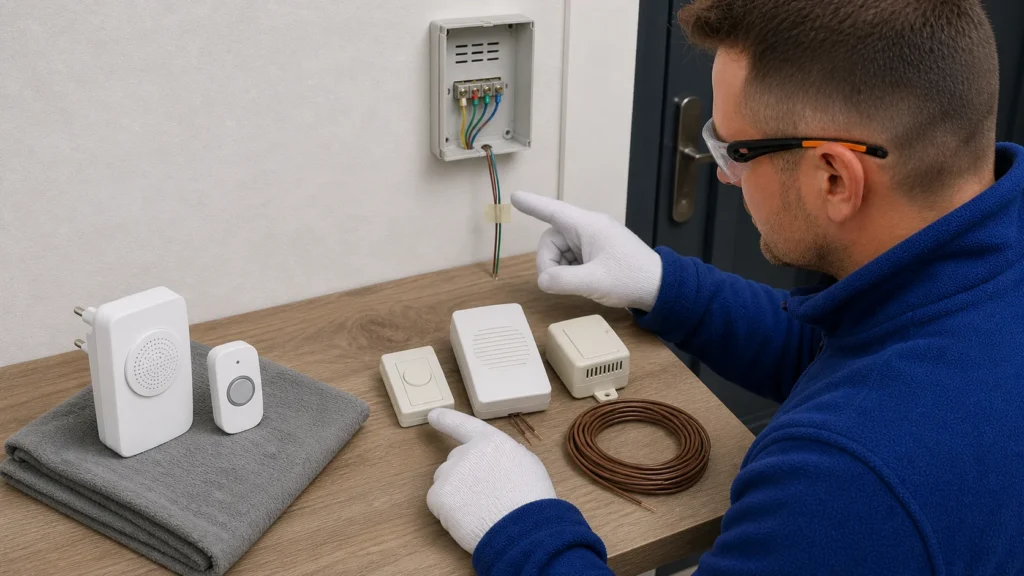
For a wireless solution, just put batteries in the button and place the receiver in an outlet or on the wall, without touching any existing wiring; for a wired system, use the existing low-voltage cable between the button and chime unit or run a new one.
5 Mount the new button
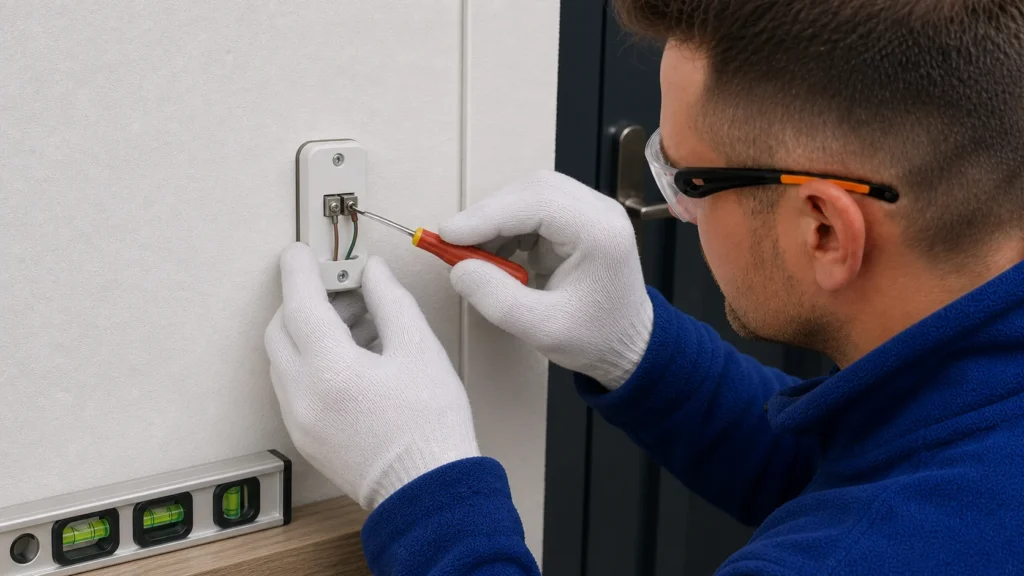
Secure the button next to the door and connect the low-voltage wires to its terminals.
6 Connect the chime unit and transformer
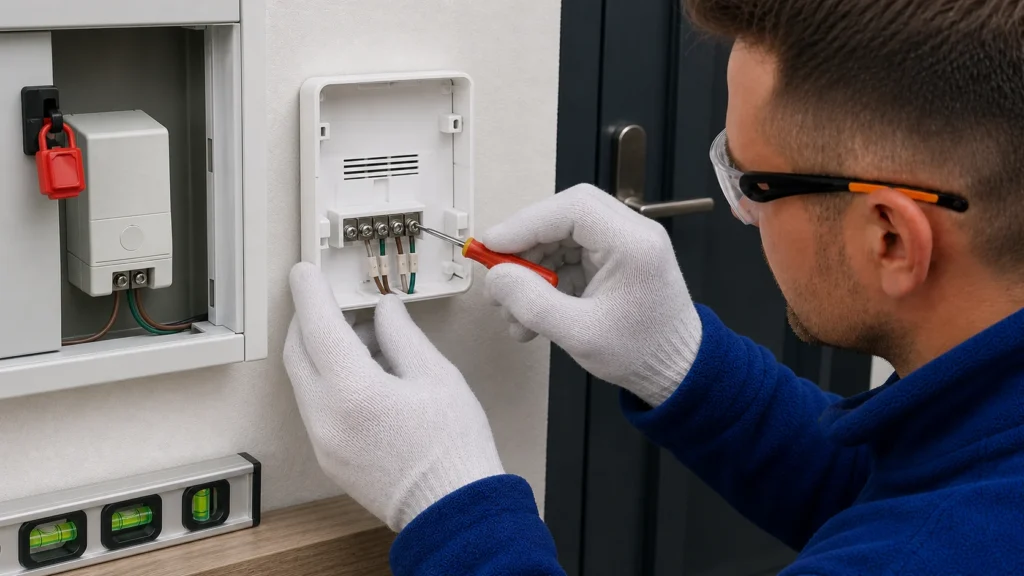
Connect the chime unit to the transformer and to the button according to the diagram included with your new device.
7 Turn on power and test
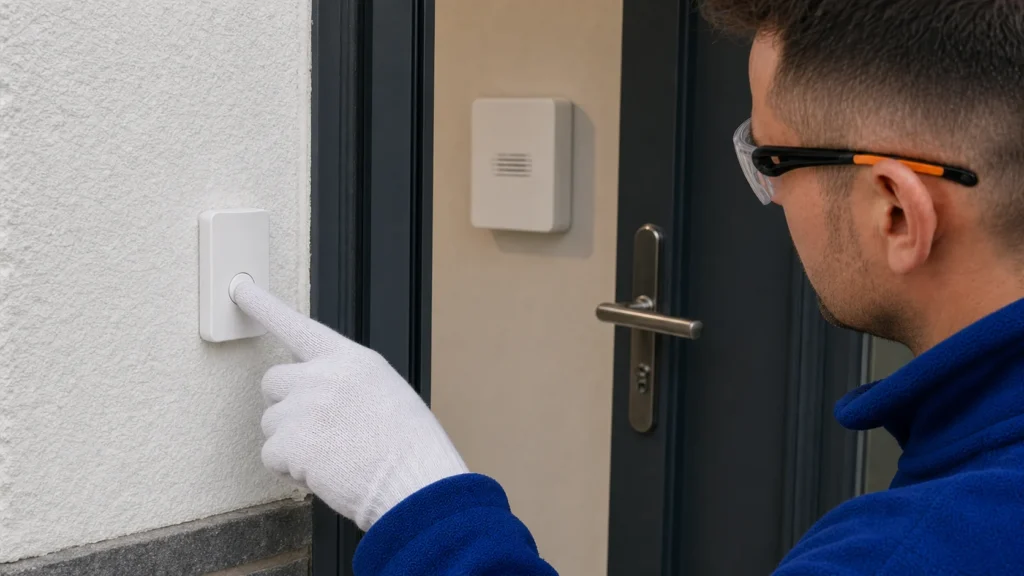
Switch on the breaker and press the button to verify that the doorbell sounds correctly.
When to call a professional: If the job involves changes to the electrical panel, the main gas line, or load-bearing walls/beams — or if you're not sure how it will turn out — this is not a DIY task. Hire a licensed professional.
Final check
- The doorbell sounds clear and reliably at each button press
- The button is firmly mounted and, if it is outside, protected from direct water exposure
- The connections on the transformer are tight and the cover of the breaker or doorbell box has been replaced
Common problems
- The new doorbell does not respond at all when you press the button.
- Use a multimeter or light probe to check if low voltage is reaching the transformer — if it is not, the transformer has burned out and needs to be replaced. If voltage is present, short-circuit the button terminals with a jumper to see if the button itself is the problem.
- The doorbell randomly rings on its own.
- Most often, moisture in the outdoor button is bridging the contacts. Take apart the button, dry it out, and protect it from rain, or replace it with a model that has better protection (IP44 or higher).