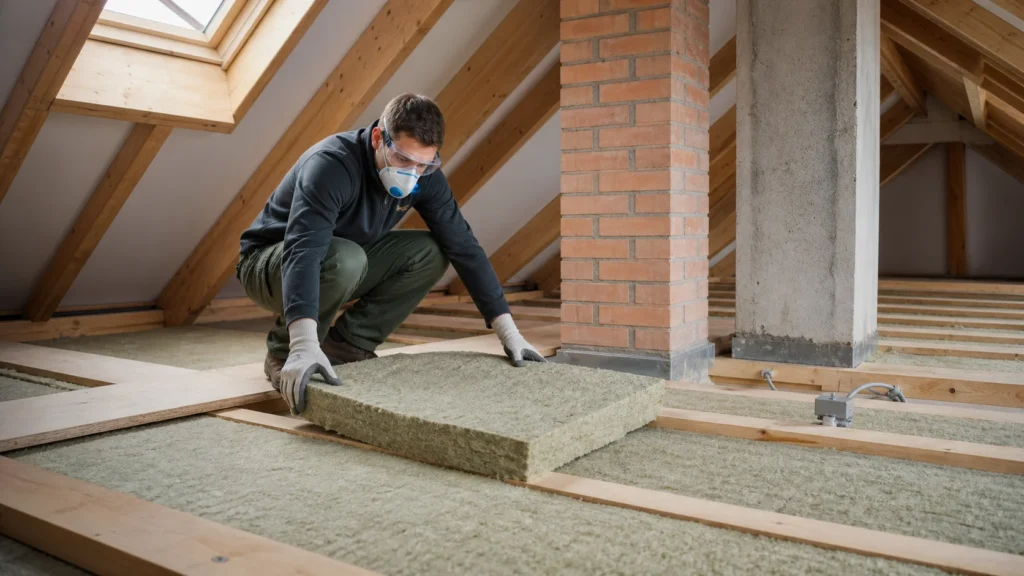
Insulating an attic with mineral wool is one of the most cost-effective projects you can do on a house — the investment pays itself back through lower heating bills within a few seasons. The job itself is not complicated (measuring, cutting and laying the wool), but it is physically awkward because of the cramped space, dust and itchy wool. For an average attic, count on one to two days of work, preferably in cooler weather.
No special knowledge is needed, but you do need to be careful moving around the attic — step only on the joists or on laid boards.
1 Get ready and gear up
Put on a long-sleeved coverall, gloves, a mask and safety glasses because mineral wool fibers irritate the skin, eyes and airways.
? Tip: After you’re done, air out the space well and wash your work clothes separately right away – the tiny wool fibers stay on the fabric for a long time and can irritate the skin.
2 Inspect and clean the attic space
Remove the old damaged insulation material and debris, and check for signs of moisture, roof leaks or rodents before you cover the surface.

3 Install the vapor barrier
Lay the PE foil across the entire ceiling surface with the printed side facing you, overlap the strips by 10–15 cm and tape them together so moisture from the home does not penetrate the insulation.
4 Lay the first layer of mineral wool
Place the wool boards or rolls tightly together, with no gaps or spaces, filling the space between the joists or directly on the ceiling slab.
5 Lay the second layer crosswise
If you use two layers (recommended for better insulation), lay the second layer perpendicular to the first to cover all joints and eliminate thermal bridges.
6 Insulate around openings and installations
Carefully work the insulation around the chimney and other hot elements, leaving the safety gap specified by the manufacturer’s instructions, and carefully route the insulation around any cables.
⚠ Warning: Never place mineral wool directly over or in contact with the chimney, old electrical installations without protective conduit, or heat-producing light fixtures – leave the required clearance to prevent fire, and if there are visible old or damaged electrical installations in the attic, hire an electrician to inspect them before you start.
7 Secure walkways and ventilation
Leave access walkways (boards) for future maintenance and do not cover the attic ventilation openings, because the space must 'breathe' so moisture does not build up and the roof’s wooden structure does not rot.
8 Final check
Inspect the entire surface to make sure there are no gaps, especially along edges and walls, and check that the wool is spread evenly everywhere without being compressed.
Final check
- The wool covers the entire surface without gaps or holes, and the second layer covers the joints of the first one crosswise
- The vapor barrier is on the warm (lower) side, intact and overlapped at the seams, with no tears
- The attic ventilation openings are free, and the clearance around the chimney and recessed lights is respected
Common problems
- After some time, the wool is damp or sagging in certain places.
- Moisture from the home is passing through a damaged or skipped vapor barrier, or the roof is leaking. Find the source — tape torn areas of the vapor barrier with special tape, and replace wet wool because it loses its insulating properties.
- The wool is packed and compressed to fit between the joists.
- Compressed wool insulates much worse — its strength lies in the air between the fibers. Cut strips 1–2 cm wider than the spacing so they sit in gently, and never force them in or walk on them.