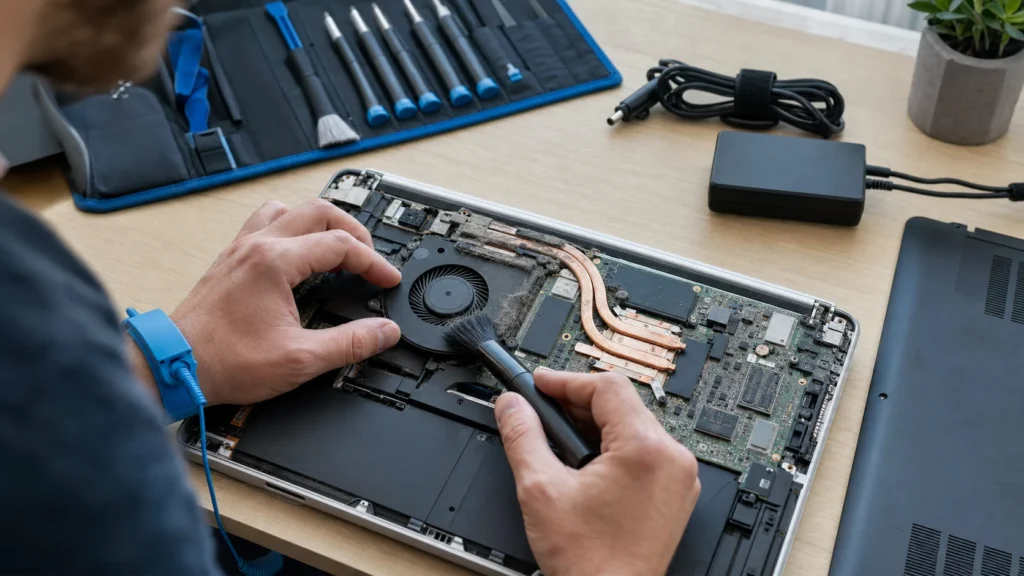
If your laptop buzzes like a small vacuum cleaner, slows down under load, or shuts down on its own, it's almost certainly choking on dust. Dust buildup in the fan and cooler plus dried thermal paste raise CPU temperature by 20 degrees or more, and that shortens the life of the entire device. Thorough cleaning and fresh paste cost next to nothing compared to a new laptop, but be sure to shut down your laptop completely and disconnect it from the charger first.
You need experience taking apart small electronics and patience for working with tiny screws and sensitive connectors; if you've never opened a laptop before, watch a disassembly video for your specific model first.
⚠ Safety note: This guide involves working with electricity. If you're not completely sure about every step, stop and call a licensed professional. Before you start, always switch off the power at the breaker or close the main water/gas valve.
1 Turn off and fully disconnect your laptop
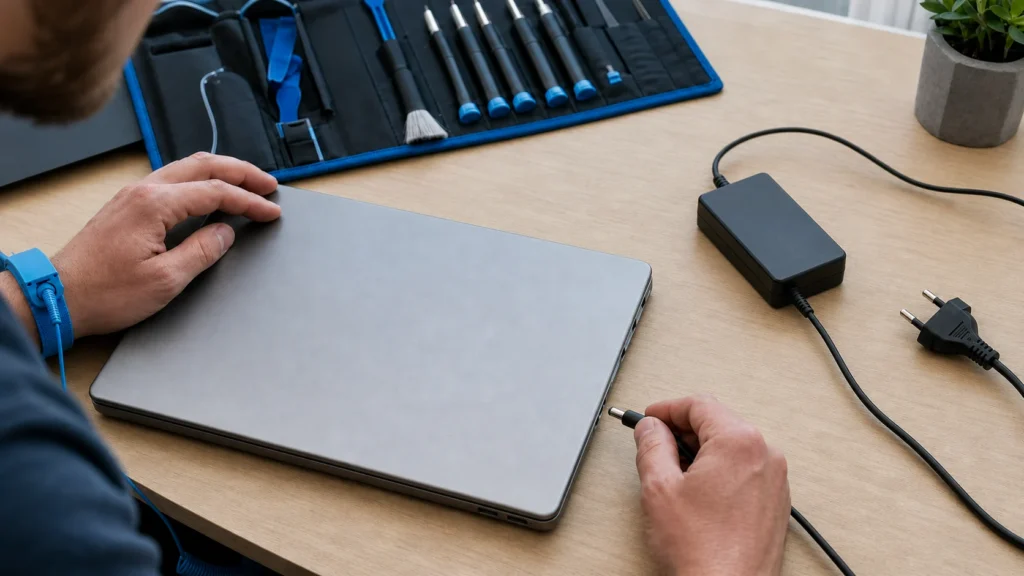
Shut down your laptop completely (not just standby), unplug the charger from the outlet, and if possible on your model, remove the battery before opening the case.
2 Prepare your workspace
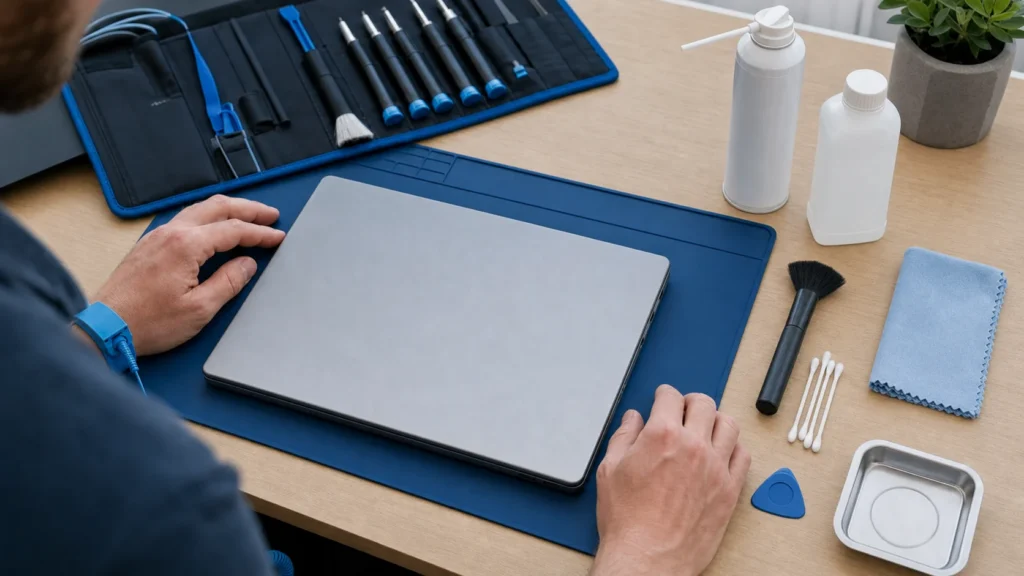
Place your laptop on a flat, hard, and well-lit surface, preferably on an anti-static mat, and have all your tools ready at hand.
3 Remove the bottom panel
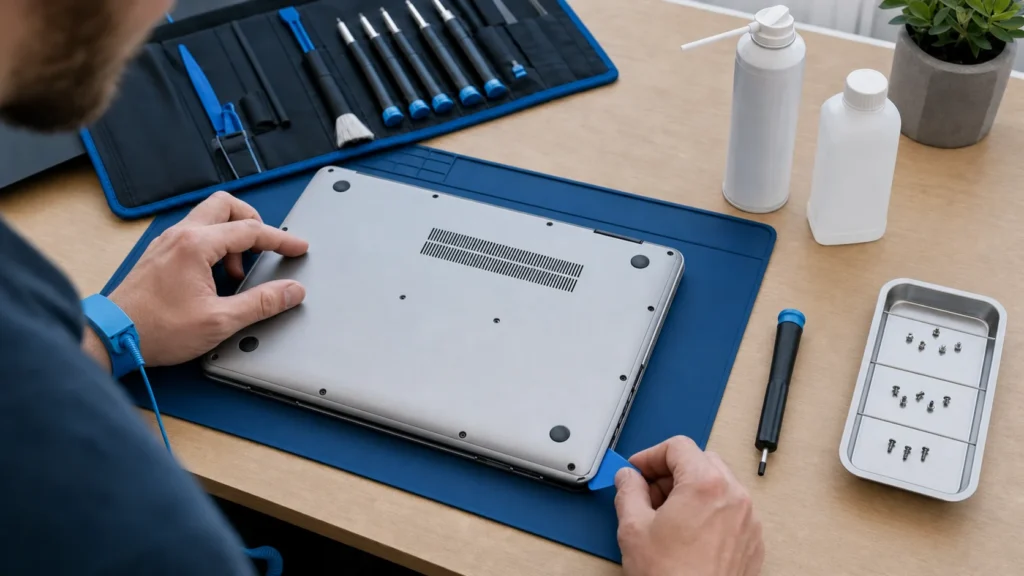
Unscrew all screws according to the manufacturer’s diagram and keep them sorted into groups because they’re often different lengths – carefully lift the panel with a plastic opener.
⚠ Warning: Electronic components are sensitive to static electricity – before touching the inside, touch a metal radiator or some grounded metal object to discharge any static charge.
4 Blow off the surface dust
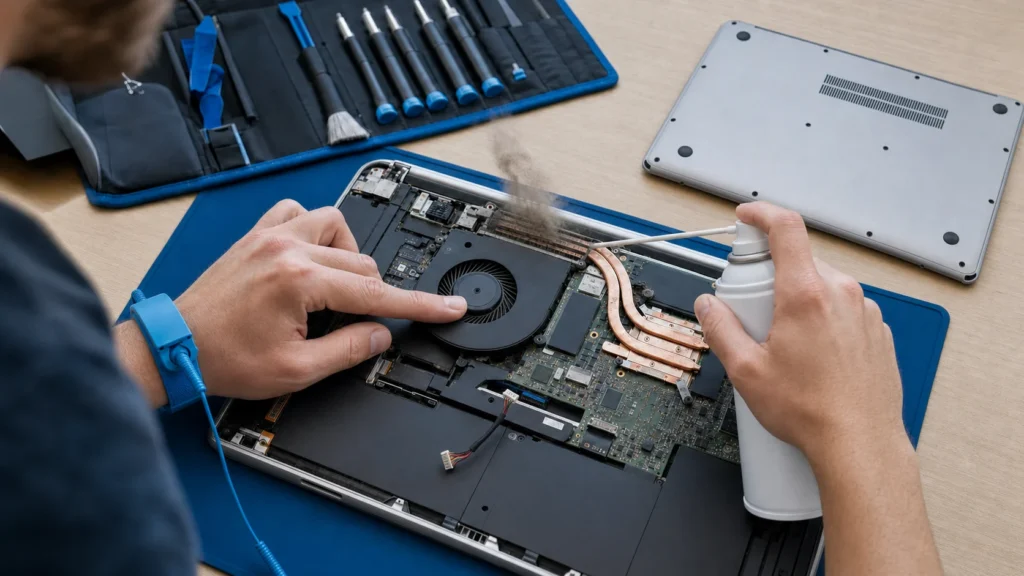
Use compressed air in short bursts to blow dust out of the cooler and surrounding vents, holding the fan blades with your finger so they don’t spin uncontrollably.
? Tip: Always hold the fan with your finger or a pick while blowing it out – free-spinning under a strong jet can generate current that damages the motherboard.
5 Remove the fan and clean it thoroughly
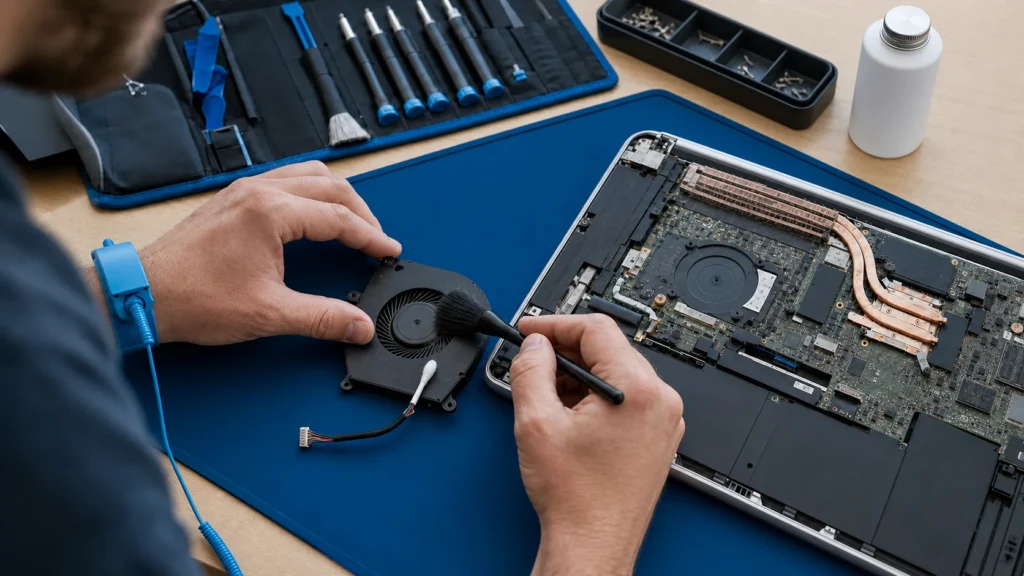
If needed, disconnect the fan connector from the motherboard (take a photo of the position before removing it), then use a soft brush and cotton swabs soaked in isopropyl alcohol to clean the fan blades and cooler fins.
6 Replace the thermal paste on the CPU
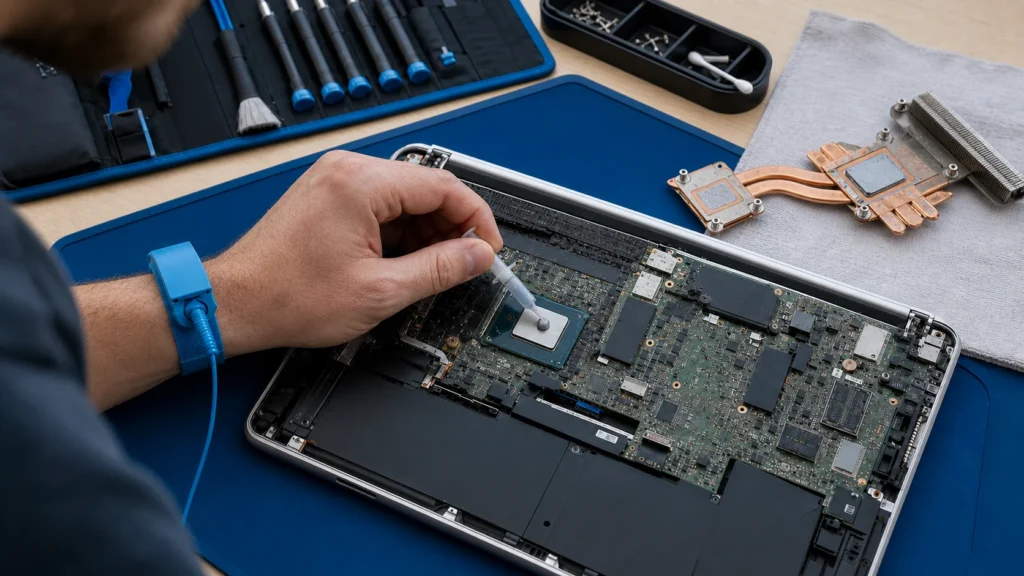
Wipe off the old, dried paste from the CPU and cooler with an alcohol swab, then apply a thin and even layer of fresh paste the size of a pea grain.
? Tip: For home use, a quality mid-priced thermal paste is fine – you don’t need to buy the most expensive option on the market.
7 Reassemble your laptop
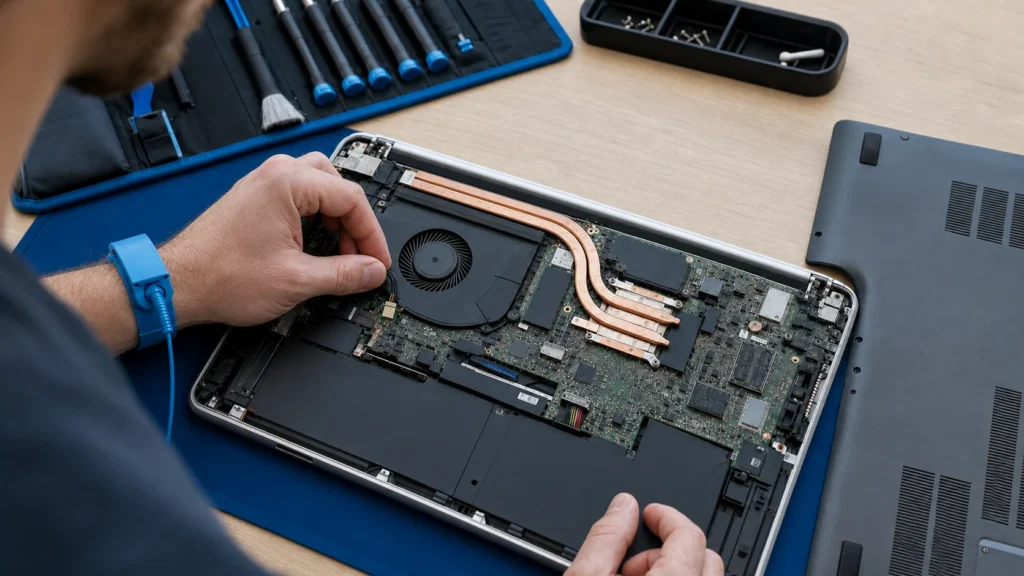
Return the fan and reconnect the connector, place the cooler back in place, then screw the bottom panel back on in the same order you removed it.
? Tip: Take a photo of each disassembly step before moving forward – you’ll save a lot of time and stress when reassembling.
8 Test performance and temperature
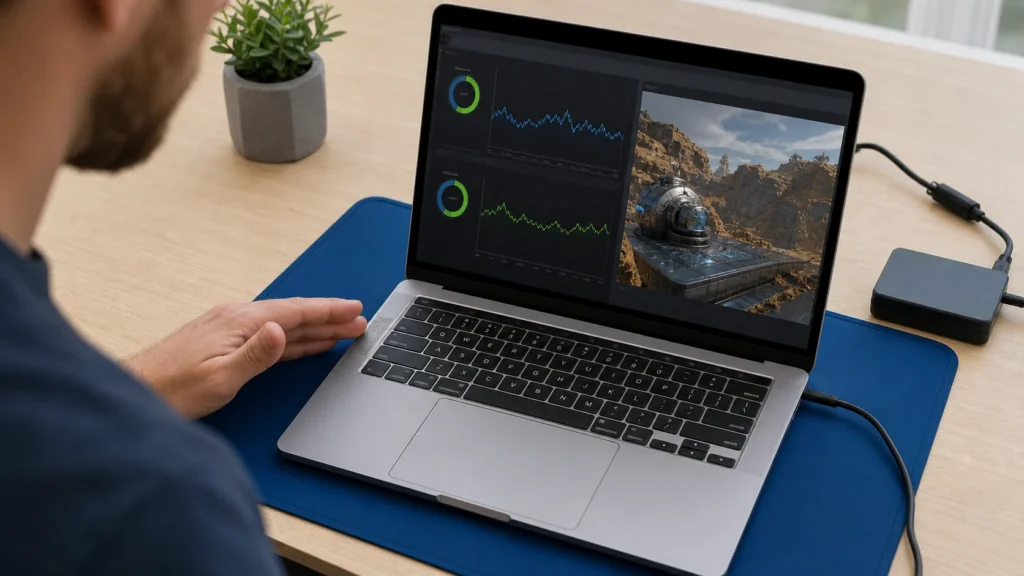
Turn on your laptop and monitor the fan noise and CPU temperature for a few minutes under load, for example while running a demanding program.
When to call a professional: If the job involves changes to the electrical panel, the main gas line, or load-bearing walls/beams — or if you're not sure how it will turn out — this is not a DIY task. Hire a licensed professional.
Final check
- The laptop starts normally and the fan runs quietly without grinding
- CPU temperature under load is noticeably lower than before cleaning
- All screws are back in place and the bottom panel doesn't creak or lift
Common problems
- After reassembly the laptop starts but the fan doesn't run at all.
- Usually the fan connector didn't get plugged in or seated wrong. Open the bottom panel and carefully plug it back in until it clicks, then check that the cable isn't pinched.
- Temperatures are still high even though the dust is cleaned.
- Probably the thermal paste was applied too thick or the cooler isn't clamped evenly. Remove the cooler, wipe everything clean, apply a thin layer of paste the size of a pea grain, and tighten the screws in an X pattern, a little at a time.