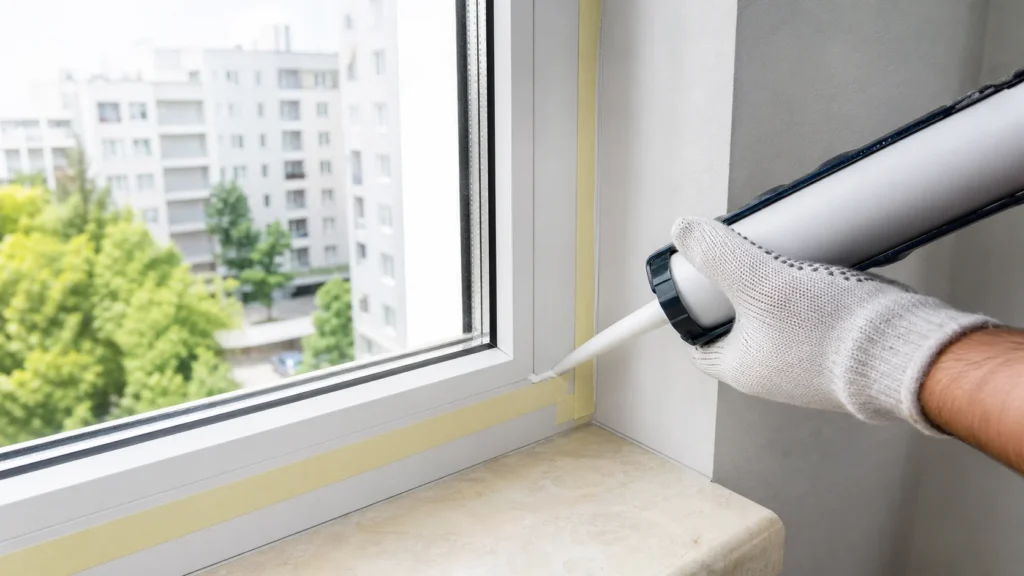
Old, cracked, or moldy silicone seals around windows let in air and moisture, and replacing them takes about an hour or two per window. It all comes down to thoroughly removing the old seal and one smooth, even stroke with the gun. The trick with masking tape on both sides of the joint gives you a professional-looking straight line and is worth those five extra minutes of prep.
No prior knowledge needed — if you've never used a silicone gun before, practice the stroke on a piece of cardboard before sealing the real joint.
1 Remove the old seal
Using a scraper or knife, carefully cut and pull out the old, cracked, or moldy silicone from the joint, taking care not to scratch the frame or glass.
? Tip: If the old joint had mold, treat the surface with a mold-killer before applying new silicone and let it dry completely — otherwise the mold will come through the new seal too.
2 Clean and degrease the joint
Remove any remaining old silicone and dust, then wipe the joint with a cloth soaked in alcohol or degreaser and let it dry completely.

? Tip: For bathrooms and kitchens, choose sanitary silicone with mold-resistant additive; for exterior window sealing, use silicone resistant to UV rays and weather conditions.
3 Protect edges with tape
Apply masking tape on both sides of the joint to create a straight line and protect the frame and wall from silicone stains.
4 Prepare the cartridge and gun
Cut the cartridge tip at a 45° angle, pierce the inner membrane, and insert the cartridge into the silicone gun.
5 Apply silicone in one smooth stroke
Holding the gun at a consistent angle and pressure, pull one continuous stroke along the entire joint without stopping whenever possible.
6 Smooth the joint
With a wet finger wearing a glove or a plastic tool, draw over the joint in one stroke to get a smooth, slightly recessed surface.
7 Remove the tape
While the silicone is still fresh (within a couple of minutes), carefully peel off the masking tape at an angle to avoid pulling the edge of the joint.
8 Let it dry
Do not touch the silicone and do not expose it to water or cleaning for at least 24 hours, or according to the drying time stated on the manufacturer’s label.
Final check
- The joint is even, smooth, and without breaks, bubbles, or holes along the entire length of the seam
- The tape was removed while the silicone was fresh, so the edges of the joint are straight and sharp
- The silicone has fully hardened (usually 24 hours) before washing the window or exposing it to rain and shower spray
Common problems
- The new silicone comes off the base after a short time.
- The joint wasn't clean and dry — silicone doesn't adhere to grease, dust, and old seal remnants. Strip everything down to a clean surface, degrease with alcohol, wait for it to dry, then apply the new seal.
- The joint is uneven, with lumps and smudged edges.
- Cut the cartridge tip at the joint width, pull the gun in one continuous stroke, and smooth the joint immediately with a soapy finger or tool. Don't go over the same spot multiple times.