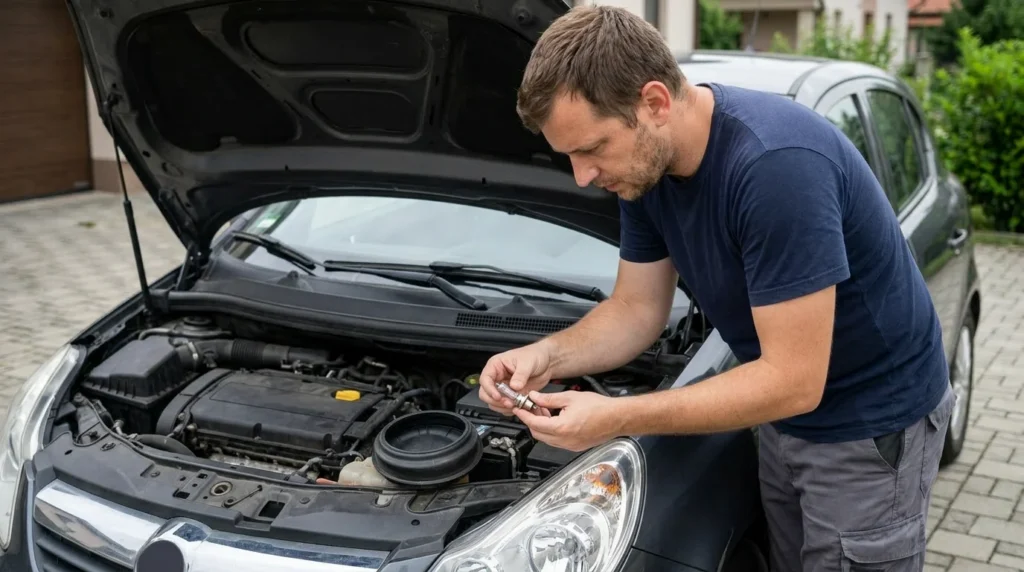
1 Determine which bulb is not working
Park the car on a flat surface, turn off the engine and lights, remove the key, and wait for the headlight to cool down. Turn on the lights briefly only to confirm that the low beam, and not the high beam, is blown.
2 Check the bulb type
Verify in the vehicle manual or the markings on the old bulb that you need a H7 12V 55W bulb. Do not install a bulb of higher power as it can overheat the housing and the headlight wiring.
? Tip: If both bulbs are the same age, it is useful to replace them in pairs to keep the light intensity and color uniform.
3 Remove the headlight rear cover
Open the hood and find the round protective cover behind the corresponding headlight. Grip it firmly, twist or unclip it depending on the version, and set it aside so that dust and moisture do not enter the headlight.
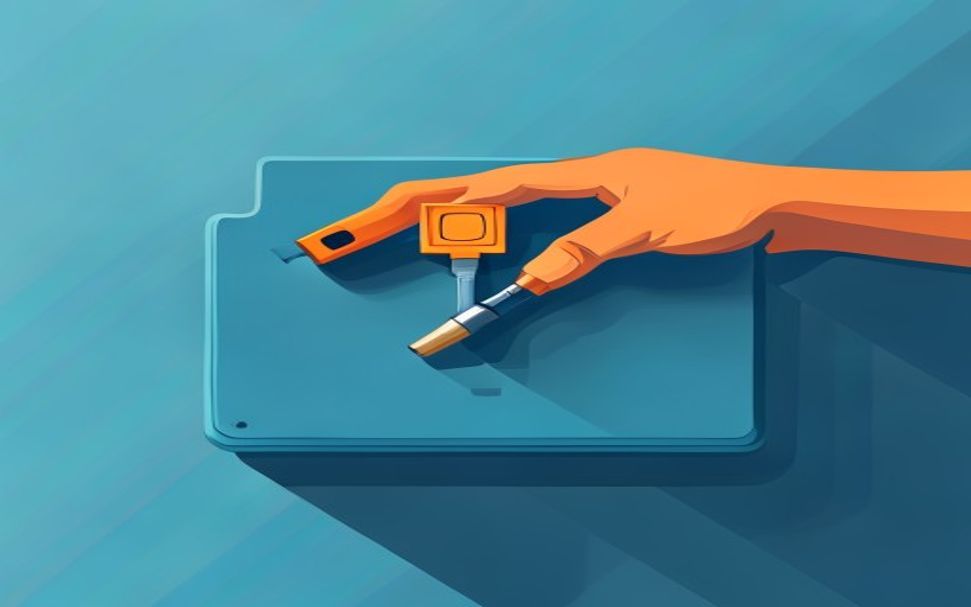
4 Remove the old bulb
Remove the electrical connector by pulling it straight, release the wire clip, and remember the bulb position. Pull it out without twisting and compare the tab position with the new bulb.
5 Install the new bulb
Hold the new bulb only by the metal or plastic base. Align the tab with the slot, close the clip, reconnect the connector and protective cover, then turn on the lights and verify operation.
⚠ Warning: Do not touch the glass of a halogen bulb with your fingers. Grease from skin creates a hot spot and significantly shortens its lifespan; clean any contaminated glass with isopropyl alcohol.