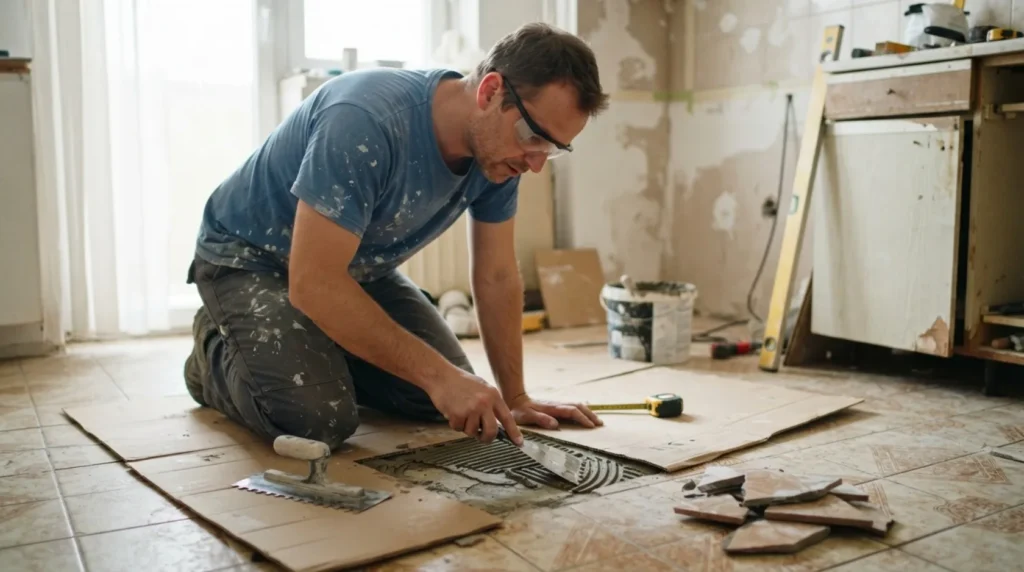
1 Prepare for safe work
Protect the floor and furniture, turn off hidden wiring in the drilling or cutting zone, and check the moisture and load capacity of the surface. Wear dust protection and work on a stable platform.
⚠ Warning: On a floor or wall with waterproofing, do not drive tools deep. A damaged membrane can cause hidden leaks.
2 Determine the pattern of the problem
Protect the surrounding tiles, remove the grout around the damaged tile, and verify that there are no pipes or cables behind it.
3 Check the most common cause
Break from the center toward the edges with small controlled taps, then remove the old adhesive without damaging the base.
4 Apply the appropriate solution
Test fit the new tile, apply the appropriate adhesive, align it with the adjacent ones, and grout only after full curing.
? Tip: Photograph the initial state and change only one thing at a time so that you know which check really affected the result.
5 Test the result and set limits
Allow the material to dry or cure for the full period from the product specifications, then inspect the alignment, adhesion, and cracks under side light. Do not cover active moisture or structural problems with a finish coat.