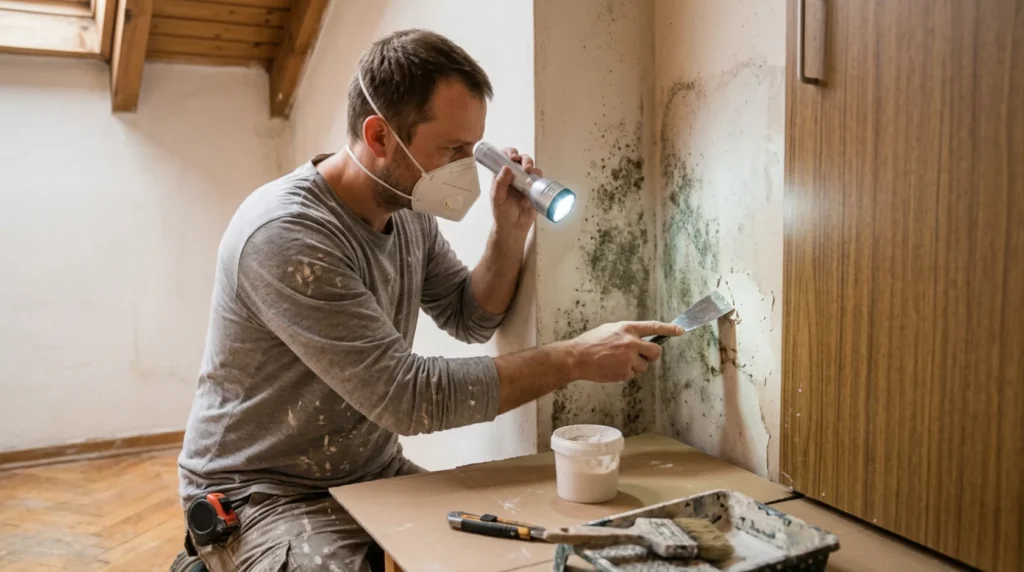
1 Prepare for safe work
Protect the floor and furniture, turn off hidden utility lines in the drilling or cutting zone, and verify the moisture level and load capacity of the surface. Wear dust protection and work on a stable platform.
⚠ Warning: Large areas, hidden mold after flooding, or health symptoms require professional remediation.
2 Determine the pattern of the problem
Measure the moisture and observe the pattern: cold corners suggest condensation, local wet patches indicate a leak, and rising damp rises from the floor.
3 Check the most common cause
Clean small surface mold with ventilation using an approved cleaning agent, without dry scraping or dispersing spores.
4 Apply the appropriate solution
Eliminate the cause by improving ventilation, insulation, heating, or repairing leaks; repaint only when the wall is dry and stable.
? Tip: Photograph the initial state and change only one thing at a time to know which test really affected the result.
5 Test the result and set limits
Allow the material to dry or cure for the full period stated on the label, then inspect the flatness, adhesion, and cracks under side lighting. Do not cover active moisture or structural problems with a finish coat.