1 Prepare for safe work
Protect the floor and furniture, turn off hidden utilities in the drilling or cutting zone, and check the moisture and load-bearing capacity of the base. Wear dust protection and work on a stable surface.
⚠ Warning: Do not glue over an active crack, moisture, poor waterproofing, or a floor whose additional height blocks the drain and doors.
2 Determine the pattern of the problem
Check each old tile by tapping; hollow, loose, and cracked zones must be removed and repaired.
3 Check the most common cause
Thoroughly degrease, matte only if the system requires, and apply a contact primer compatible with a non-absorbent base.
4 Apply the appropriate solution
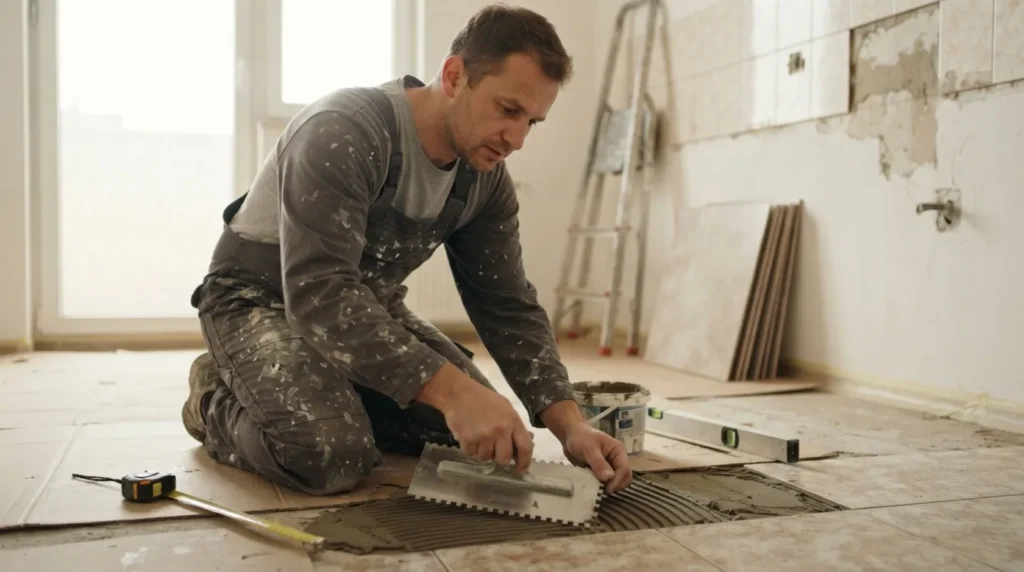
Plan additional thickness at doors, drains, and outlets, use flexible adhesive, and achieve full coverage without voids.
? Tip: Photograph the initial state and change only one thing at a time so that you know which check really affected the result.
5 Test the result and set the boundary
Let the material dry or cure for the full period from the label, then inspect the flatness, adhesion, and cracks in side light. Do not cover active moisture or a structural problem with a finishing coat.