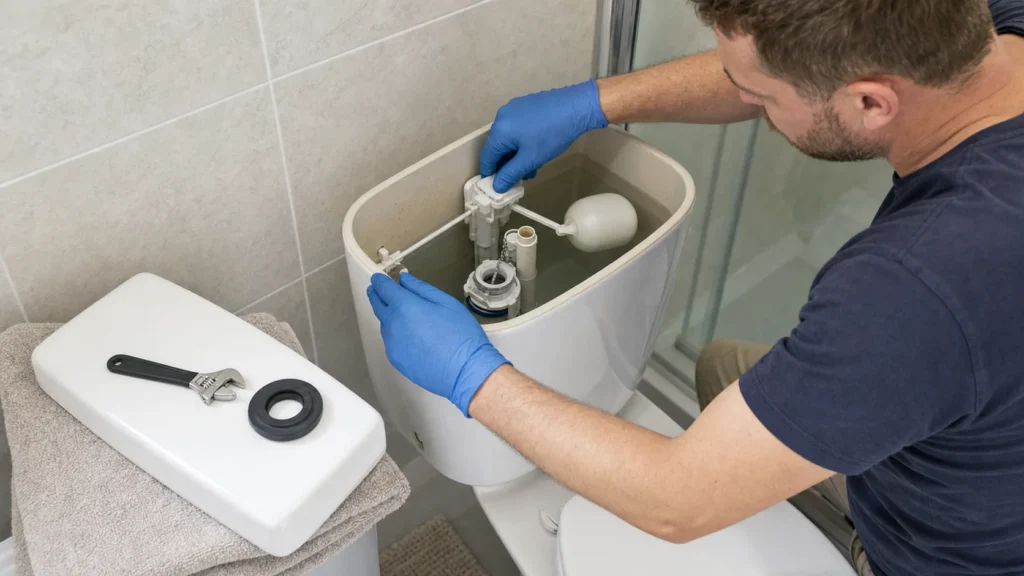
A toilet tank that constantly leaks water into the bowl silently wastes up to several hundred liters a day, and the cause is almost always a worn rubber plug, a diaphragm, or an incorrectly adjusted float. This is one of the most rewarding DIY repairs — parts are cheap and tools are minimal. Before you touch anything, close the angle valve on the water supply to the toilet tank.
Basic familiarity with a screwdriver and a wrench is sufficient; it is only important to close the water supply and empty the tank before starting work.
⚠ Safety note: This guide involves working with plumbing. If you're not completely sure about every step, stop and call a licensed professional. Before you start, always switch off the power at the breaker or close the main water/gas valve.
1 Shut off the water supply to the toilet tank
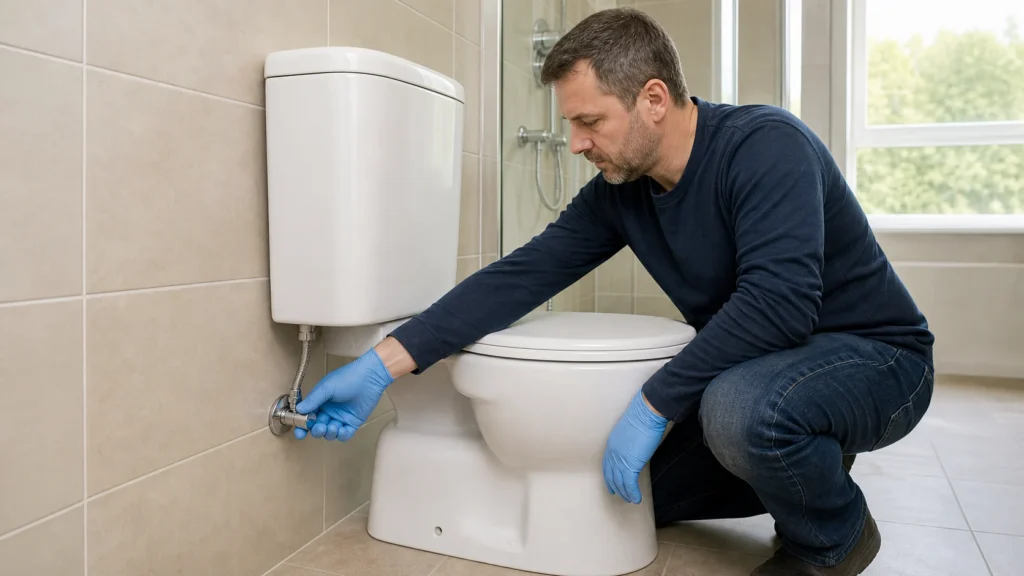
The shut-off valve is usually located on the pipe or hose below or behind the toilet bowl – turn it clockwise all the way.
2 Empty the tank
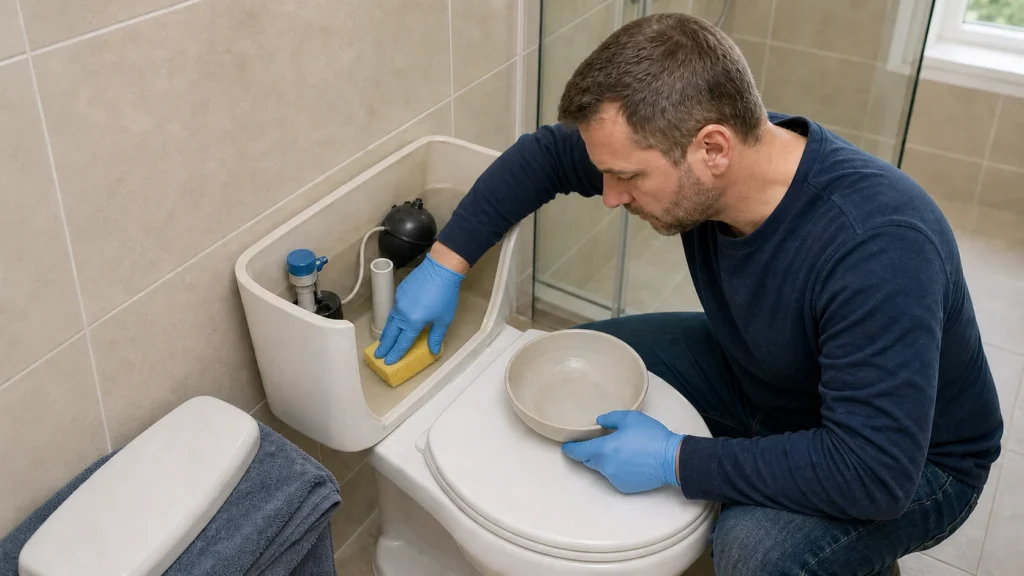
Pull the flush lever to empty the water, then use a sponge and cloth to collect the rest at the bottom since you will be working inside the tank.
3 Inspect the float and lever
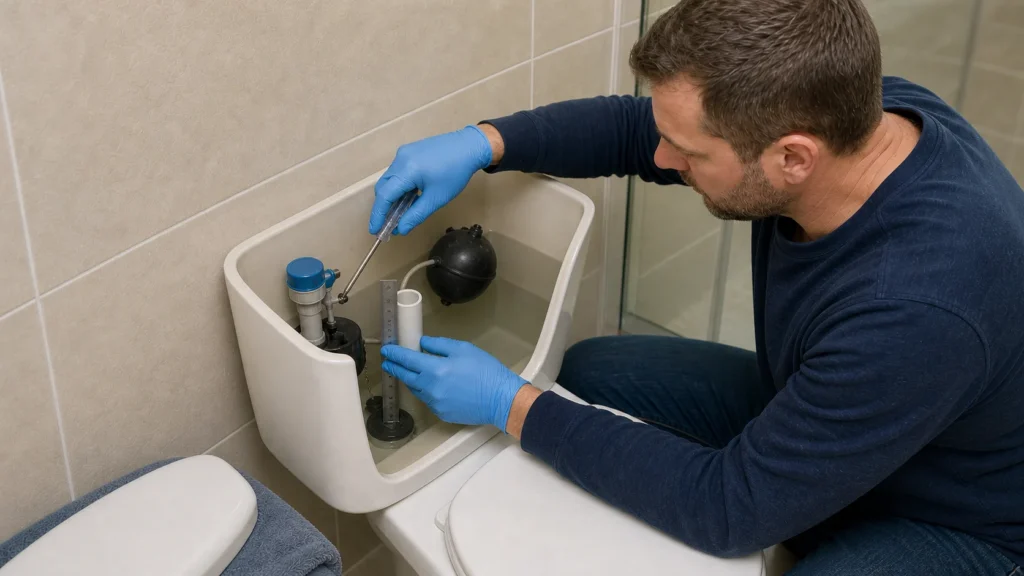
Remove the tank lid – if the float is set too high, water constantly overflows into the overflow tube; gently bend the lever down or adjust the screw on the fill valve so that the water level is about 2 cm below the top of the overflow tube.
⚠️ Warning: Do not tighten plastic levers and screws too hard – the plastic on the toilet tank mechanism cracks easily, and replacing the entire tank is much more expensive than working carefully.
4 Check the flush valve (rubber plug/diaphragm)
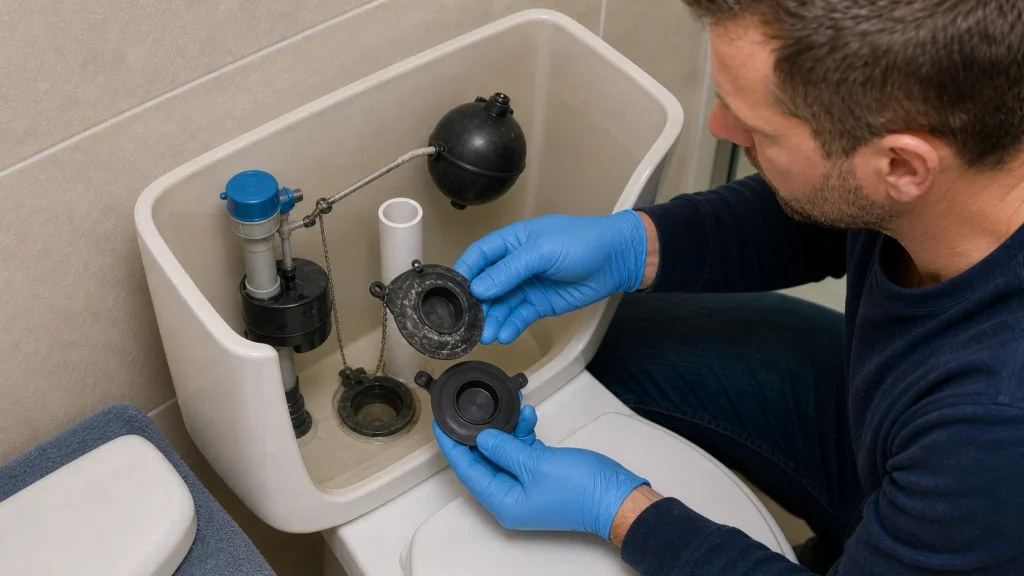
If the plug at the bottom of the tank is scratched, deformed, or covered with limescale, this is the most common cause of silent leakage; detach it from the chain, remove and clean it, or replace it with a new one of the same type and size.
? Tip: A dye test reveals silent leaks: drop a few drops of food coloring into the tank and wait about 15 minutes without flushing – if the color appears in the toilet bowl, the flush valve is leaking.
5 Inspect the fill valve
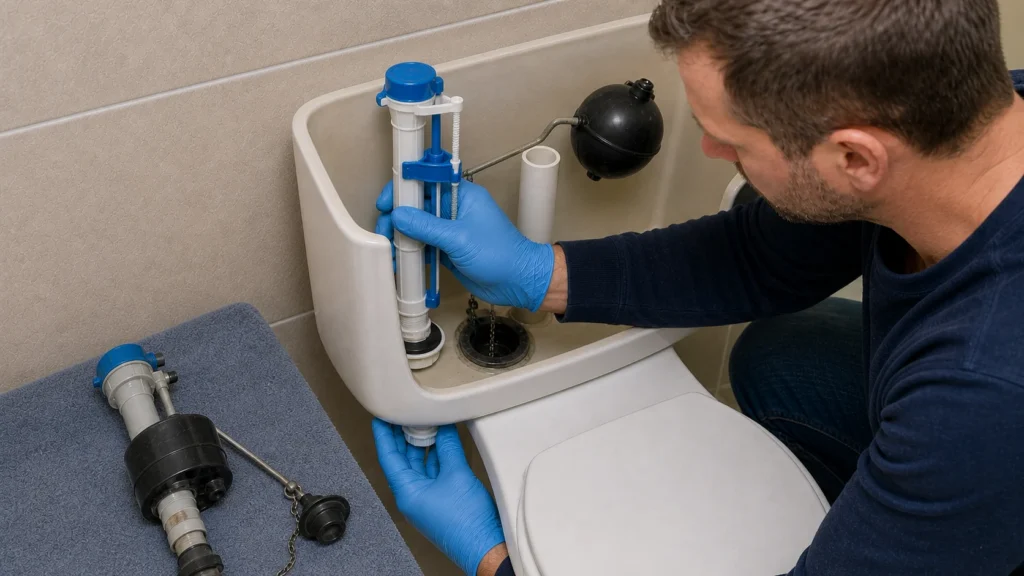
If water still leaks into the overflow after adjusting the float, the internal rubber gasket of the fill valve is probably worn, so the entire mechanism should be replaced with a universal set from a sanitary equipment store.
6 Assemble everything and slowly open the water supply
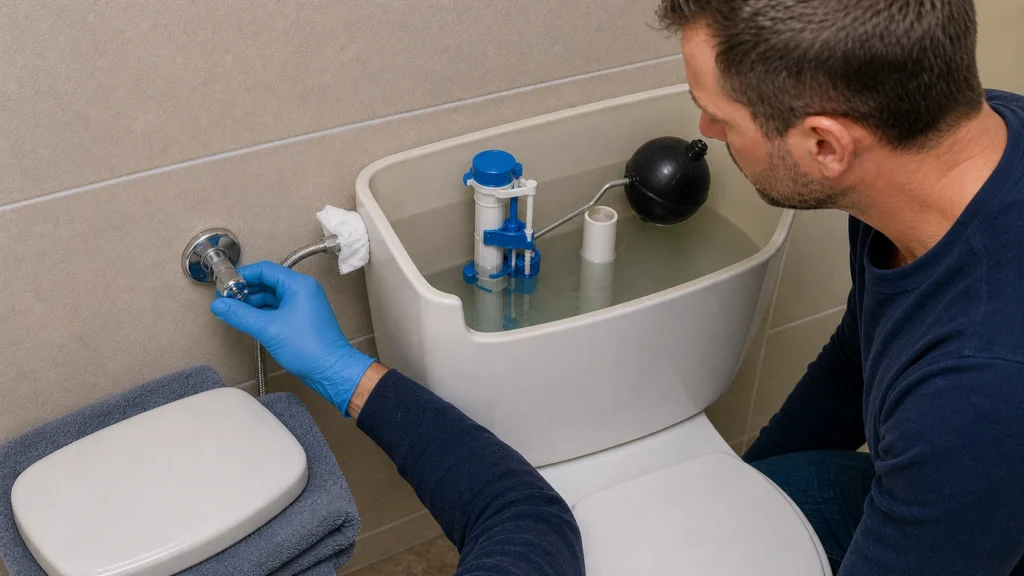
Monitor the filling of the tank and check that the water stops running as soon as it reaches the level mark, and that there are no leaks at the connections.
7 Flush and listen
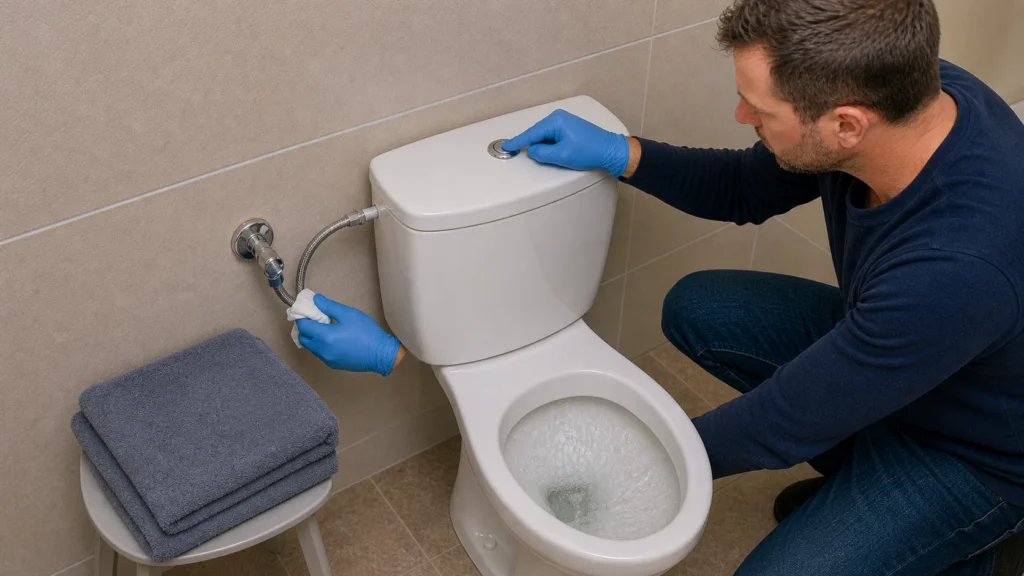
If you still hear a quiet sound of water or the tank empties on its own, the rubber plug of the flush valve probably does not seal well yet, so check its fit again.
Final check
- Flush and wait for the tank to fill — filling stops completely and no hissing or gurgling is heard
- Throw a piece of toilet paper on the dry back wall of the bowl and wait 10–15 minutes — the paper remains dry, no thin stream down the bowl
- The inlet valve is open again, and there is no dripping around the connection of the hose and the toilet tank
Common problems
- The rubber plug has been replaced, but water still leaks into the bowl
- Check the seat of the flush valve — limescale on the rim prevents the rubber from sealing. Wipe the rim with a sponge with vinegar or sand it finely, then replace the plug. If the float is also too high, water overflows through the overflow tube — lower the float.
- After assembly, the toilet tank fills very slowly or not at all
- Fine limescale or dirt from the pipes has clogged the fill valve. Close the supply, unscrew the hose, and let some water run into a bucket to flush out the dirt, then disassemble and clean the filter/diaphragm of the fill valve.