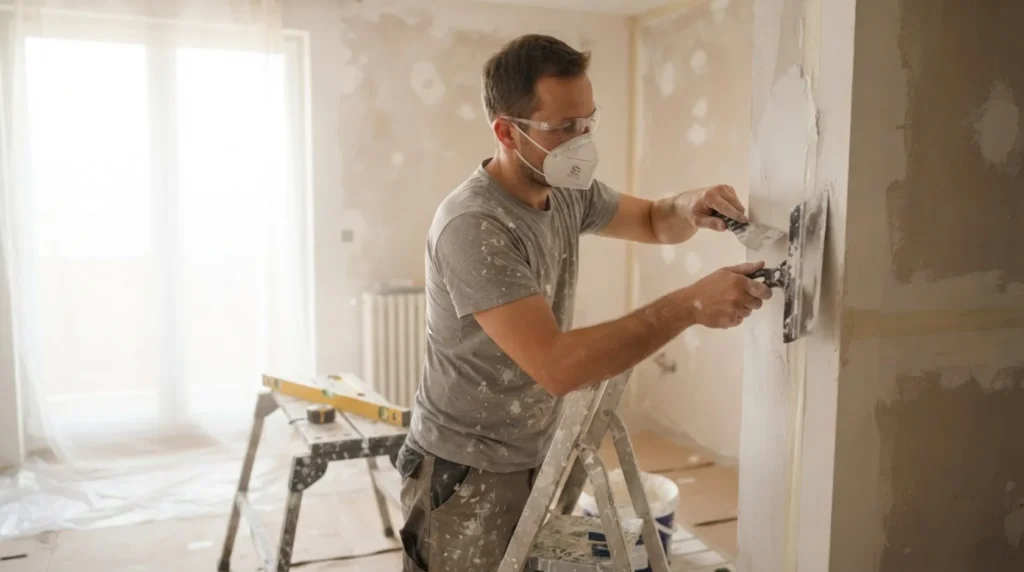
1 Prepare safe working conditions
Protect the floor and furniture, shut off hidden services in the drilling or cutting zone, and check the moisture and load-bearing capacity of the surface. Wear dust protection and work on a stable surface.
⚠ Warning: A primer that is too concentrated can create a glossy film that paint adheres to poorly.
2 Determine the problem pattern
Figure out whether the wall is dusty, very absorbent, smooth, or stained; universal primer is not the answer to every problem.
3 Check the most common cause
Repair cracks, wash off grease, and remove weak layers, then thin the product only according to the label.
4 Apply the right solution
Apply a uniform thin coat without puddles, respect the drying time, and check even absorbency before painting.

? Tip: Photograph the starting condition and change only one thing at a time so you know which check actually affected the result.
5 Test the result and set the limit
Let the material dry or cure for the full time stated on the label, then inspect flatness, adhesion, and cracks in side light. Do not cover active moisture or a structural problem with a finishing coat.