⚠ Safety note: This guide involves working with electricity, plumbing. If you're not completely sure about every step, stop and call a licensed professional. Before you start, always switch off the power at the breaker or close the main water/gas valve.
1 Prepare for safe work
Turn off the appropriate breaker, mark it against accidental activation, and use an appropriate two-pole voltage tester to confirm the absence of voltage before touching the conductors.
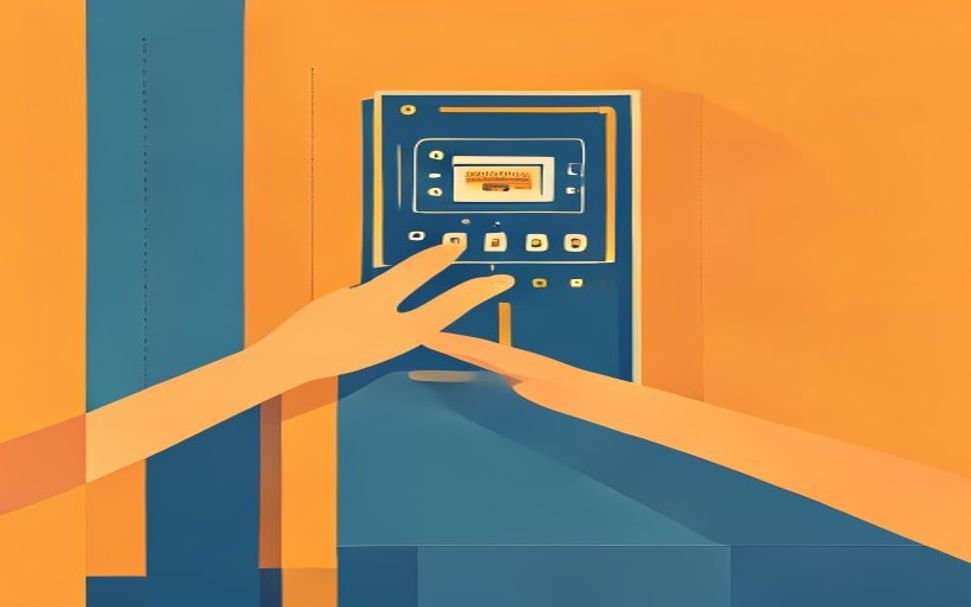
⚠ Warning: Mains voltage can be fatal. If you cannot reliably turn off and confirm the absence of voltage, if conductor colors are unclear or the installation is damaged, do not proceed on your own.
2 Determine the condition and cause
Check the IP rating, cover condition, seals and housing. Water marks, corrosion or cracks require circuit disconnection.
3 Perform a key inspection
The cable should enter so that water does not flow toward the housing, and the outlet must be at the appropriate height and protected by an RCD breaker.
4 Perform repair or maintenance
Do not wrap a regular indoor outlet in foil. Replacement with an outdoor model and protection check should be performed by an electrician.
? Tip: Take a photo of the initial state and change only one thing at a time. This way you can more easily determine what actually solved the problem.
5 Test the result
Replace the covers and protection before turning the power back on. Test the function without touching open parts; heating, buzzing, sparking or protection ejection require an electrician.
When to call a professional: If the job involves changes to the electrical panel, the main gas line, or load-bearing walls/beams — or if you're not sure how it will turn out — this is not a DIY task. Hire a licensed professional.