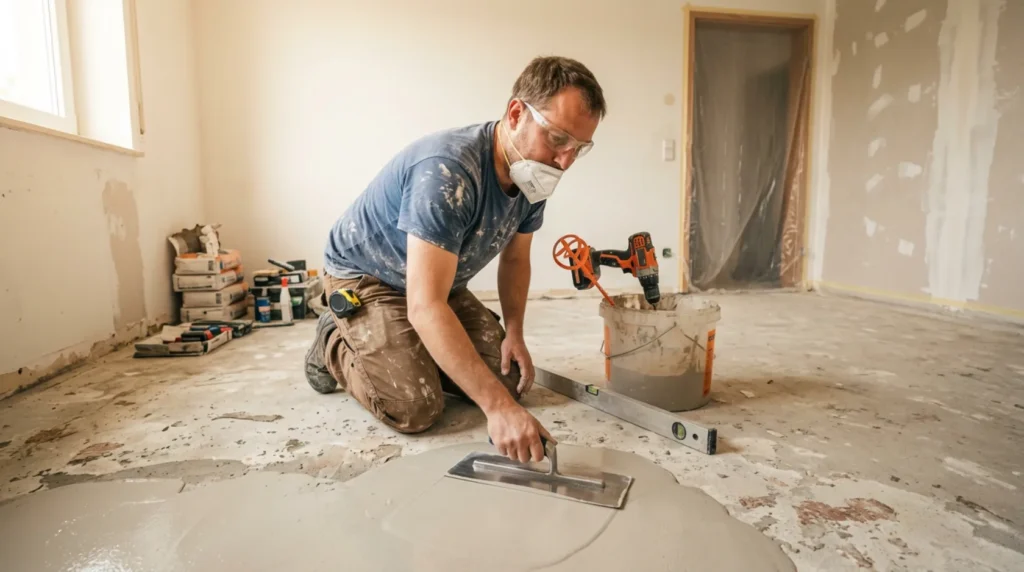
1 Prepare a safe work area
Clear and protect the work area, check the substrate and installations, and use safety glasses, gloves, and respiratory protection. Mix the material according to the technical data sheet.
⚠ Warning: Do not work on load-bearing elements, large cracks, moisture from the structure, or materials that may contain asbestos without a professional assessment.
2 Determine the condition and cause
Measure the deviations and check that the substrate, maximum thickness, and future finish are compatible with the chosen compound.
3 Carry out the key check
Remove dust and grease, close holes and edges, apply the specified primer, and set height marks.
4 Carry out the repair or maintenance
Mix the exact amount of water, pour it within the working time, and spread it with a trowel and spiked roller without adding water to the surface.
? Tip: Take a photo of the starting state and change only one thing at a time. That makes it easier to see what actually fixed the problem.
5 Test the result
After the prescribed drying time, check flatness, strength, and edges. Do not load or cover the surface with the finish layer until moisture and curing are within the allowed limits.