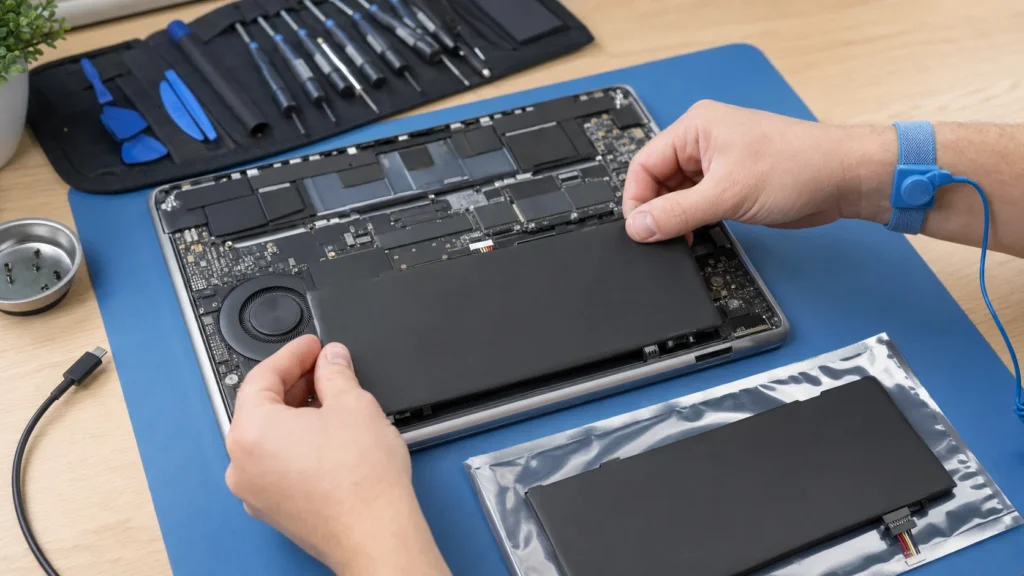
A laptop battery that lasts half an hour, drains suddenly, or has swollen up and is lifting the case is ripe for replacement — and it's one of the most rewarding repairs, because an old laptop practically gets a new lease on life. On most models, the job comes down to removing the bottom panel and a few screws. Before opening it, turn off the laptop and unplug the charger, and as soon as you remove the panel, first disconnect the battery connector from the motherboard. This guide will walk you through the whole process, emphasizing safety and common pitfalls, so you avoid unnecessary disassembly and ensure your device's longevity.
You need basic experience with precision screwdrivers and carefully disconnecting connectors; pay special attention to disconnecting the battery before doing any other work inside the laptop. Using an anti-static wrist strap is also recommended to protect sensitive components from static electricity. Patience is key — never force anything.
⚠ Safety note: This guide involves working with electricity. If you're not completely sure about every step, stop and call a licensed professional. Before you start, always switch off the power at the breaker or close the main water/gas valve.
1 Fully power off the laptop and disconnect it from power
Before any work, the laptop must be completely powered off — not in sleep or hibernation mode. Unplug the adapter from the outlet and wait at least five minutes for any remaining capacitors to discharge. Press and hold the power button for a few seconds to drain any residual voltage from the system. This is essential for your safety and for protecting the components.

2 Identify the battery type and get a replacement
On older models and some business laptops (e.g. older Lenovo ThinkPad, HP ProBook), the battery is removed with an external latch, no tools needed. However, on most modern thin ultrabook models (e.g. Asus ZenBook, HP Spectre, Lenovo Yoga), the battery is internal and requires removing the bottom panel. Before buying a new battery, be sure to check the exact model number of your existing battery (e.g. B31N1726, HSTNN-LB7V) and the laptop model. This is the most important step to avoid buying an incompatible part.
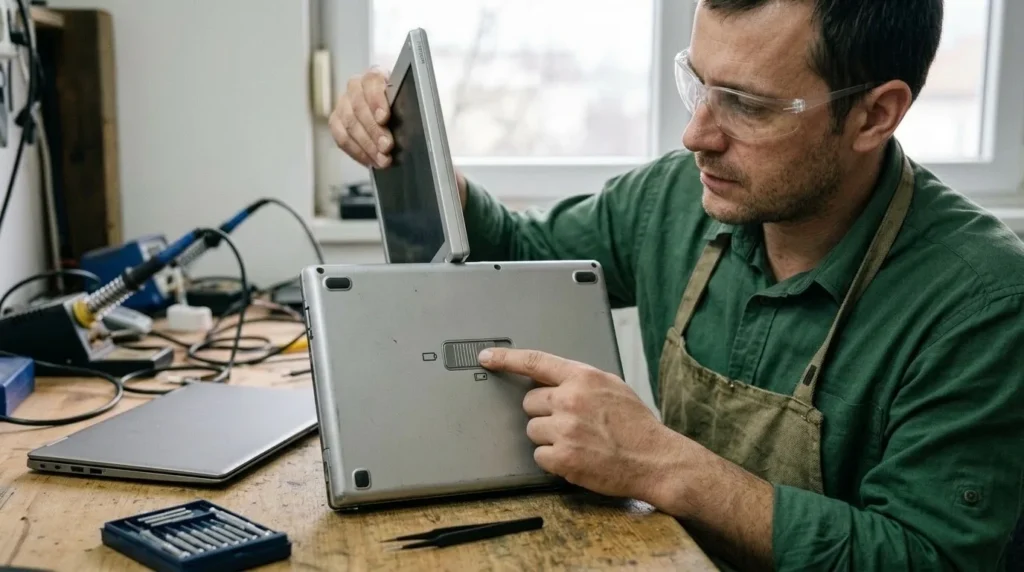
3 Carefully remove the bottom panel of the case
If the battery is internal, you'll need to remove the bottom panel. Unscrew all visible screws — they're often different lengths, so keep them organized (e.g. on a magnetic tray or in small containers) according to where they came from. Also check under the rubber feet, as extra screws often hide there. Once all screws are out, use a plastic opening tool (spudger or pry tool) to carefully release the clips holding the panel. Start at a corner and slide slowly along the edge, avoiding metal tools that could scratch or damage components.
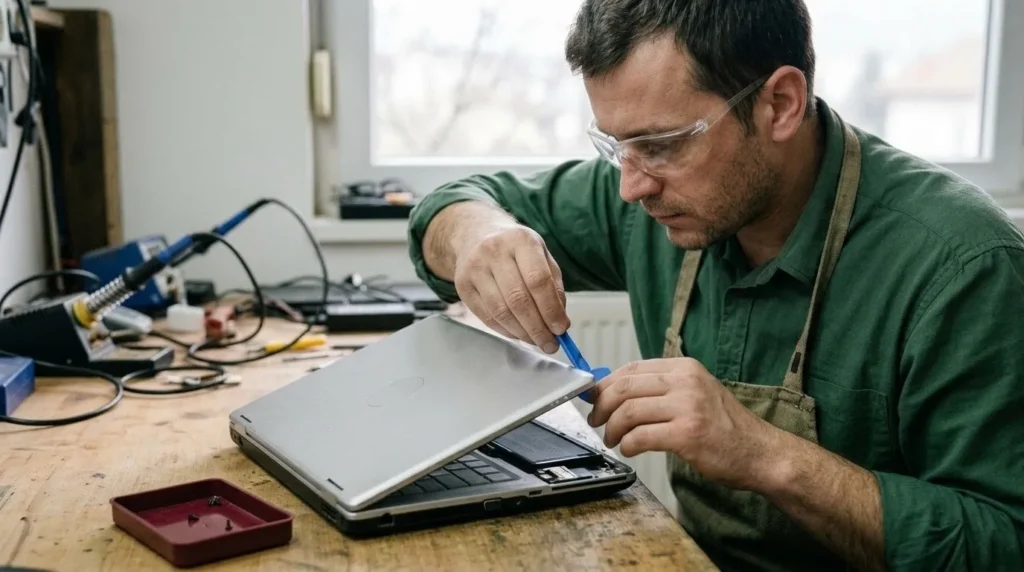
4 Disconnect the old battery's connector from the motherboard
This is the most important safety step! Before touching anything else inside the laptop, locate the battery connector on the motherboard. It's usually a wide, flat connector with multiple wires. Carefully disconnect it by pulling on the connector itself, not the wires, straight up or out, depending on the connector type. Some connectors have a small latch that needs to be lifted. This safely cuts power to all components and prevents short circuits.
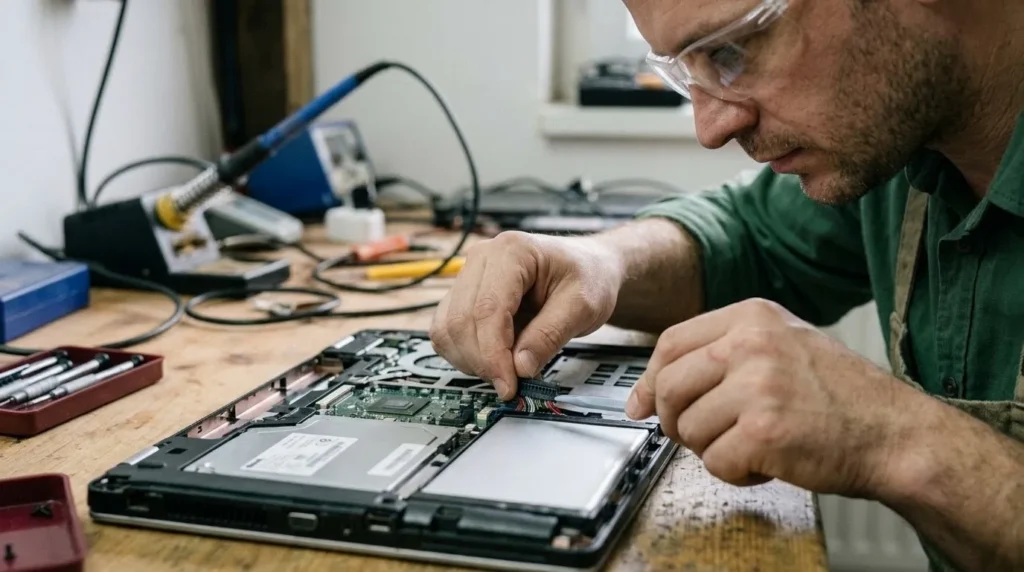
5 Remove the old battery from its bay
After disconnecting the connector, unscrew any screws holding the battery to the laptop's case. If the battery is glued in, which is often the case in thinner models, be extremely careful. Never bend it or try to pry it off by force, especially if it's swollen! Use a plastic opening tool and, if needed, a small amount of isopropyl alcohol (IPA) to soften the adhesive. Gently lift the battery out, taking care not to damage other components or cables underneath it.
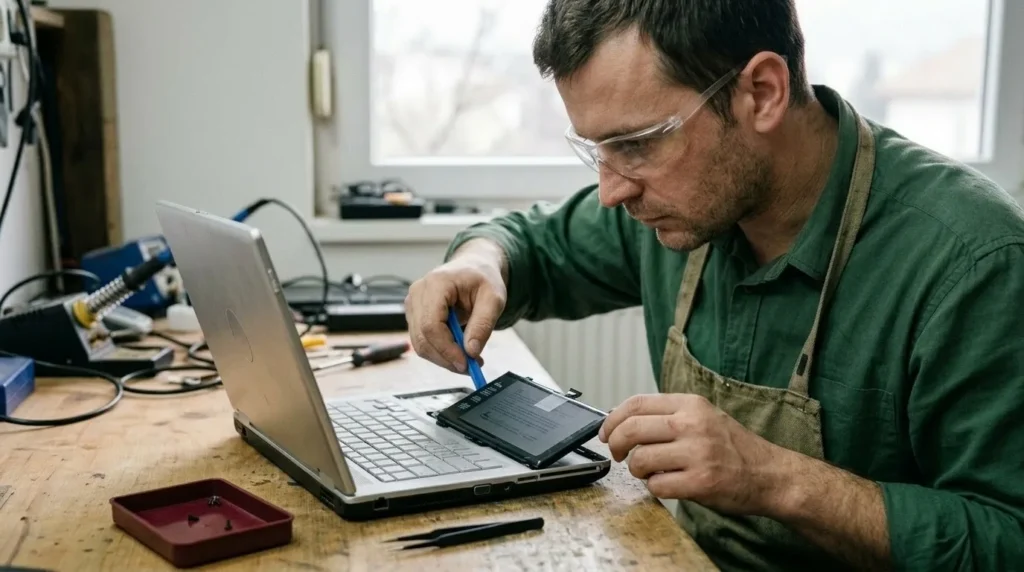
6 Install the new battery and connect it
Carefully place the new battery in the same bay. Check that it's seated correctly with no obstructions. Fasten it with the screws you removed earlier. Only after the battery is physically placed and secured should you plug its connector back into the motherboard. Push it in straight and firmly until you feel it seat, or until the latch clicks. Double-check that the connector is fully seated.
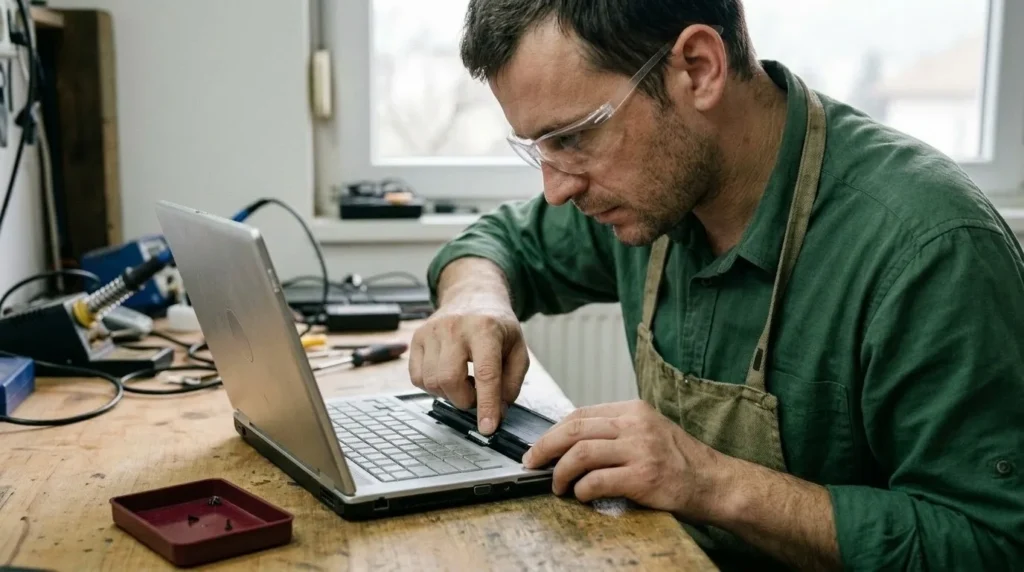
7 Reassemble the laptop and do the first charge
Before putting the bottom panel back, visually check all internal components and connectors — make sure everything is in place and all cables are properly connected. Replace the bottom panel, making sure all clips click in and there are no gaps. Then put all the screws back in place, paying attention to their length. Plug in the charger and let the laptop charge to 100% without interruption, even if it turns on before that. This is the first step in calibrating the new battery.
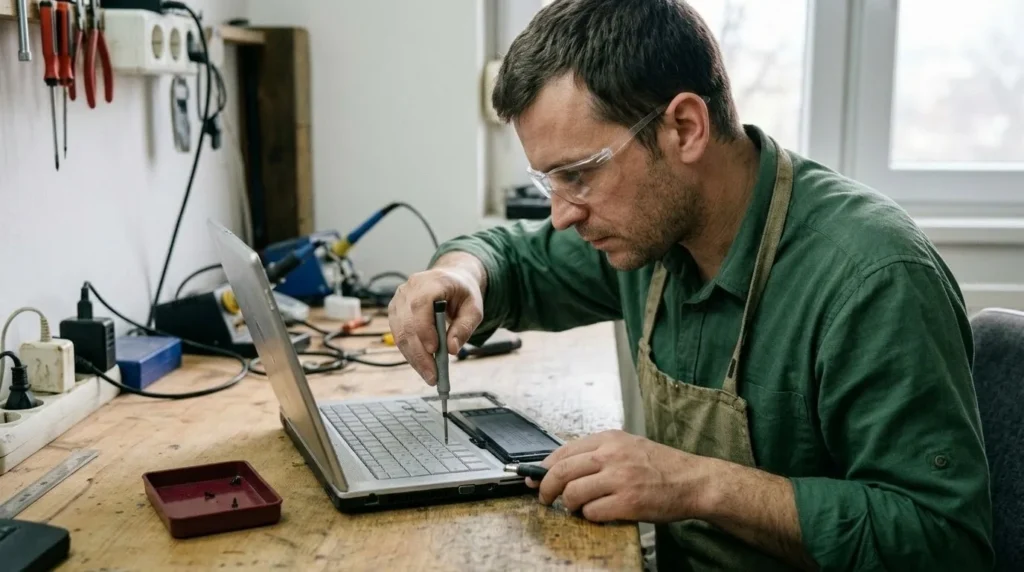
8 Calibrate the new battery for optimal performance
For the laptop's software to accurately read the new battery's capacity and show realistic remaining time, calibration is needed. After the first full charge to 100%, use the laptop on battery until it drains to about 10-15% (or until it shuts down on its own). Then charge it back to 100% without interruption. Repeat this full discharge and charge cycle once or twice. After that, the percentage and remaining-time readings should be stable and accurate.

When to call a professional: If the job involves changes to the electrical panel, the main gas line, or load-bearing walls/beams — or if you're not sure how it will turn out — this is not a DIY task. Hire a licensed professional.
Final check
- The laptop turns on and runs on battery without the charger, and the system shows charging and a realistic capacity.
- The case is reassembled without gaps, all screws are accounted for, and nothing creaks.
- The new battery has been calibrated with a full charge and discharge, and the remaining-time estimate is stable.
- All screws are back in their places and there are no leftover parts.
Common problems
- After the replacement, the laptop works on the charger but doesn't recognize the new battery at all.
- The battery connector most likely isn't fully seated. Open the panel and plug it in straight and firmly; if it still doesn't work, check that the battery is exactly the right one for your model (the same part number, not just a similar shape) and that it's not faulty.
- The battery percentage jumps around, or the laptop reports the wrong remaining time.
- The new battery hasn't been calibrated yet. Charge it to 100 percent, use the laptop until it's almost drained (down to 10-15%), then charge it back to full without interruption — after one or two cycles, the readings settle down.