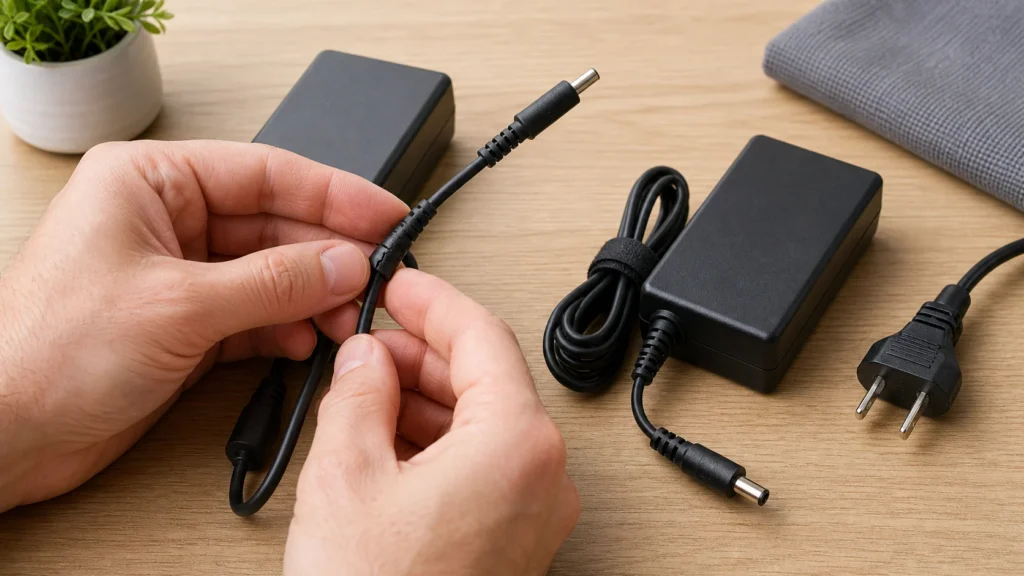
A cracked cable with protruding wires or a charger that overheats are no small matter — damaged chargers are a common cause of electric shock and fire in the household. The good news is that with a five-minute inspection, you can easily assess whether the charger is still safe or goes to waste, and replacing the cable or adapter costs far less than the damage a faulty one can cause. Be sure to unplug the charger from the outlet before each inspection.
No technical knowledge is required; it is only useful to know the basic voltage measurement with a multimeter for the final test, but even without that you can do a visual inspection.
⚠ Safety note: This guide involves working with electricity. If you're not completely sure about every step, stop and call a licensed professional. Before you start, always switch off the power at the breaker or close the main water/gas valve.
1 Unplug the charger from the power source before inspection
Unplug it from the outlet to avoid electric shock or short circuit while handling the cable.
2 Inspect the cable along its entire length
Bend it slightly millimeter by millimeter looking for cracks in insulation, exposed copper wire, deformations, or dark, charred spots, especially near connectors.
⚠ Warning: Never use a cable or adapter with exposed wire, cracked housing, or burn marks, even temporarily – the risk of electric shock and fire is real.
3 Inspect the adapter or charger housing
Check for cracks on the housing, burn marks, unusual plastic smell, or bulging, which is a sign of a swollen capacitor inside.
4 Check the connector and port on the device
Look for bent pins, dust, moisture, or corrosion in the USB or charging port of the phone or laptop, as this often mimics a broken cable.

5 Assess if the damage is dangerous for further use
Visibly exposed wire, charred parts, burning smell, high heating during charging, or a swollen housing mean you must stop using the cable or adapter immediately.
6 Choose the correct replacement
Buy a cable and adapter with a connector, voltage, and current (W/A) that match the original specifications of the device, preferably from a verified manufacturer with a CE mark.
? Tip: Cheap non-original chargers without a CE mark or with an unrealistically low price often lack proper overvoltage protection – with fast chargers, it is especially worth getting a verified manufacturer.
7 Test the new cable and adapter
Connect them and check if the device charges normally, without excessive heating of the adapter during the first 10–15 minutes of charging.
8 Dispose of the old charger safely
Do not throw the damaged cable or adapter into regular waste or use it a bit longer – dispose of it at a designated e-waste collection point.
When to call a professional: If the job involves changes to the electrical panel, the main gas line, or load-bearing walls/beams — or if you're not sure how it will turn out — this is not a DIY task. Hire a licensed professional.
Final check
- The new cable and adapter charge the device at normal speed and do not heat up excessively during charging
- The connector sits firmly in the port, without wobbling and without interrupting charging when moving the cable
- The old damaged charger was taken to e-waste recycling, not left in a drawer or thrown into household trash
Common problems
- The new cable works, but the phone or laptop charges significantly slower than before.
- The replacement probably does not support the same charging power. Check the markings on the old adapter (volts and amperes, e.g. 5V/2A or 65W) and buy a replacement of the same or higher power from a verified manufacturer.
- Charging works only when you hold the cable at a certain angle, even with a new cable.
- Then the problem is not the cable but the port on the device. Turn off the device and carefully use a toothpick or plastic pin to remove lint and dust packed at the bottom of the port — never a metal object.