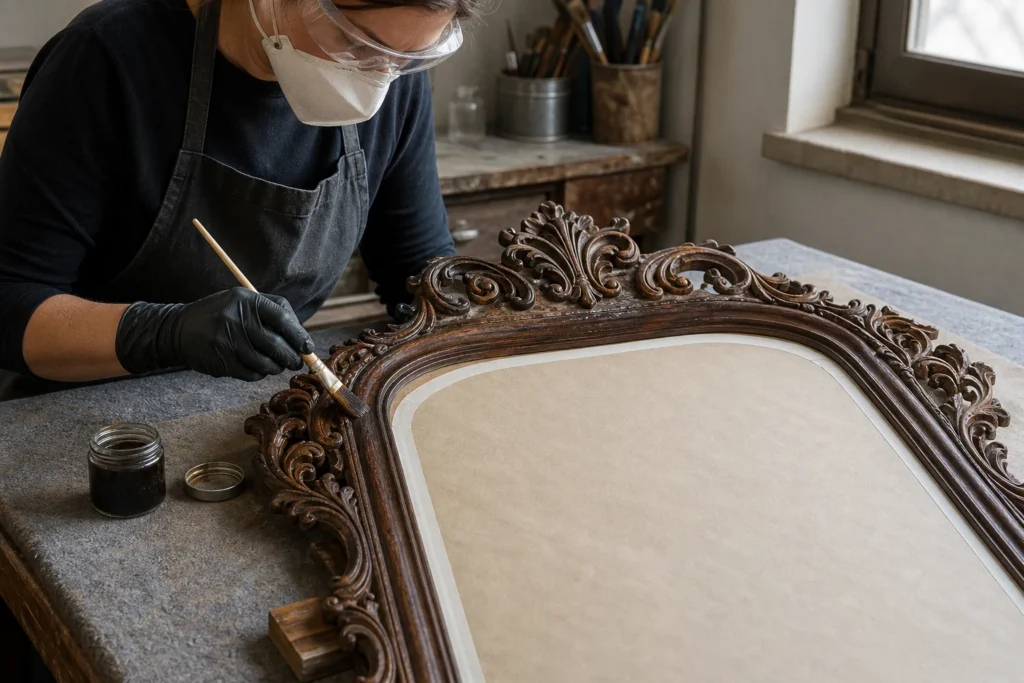
An old mirror with a solid wooden frame has a character that new mass-produced mirrors simply do not have, and the glass itself is often quite good — the problem is usually just a tired frame. By cleaning the glass, sanding, and applying a fresh coat to the frame, you will get an eye-catching piece for the hallway or bedroom at a minimal cost. The job is simple and mostly done in one afternoon plus drying time.
Basic home skills are sufficient — careful handling of glass and neat painting with a brush.
1 Assessing the condition of the mirror
Examine the glass and frame – check if the mirror has black spots from oxidation of the silver coating on the back (these cannot be removed, only hidden or the glass replaced) and if the frame is stable or loose.
2 Removing the frame from the glass (if possible)
If the design allows, carefully separate the wooden frame from the glass surface so that you can work on each part separately without risk of scratches.
3 Cleaning the glass
Clean the glass with a glass cleaner and a soft cloth, avoiding getting liquid behind the edges where it could damage the silver coating on the back.
? Tip: If oxidation spots are visible on the glass itself and bother you, the only permanent solution is to replace the glass pane at a glazier’s customized to the old frame.
4 Sanding and preparing the frame
Sand the old varnish or paint on the wooden frame with sandpaper (120, then 220) until the surface is smooth and matte, then wipe off the dust with a damp cloth.
5 Repairing damage to the frame
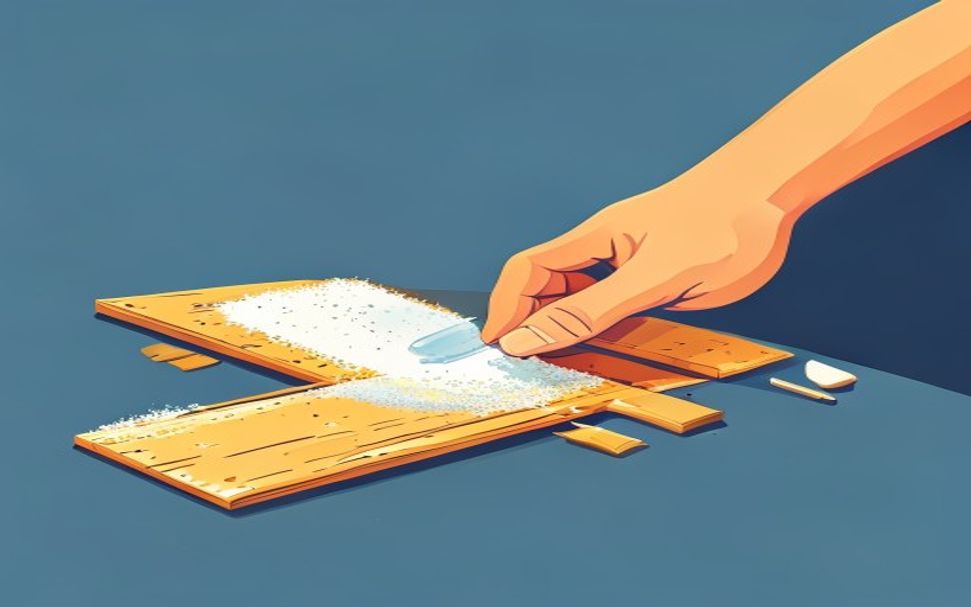
Fill cracks, broken edges, or missing decorative details with wood putty, let dry, and sand finely before painting.
6 Painting or staining the frame
Apply paint, stain, or gilding (if desired) in two thin coats, drying between coats, and if necessary you can decorate the frame with decorative elements (shells, buttons, mosaic).

7 Protective varnish and assembly
When the paint is dry, apply a protective coat of varnish, and after complete drying, return the glass to the frame and secure it with original or new fasteners.
8 Checking the hanging
Check the strength of the hook or wire for hanging on the back and replace it with a new one if necessary, making sure that the load capacity corresponds to the weight of the mirror.
⚠️ Warning: Hang heavier mirrors exclusively on wall plugs designed for heavier loads – ordinary small nails or a plastic plug may give way and the mirror fall.
Final check
- Paint or stain on the frame is even, without drips and brush marks, and the protective varnish is completely dry before assembly
- The glass is clean and without spots, sits firmly in the frame and does not rattle
- The hook or cable for hanging is strong and can support the weight of the mirror — check before hanging on the wall
Common problems
- Dark spots and areas where the reflection is lost are visible on the back of the mirror.
- This is a damaged silver layer on the back of the glass and cannot be fixed by cleaning — do not rub the back under any circumstances. Accept smaller spots along the edge as patina or hide them with a wider frame, and if they bother you, a glazier can replace only the glass to fit the existing frame.
- Paint flooded the place where the frame meets the glass, so an untidy edge is visible.
- The masking tape was not stuck well or was removed too late. Clean the glass with a scalpel or razor blade at a shallow angle, and in the future press the tape well against the edge and remove it while the paint is still slightly wet.