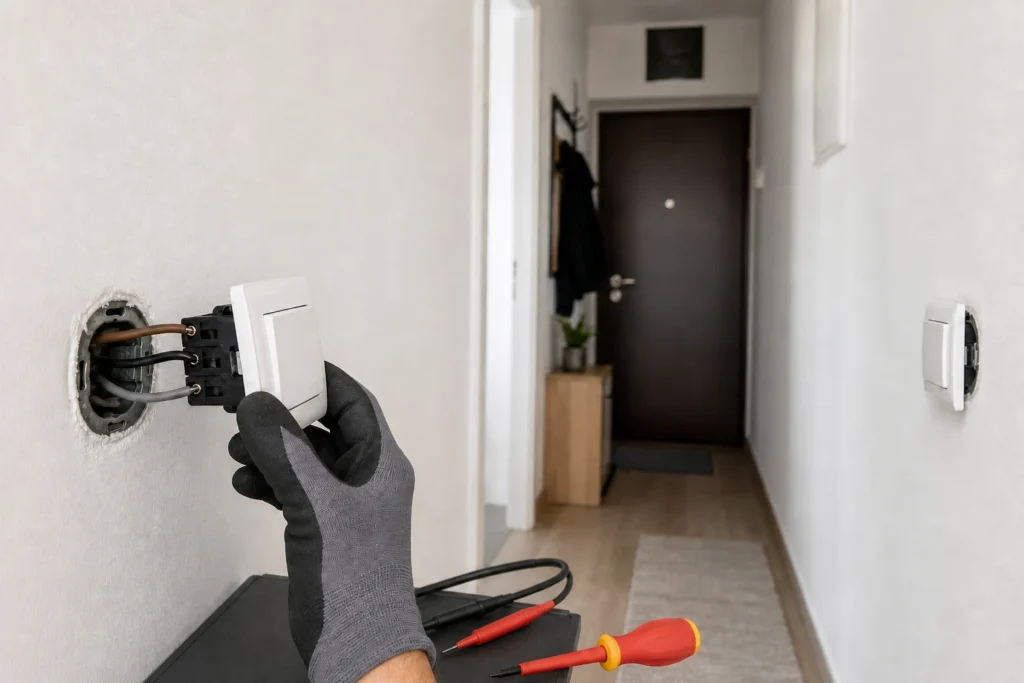
A two-way connection is handy when you switch the same light on and off from two locations, but it's noticeably more sensitive to mislabeling than a simple switch replacement. This guide applies to two two-way switches and one light; if you have a third control point, then there's an intermediate switch in the middle and the wiring diagram is no longer the same. The most common mistake in DIY installations is that the live feed or the return to the bulb gets mistakenly connected to a traveler wire, so the installation 'half works'.
You need a basic understanding of the L or COM marking on a switch, and it's advisable to use a multimeter to check continuity. If you can't tell the common terminal apart from the two traveler terminals, stop and call an electrician before making any connections.
⚠ Safety note: This guide involves working with electricity. If you're not completely sure about every step, stop and call a licensed professional. Before you start, always switch off the power at the breaker or close the main water/gas valve.
1 Switch off power to the whole lighting circuit
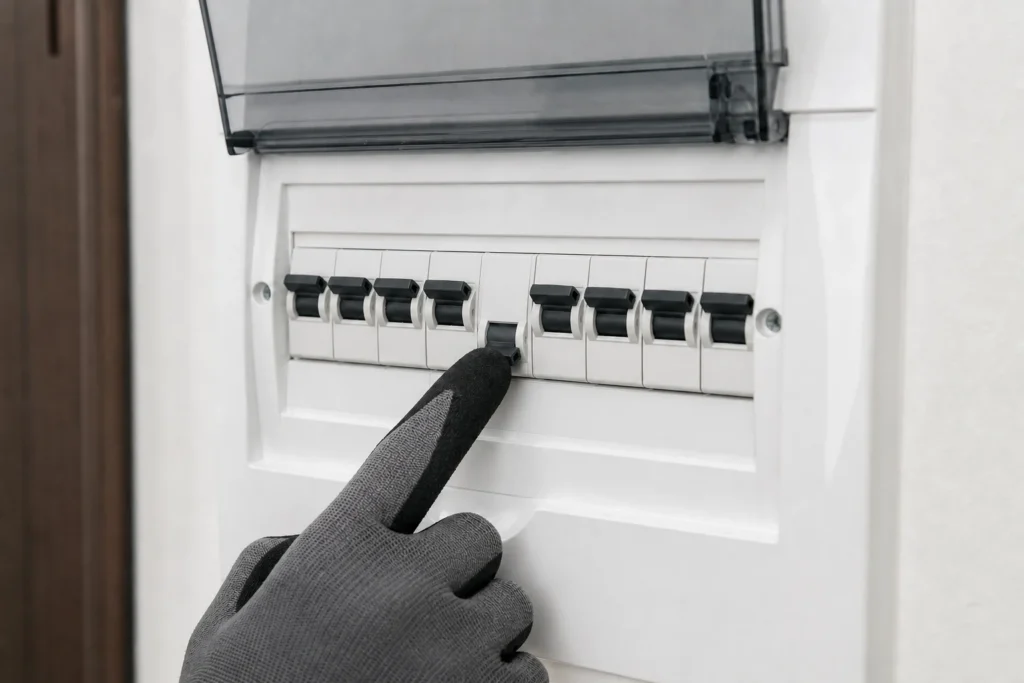
In the electrical panel, switch off the breaker that feeds this light, not just the switch or the part of the room you think is connected. In older installations it's not unusual for someone to have 'borrowed' the incoming live from a neighboring box, so extra caution here saves a lot of frustration.
2 Confirm no voltage in both boxes
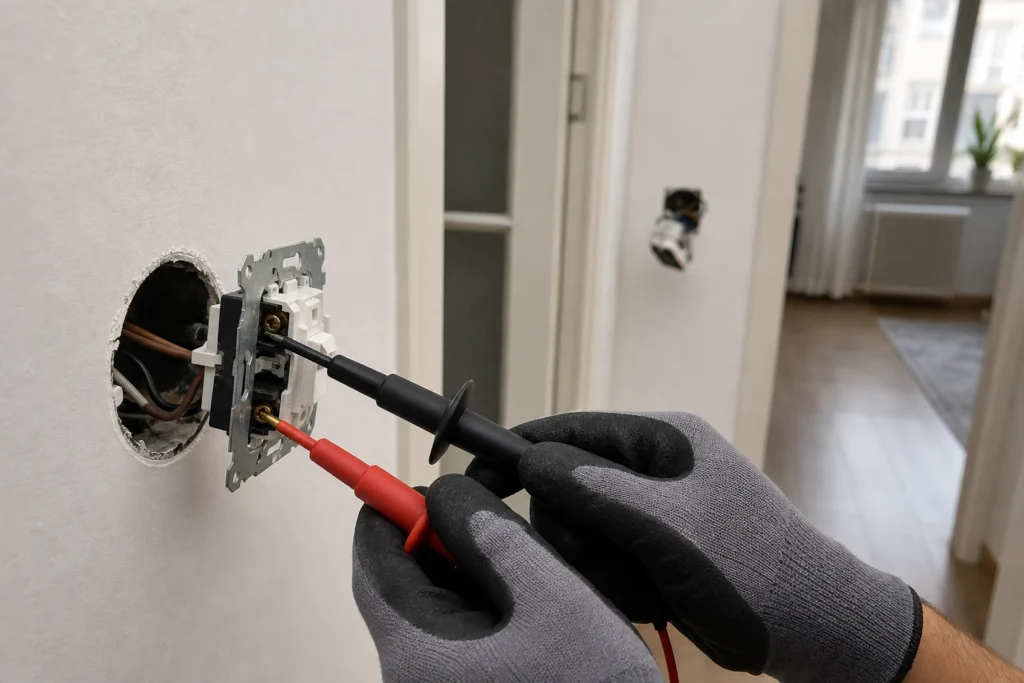
Remove the cover plates and switch levers at both locations, then use the tester to check every wire in both boxes separately. Here the rule 'I measured once so that's enough' doesn't apply, because two control points and two bundles of wires are more than enough opportunity to overlook something.
3 Identify the common terminal on both switches
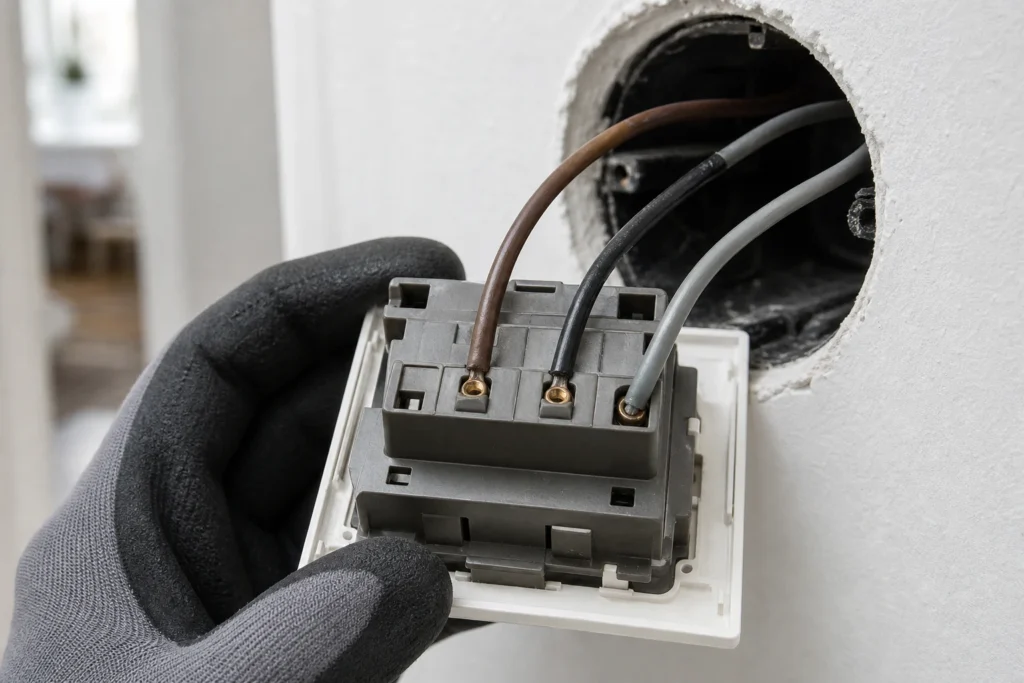
A two-way switch always has one common terminal, most often marked L or COM, and two traveler terminals. Before disconnecting anything, check where that marking is on the old mechanism, since terminal layout varies visually between manufacturers and shouldn't be guessed by feel.
4 Determine where the live feed comes in and where the wire to the bulb leaves
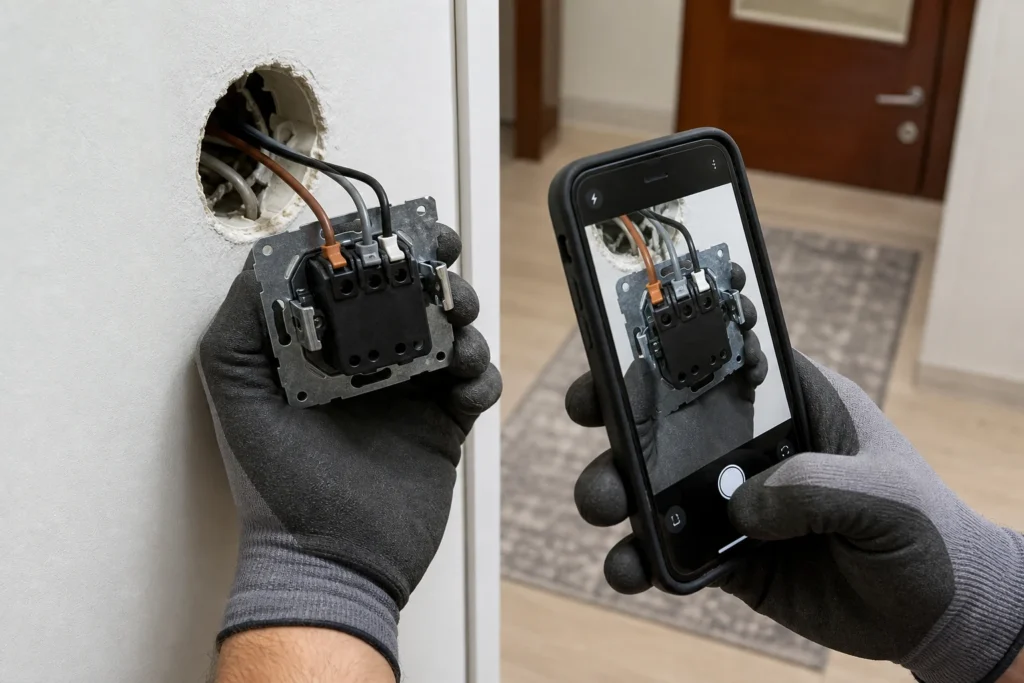
In one box the incoming live arrives from the panel, and in the other the return wire leaves toward the bulb; these are not the same thing and must each end up on the common terminal of their own switch. If the wire colors don't seem reliable, only label them once confirmed by measurement or clear prior documentation.
5 Confirm which two conductors are the traveler wires
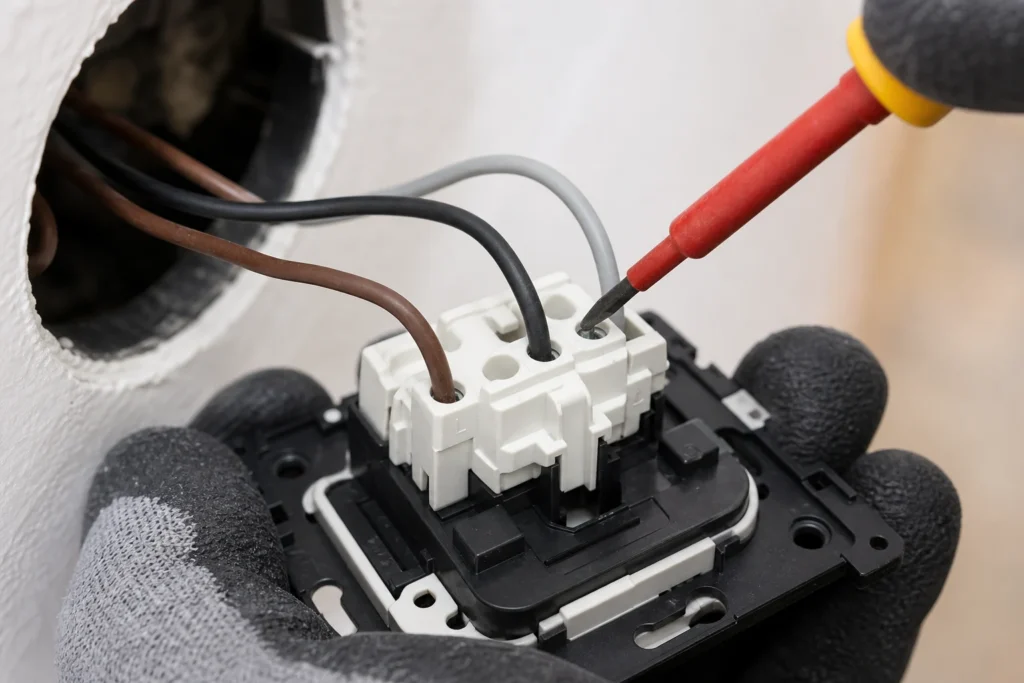
The two wires running from one switch to the other are the traveler wires, and their job is to carry the switching connection between the mechanisms. If you're not sure which two wires they are, a de-energized installation and a multimeter in continuity mode give a clearer answer than guessing by insulation shade.
6 Wire both switches using the same logic
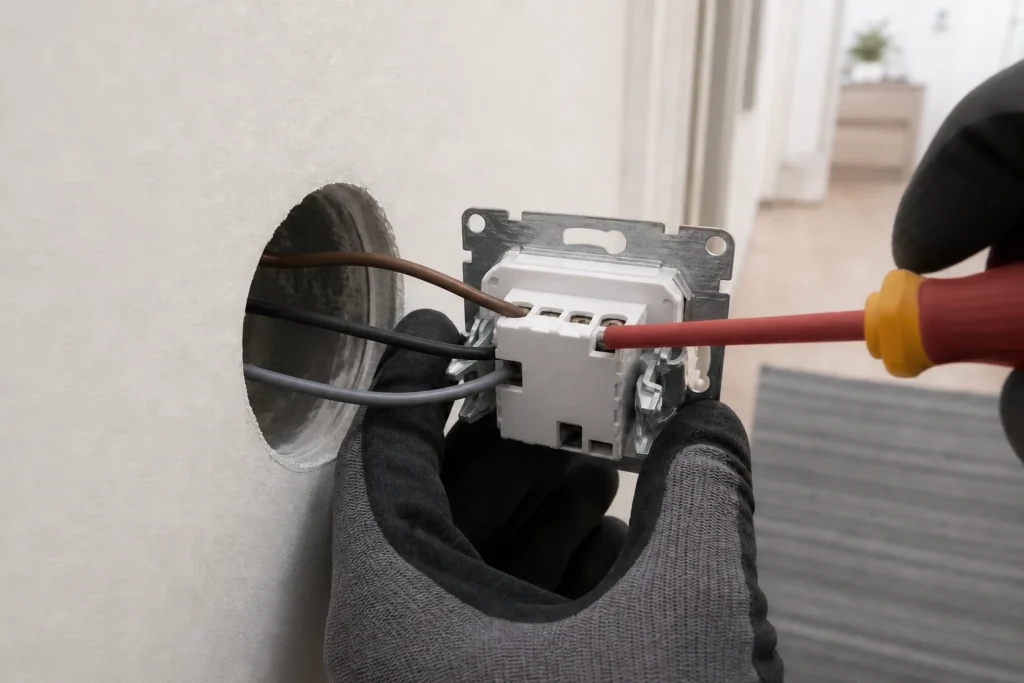
On the first switch, connect the live feed to the common terminal, and on the second, connect the wire going to the bulb to its common terminal. Connect the two traveler wires to the remaining two terminals on both switches; the order of the traveler wires between themselves doesn't matter, but both must remain paired between the same mechanical functions.
7 Run a trial test before final reinstallation in the wall
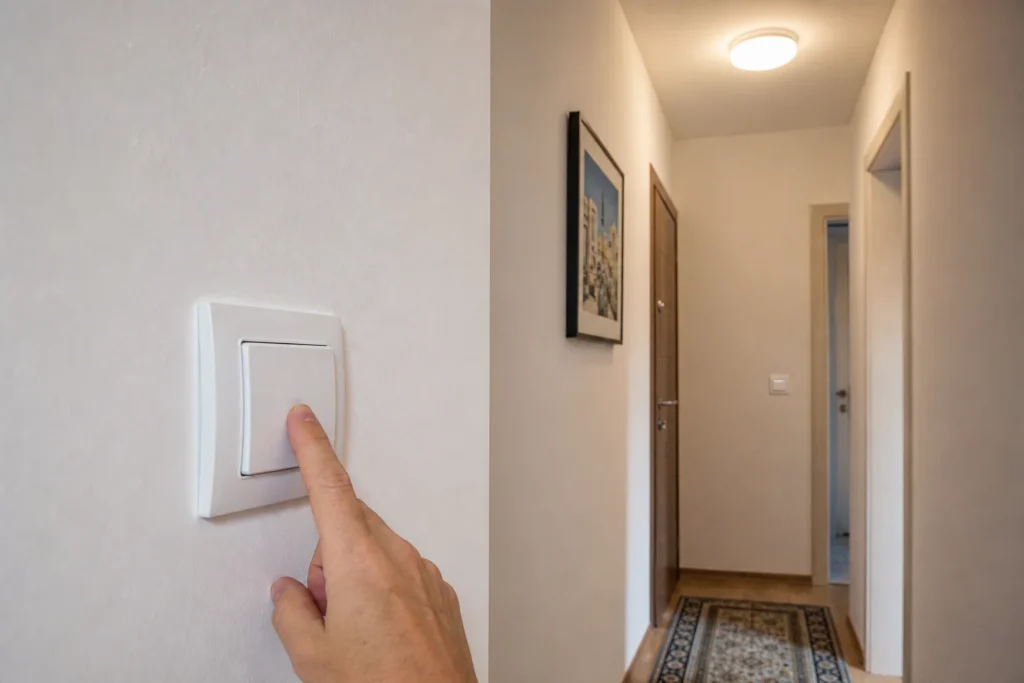
Once the wires are tightened and nothing pokes out of the terminals, temporarily switch the breaker back on while the mechanisms are still carefully pulled out and accessible. This immediately shows whether both locations really turn the light on and off, or whether the connection only works in some combinations, so you can fix a mistake without a full teardown again.
8 Align the mechanisms, refit the cover plates, and test again
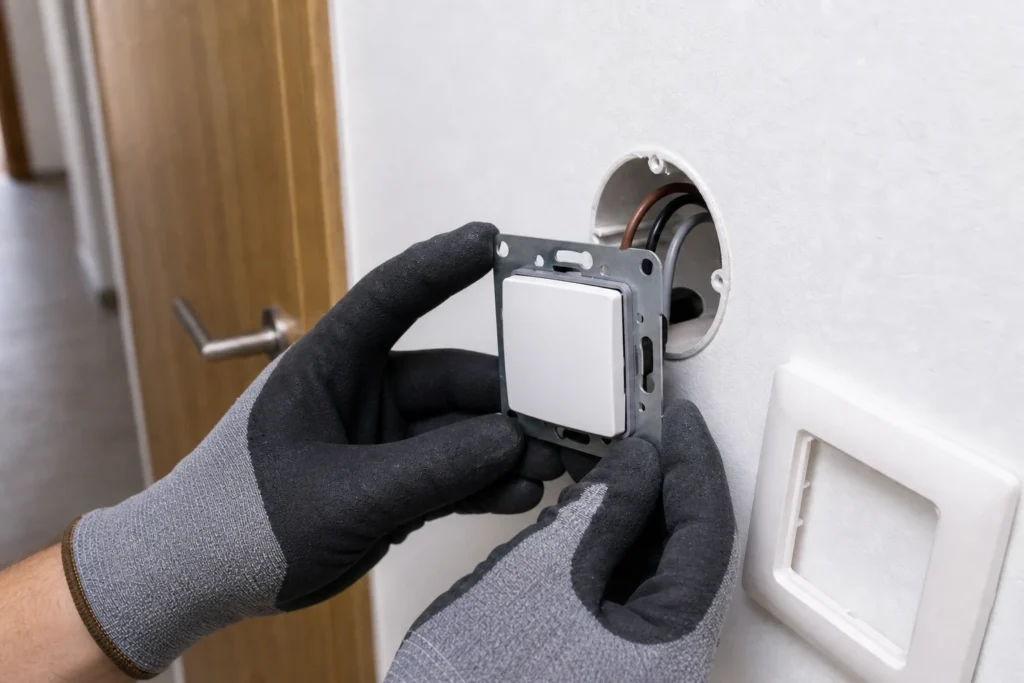
Switch off the breaker before finally pushing the wires back in, then put both switches back into their boxes and align them so the cover plates sit evenly. After the final switch-on, go through every combination of both switch positions once more and check there's no sticking or sparking anywhere.
When to call a professional: If the job involves changes to the electrical panel, the main gas line, or load-bearing walls/beams — or if you're not sure how it will turn out — this is not a DIY task. Hire a licensed professional.
Final check
- The bulb turns on and off from both locations, in every combination of positions.
- There's no 'dead' combination where the other switch no longer has any effect.
- The cover plates of both switches sit flush and nothing creaks under pressure.
- No loose or unnecessarily stripped wire remains in the boxes.
Common problems
- The light only works when both switches are in a certain position.
- This almost always means the live feed or the return to the bulb ended up on a traveler terminal instead of the common L/COM terminal. Go back to identifying the common terminal and redo the wiring without relying on colors.
- You can't reliably determine which two wires are the traveler pair between the boxes.
- With the power completely off, use a multimeter in continuity mode, and get help from another person if needed. The two conductors that show continuity between the first and second box form the traveler pair.
- After installation, one switch works 'backwards' from the expected lever position.
- This isn't a wiring fault by itself, just a matter of appearance and user feel. Level the mechanism's position and, if needed, swap the traveler wires on one switch if you want it to feel more natural.