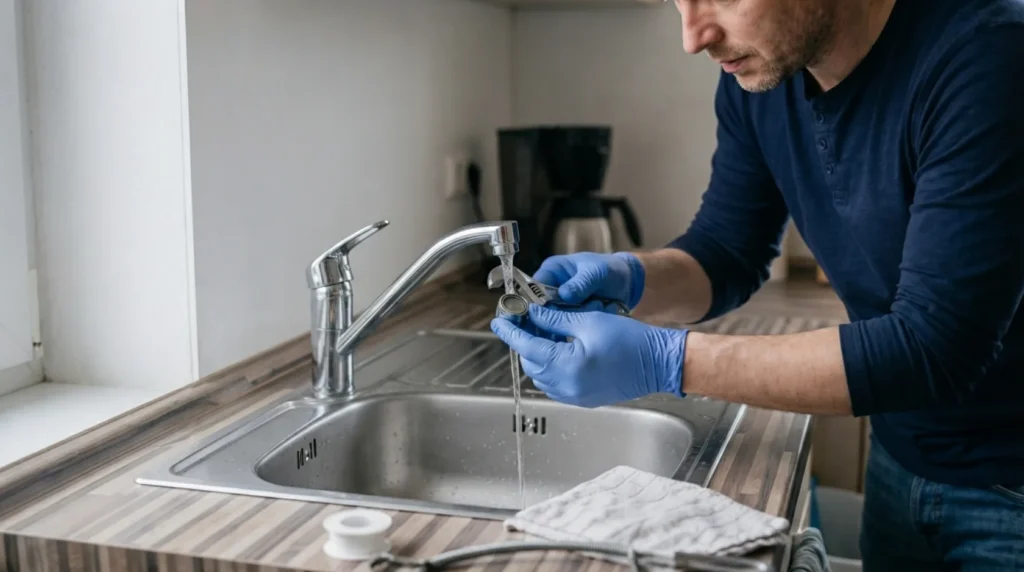
Low pressure at one faucet is usually not a fault in the whole system, but a dirty aerator (the mesh screen at the tip of the spout), a partly closed angle valve, or a narrowed passage in the flexible hose. This job is safe to check at home if you know how to shut off the supply and properly reinstall the seal, mesh screen and connection. If low flow affects several points in the apartment, if the angle valve won't close fully, or you notice dampness from the wall, that's beyond a DIY fix, and it's time for a plumber's diagnosis with pressure measurement.
You need basic familiarity with the angle valve, aerator, seals and flexible hoses. You should be able to tell a problem at one faucet apart from a problem on the whole branch, and work slowly, without over-tightening connections. As a reference point, normal household pressure is around 2.0 to 3.0 bar; below that the flow noticeably weakens.
⚠ Safety note: This guide involves working with plumbing. If you're not completely sure about every step, stop and call a licensed professional. Before you start, always switch off the power at the breaker or close the main water/gas valve.
1 Compare pressure at several faucets, on both hot and cold water
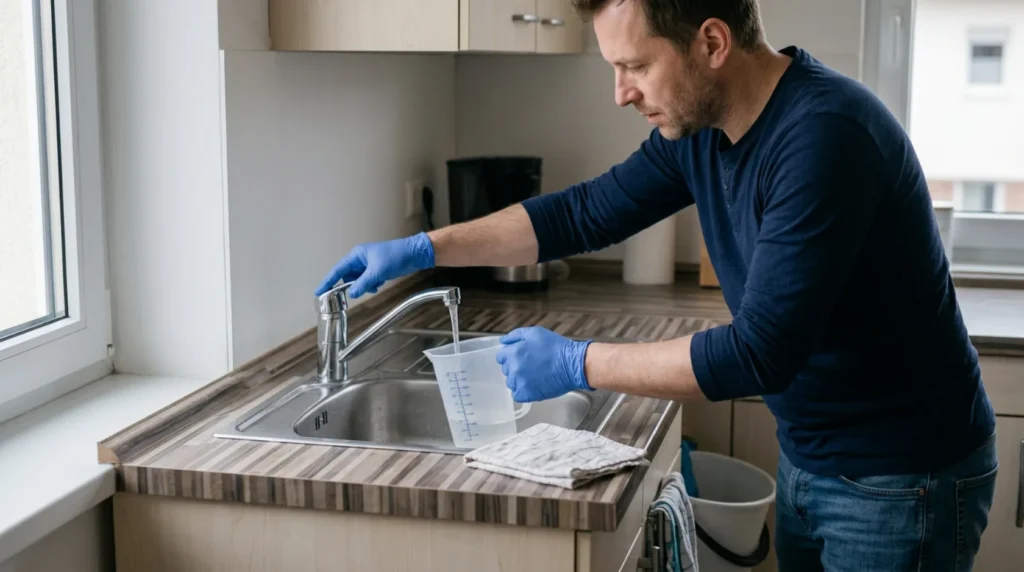
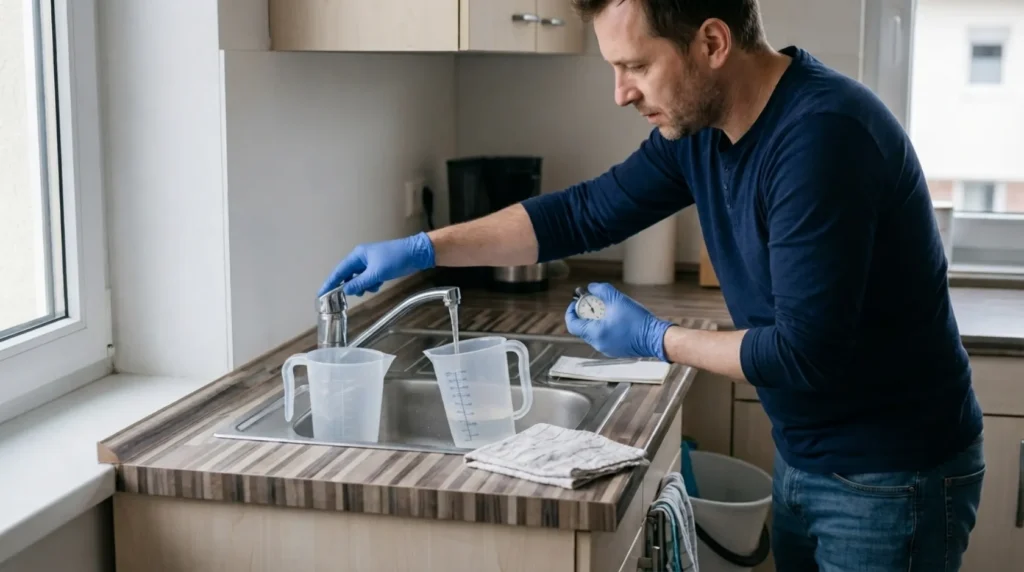
Open several faucets in the apartment one after another and compare the flow, checking in particular whether only the hot, only the cold, or both weaken. If low pressure shows up at only one point, the fault is almost certainly local (aerator, valve, hose) and worth fixing. If it's weak everywhere, the cause is on the branch or in the supply line, and there's no point taking one faucet apart; also note whether the weakening only appears when several fixtures run at the same time.
2 Unscrew and clean the aerator at the tip of the spout
Unscrew the aerator from the tip of the spout by hand or with pliers wrapped in a cloth, being careful not to scratch the chrome. Take it apart and remember the order of the mesh screens and seal, rinse the limescale under running water, and leave stubborn buildup in vinegar for about fifteen minutes. The aerator is the most common culprit behind a weak, scattered flow, so clean it first before concluding something more serious is wrong.
3 Check the angle valve and the flexible hose
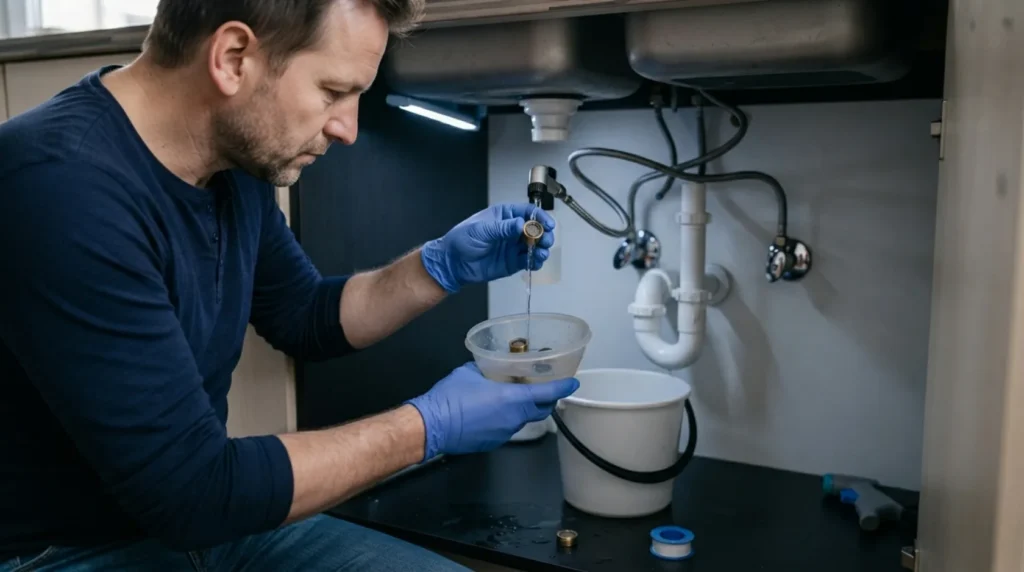
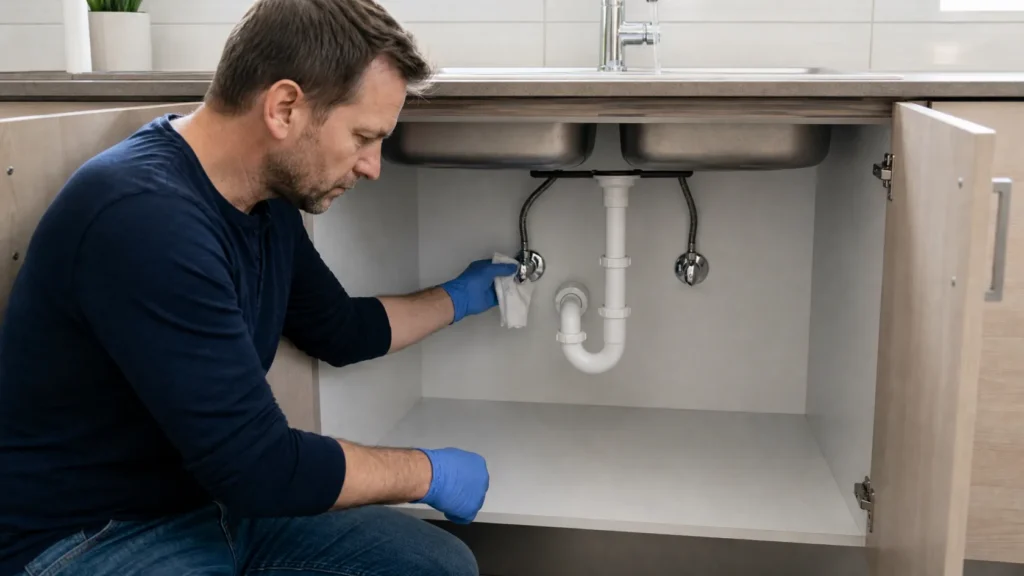
Check whether the angle valve under the faucet is fully open, since a half-closed valve gives the same symptom as a clogged spout. Unscrew the flexible hose and check whether its inlet mesh screen is full of sediment, and whether the hose is kinked or narrowed inside. Work with the valve closed and a cloth underneath, since there's always some water left in the hose.
4 Reassemble the connection and check the flow and seal
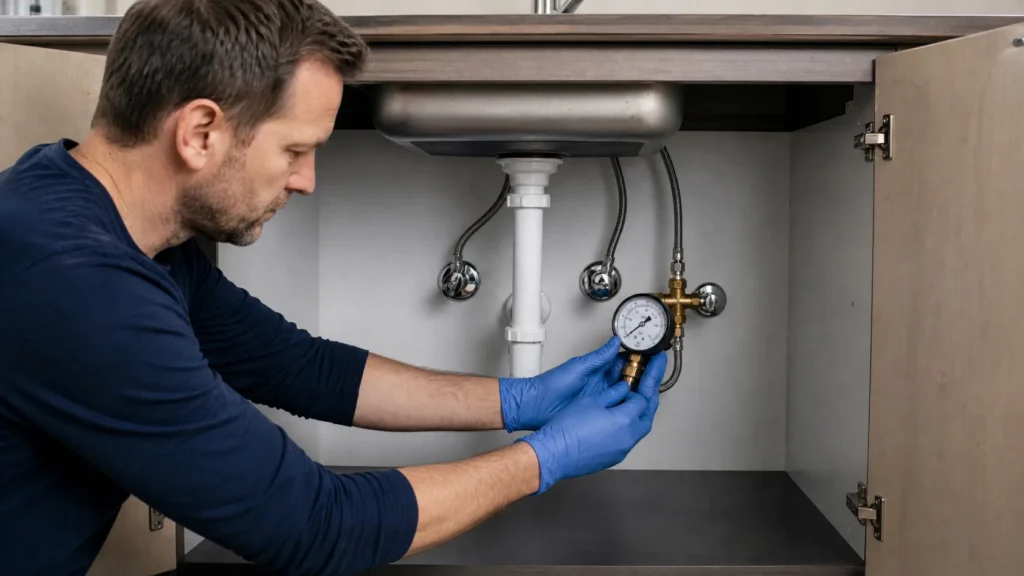
Put the cleaned parts back in the correct order, tighten the connections by hand and then a bit more with a wrench, without force that could strip the thread or damage the seal. Slowly open the angle valve and let the water run, checking whether the flow is now stronger and even. Watch the hose connection and valve for a few minutes: not a single drop should come out, and if it leaks, the connection didn't seal properly and needs to be taken apart and reassembled.
5 If low pressure remains throughout the apartment, move on to measurement
If the flow is good at the faucet you cleaned, the job is done. But if several points still have low pressure, the cause is beyond the faucet: a pressure regulator, a dirty main filter, a leak in the plumbing, or low pressure from the public supply. That isn't solved by taking apart one more connection, but by measuring static and flow pressure, which is a job for a plumber.
Final check
- The flow is noticeably stronger and more even than before the work, without spraying sideways.
- There isn't a single drop at the flexible hose connection, under the faucet or around the angle valve after several minutes under pressure.
- The aerator is reassembled in the correct order and doesn't rattle when the full flow is turned on.
- If several points in the apartment still have low pressure, it's clear the cause isn't the faucet and pressure measurement is needed.
Common problems
- After cleaning the aerator, water still flows weakly at just one faucet.
- The cause then is usually not at the outlet but below it. Check the angle valve, the hose's inlet mesh screen and the hose itself, since sediment often collects right there and gives the same symptom as a dirty aerator.
- After reassembly the flow sprays crooked or unevenly.
- Most often the aerator's mesh screens were reassembled in the wrong order, the seal sat crooked, or a bit of limescale was left in. Take the tip of the spout apart again and put the parts back calmly, in the exact order, without rushing.
- The angle valve under the faucet barely turns or leaks around the stem.
- That's a sign the valve is worn out or corroded. Don't force it, since it can easily crack or start leaking seriously; plan to replace the valve after first shutting off the main water supply.