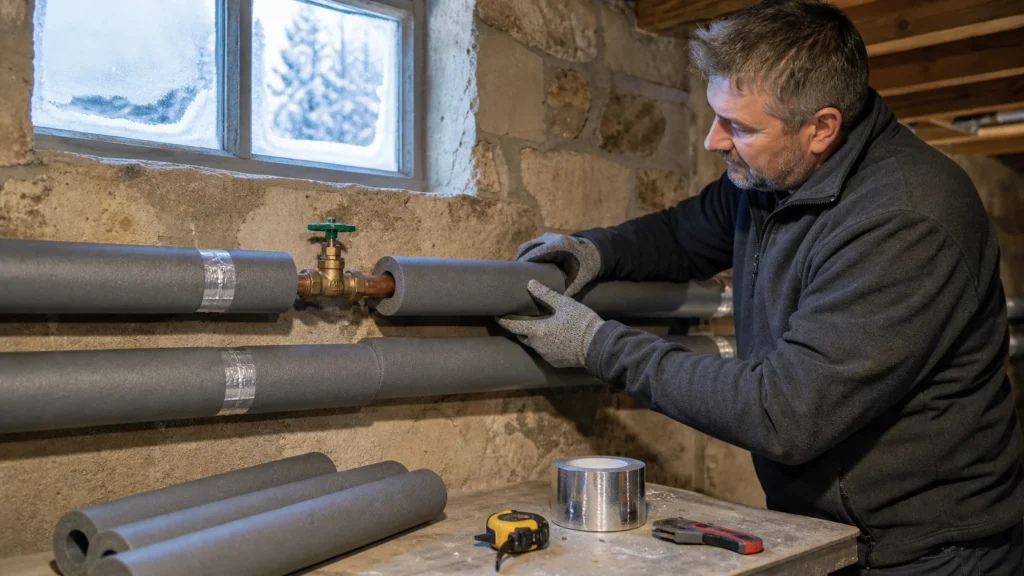
A frozen pipe means that water inside it can expand enough to split both copper and plastic – and the damage only becomes apparent when you thaw the ice and water starts flowing. Prevention is ridiculously cheap: foam pipe insulation, scissors and tape, then an afternoon's work on all exposed pipes in your basement, garage, shed and outdoor faucets. This is pure prevention without taking apart your plumbing, so you don't need to turn off the water – unless you're thawing a pipe that's already frozen, in which case first turn off the main valve in case the pipe has cracked.
No prior knowledge needed – just measure the pipe diameter accurately so the insulation fits snugly, and know where your main water shut-off valve is in case a pipe does crack.
⚠ Safety note: This guide involves working with plumbing. If you're not completely sure about every step, stop and call a licensed professional. Before you start, always switch off the power at the breaker or close the main water/gas valve.
1 Identify at-risk pipes
Check your basement, garage, attic, external walls and the space under the sink next to an external wall – these are places where pipes aren’t protected by room heating.
2 Measure the diameter and buy insulation
Measure the diameter of your pipes and buy appropriate foam insulation ‘sleeves’ that you can split lengthwise and simply wrap around the pipes.
3 Install insulation on all exposed pipes
Press the split sides firmly together along the pipe and seal the joints and T-fittings with tape to prevent any gaps where cold air can enter.
? Tip: Pay special attention to elbows and T-joints – cold air gets through most easily where insulation isn’t well sealed, and these are exactly the places where pipes are most likely to crack.
4 Specially protect outdoor faucets and valves
Close the special valve for your outdoor faucet if you have one, drain the water from the hose and the faucet itself, and cover it with a Styrofoam cap or several layers of old fabric and plastic.
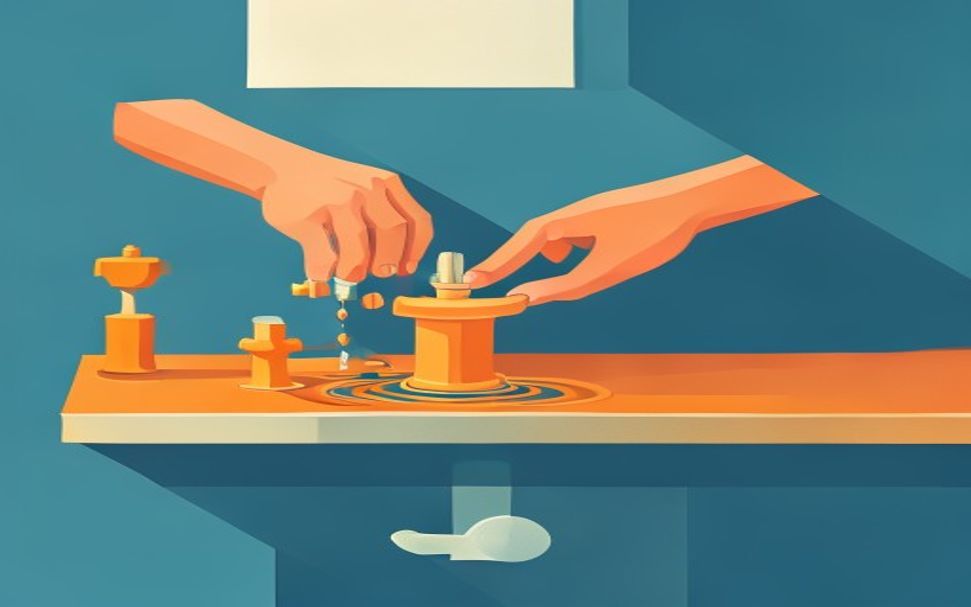
5 Open cabinet doors during the coldest nights
This allows warm air from the room to reach the pipes under the sink that are next to an external wall.
6 Let the faucet drip slightly during extreme cold
Running water freezes much more slowly than still water in a pipe, so this is a useful precaution during extended absences or extremely low temperatures.
7 Thawing a pipe that’s already frozen
If your faucet isn’t running, gradually warm the suspected section of pipe with a hair dryer or warm towels, working from the faucet toward the source, with the faucet open at the end so thawed water can drain out.
⚠ Warning: Never thaw a pipe with an open flame (propane torch, blowtorch) – this is a common cause of house fires, especially on plastic PE-X and PVC pipes.
Final check
- All exposed pipes are covered with insulation without bare gaps – joints and elbows are wrapped and sealed with tape
- Outdoor faucets are closed at the interior valve, drained and covered with a thermal cap or insulation
- After the first cold night all faucets deliver normal flow – no pipes are frozen
Common problems
- The insulation is loose and slides on the pipe
- You've bought insulation that's too large inside. The insulation must fit snugly around the pipe with no air gap – measure the pipe with a tape (divide the circumference by 3.14 to get diameter) and get the right size, then seal the seams and ends with adhesive tape.
- The pipe is already frozen and water won't flow
- Open the faucet that the pipe supplies and gradually warm the pipe from the faucet toward the frozen section – with a hair dryer, warm rags or a heater. Never with an open flame. If you notice a bulge or crack, immediately turn off the main valve before thawing.