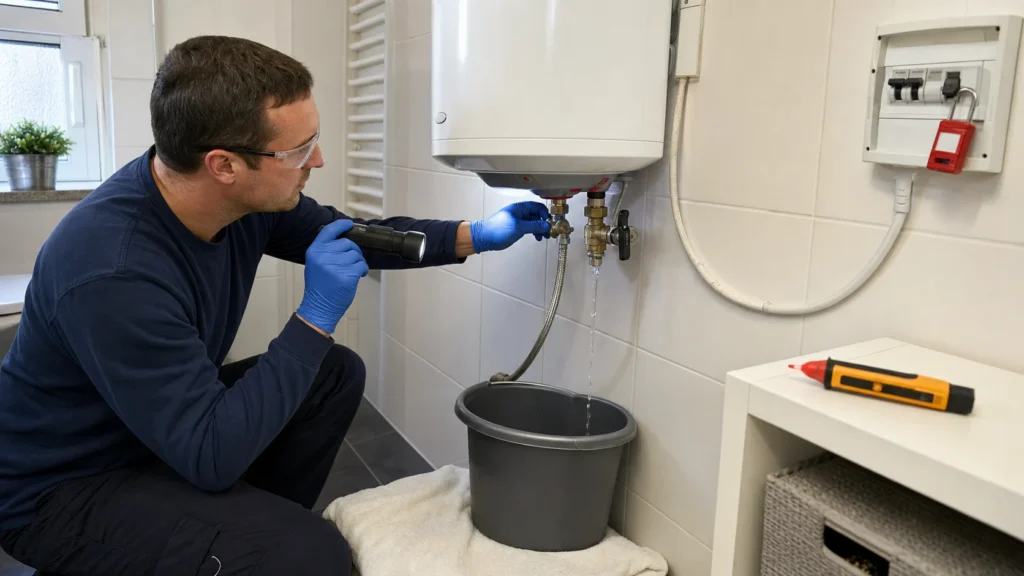
Leaks on a water heater usually start at threaded connections, the safety valve, or the heating element flange – while connections and valves are fixable at home, a leak from the tank itself means your heater needs replacing. This is a serious job because it involves both water and electricity: before you do anything, you must unplug your heater (pull the plug or switch off the breaker) and shut off the water supply, then use a voltage tester to confirm it's really de-energized. Work slowly and don't skip any safety checks.
You need experience with threaded connections and a basic understanding of electrical safety – your heater must be unplugged from the breaker and de-energized before you start, and the water supply must be shut off.
⚠ Safety note: This guide involves working with plumbing, electricity. If you're not completely sure about every step, stop and call a licensed professional. Before you start, always switch off the power at the breaker or close the main water/gas valve.
1 Unplug your water heater and shut off the water supply
Pull the plug out of the outlet or switch off the corresponding breaker in your electrical panel, then close the shutoff valve on the cold water line to your heater. Never touch your water heater or the pipes around it while it’s powered, especially if there’s moisture nearby.
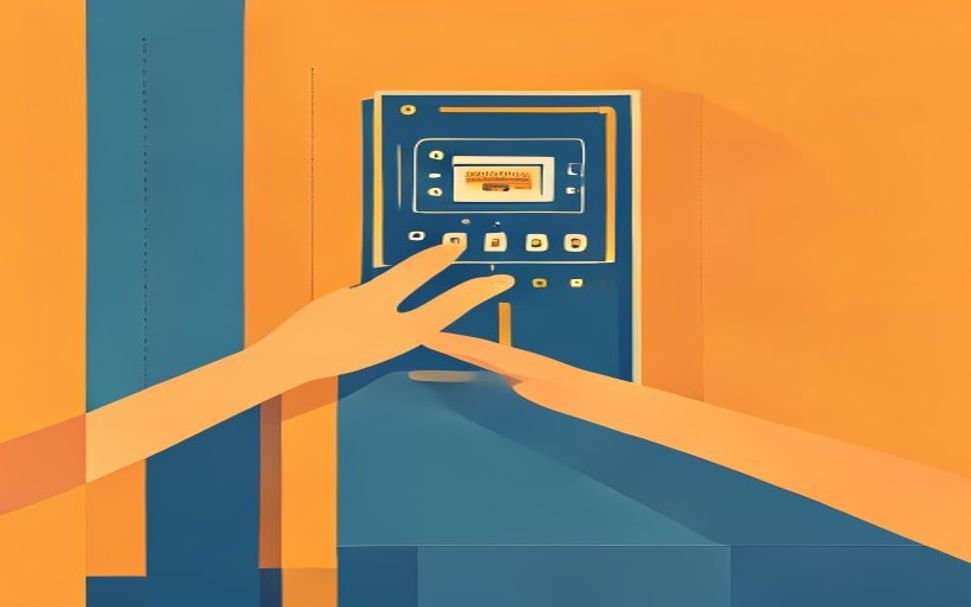
⚠ Warning: Water and electricity are a dangerous mix – if you spot moisture around the outlet or heater cable, don’t touch anything with your bare hands until you’ve switched off the breaker at the main panel, not just the wall switch.
2 Release pressure and prepare your work area
Open the nearest hot water faucet to release pressure in the system, then place a bucket and towels under the leak.
3 Locate the exact source of the leak
Dry all surfaces with paper towels, wait a couple of minutes, and look closely to see where the first drop appears – a pipe connection, the safety valve, or the tank itself.
4 Fix a leaking threaded connection
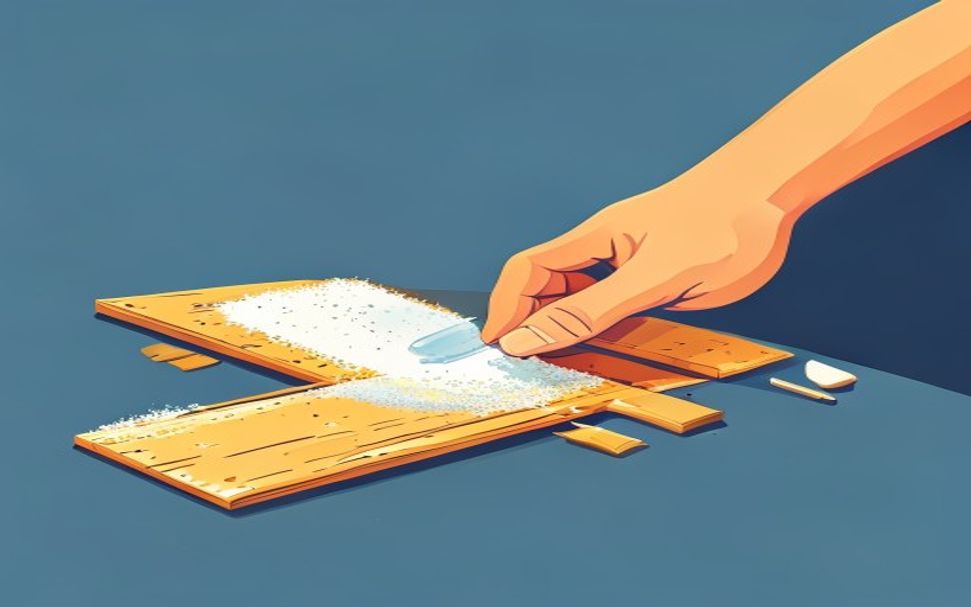
If the problem is a loose threaded connection, unscrew it, clean the threads, seal it again with plumber’s tape, and tighten it gently – plastic fittings on heaters crack easily under too much force.

5 Check and replace the safety valve if needed
If it keeps dripping even when the heater is off (not just during heating), the valve is probably clogged with mineral deposits or worn out; unscrew it and replace it with a new one of the same type and pressure rating according to your heater’s specs (usually 6 or 8 bar).
? Tip: The safety valve should occasionally (roughly once a month) release a drop or two of water as the water in your heater heats and expands – that’s normal; the problem is only continuous dripping when the heater is off.
6 Check the tank casing and heating element flange
If water is leaking directly from the bottom of the casing or around the heating element flange, it usually means a worn flange gasket (which can be replaced) or corrosion inside the tank (the tank can’t be repaired – you need a new heater).
⚠ Warning: If your heater is tankless or gas-powered (heats on gas, not electricity), never take apart or touch the gas line or flue parts yourself – only a licensed technician can do this. The repairs in this guide apply only to the plumbing (water supply and drain) and are DIY-safe only when completely separated from the gas side of the unit.
7 Restore water and power and monitor the connections
Slowly open the water supply and plug in your heater only after the tank is completely full (a heater must never run empty), then watch the connections for the next couple of hours for any remaining leaks.
When to call a professional: If the job involves changes to the electrical panel, the main gas line, or load-bearing walls/beams — or if you're not sure how it will turn out — this is not a DIY task. Hire a licensed professional.
Final check
- Water is restored, the heater is full (hot water comes out of the tap without air bubbles), and all connections are dry after 30 minutes under pressure
- The safety valve is not leaking continuously – only occasional dripping during heating through the drain tube is allowed
- Power is restored only after the heater is full and dry, the heater is heating, and after a full heating cycle all connections and the flange are still dry
Common problems
- The safety valve drips even after replacing it
- Dripping during heating is normal – water expands. If it keeps dripping, the water pressure in the line is too high or the valve isn't seating properly: check the pressure (above ~5–6 bar you need a pressure-reducing valve on the supply) and manually activate the valve lever a few times to flush any dirt off the seat.
- Water appears under the cover, around the heating element flange
- The flange gasket is worn or the tank is corroded around the heating element. Drain the heater, remove the heating element, replace the gasket, and while you're in there check the anode and heating element for mineral buildup. If water is leaking from the tank itself (a hole from corrosion), there's no fix – the heater needs replacing.