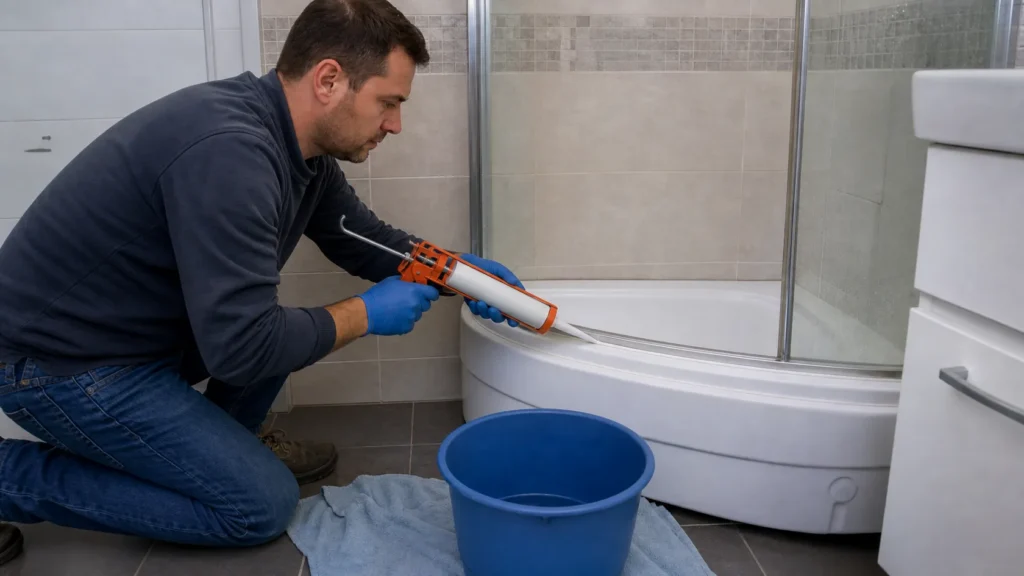
⚠ Safety note: This guide involves working with plumbing. If you're not completely sure about every step, stop and call a licensed professional. Before you start, always switch off the power at the breaker or close the main water/gas valve.
1 Prepare for safe work
Close the corresponding valve, turn off the electrical power supply to the device if there is one, and wait for the water to cool. Protect the floor with a bucket and cloths and photograph the initial position of the joints.

⚠ Warning: Incorrect siliconing of internal drainage channels can trap water inside the profile. Follow the shower cabin manufacturer’s diagram.
2 Determine the problem pattern
Completely remove the old silicone with a plastic scraper, wash away residues, and let the joint dry at least overnight.
3 Check the most common cause
Protect the edges with tape and apply a continuous line of sanitary neutral silicone to the joint intended for sealing by the cabin manufacturer.
4 Apply the appropriate solution
Smooth it in a single motion, remove the tape immediately, and do not use the shower until the silicone cures according to the label.
? Tip: Photograph the initial state and change only one thing at a time to know which check really affected the result.
5 Test the result and set the limit
Assemble the joints without over-tightening, slowly open the water, and monitor for leaks, pressure, and drainage for at least a few minutes. If the problem returns, close the supply and call a plumber.