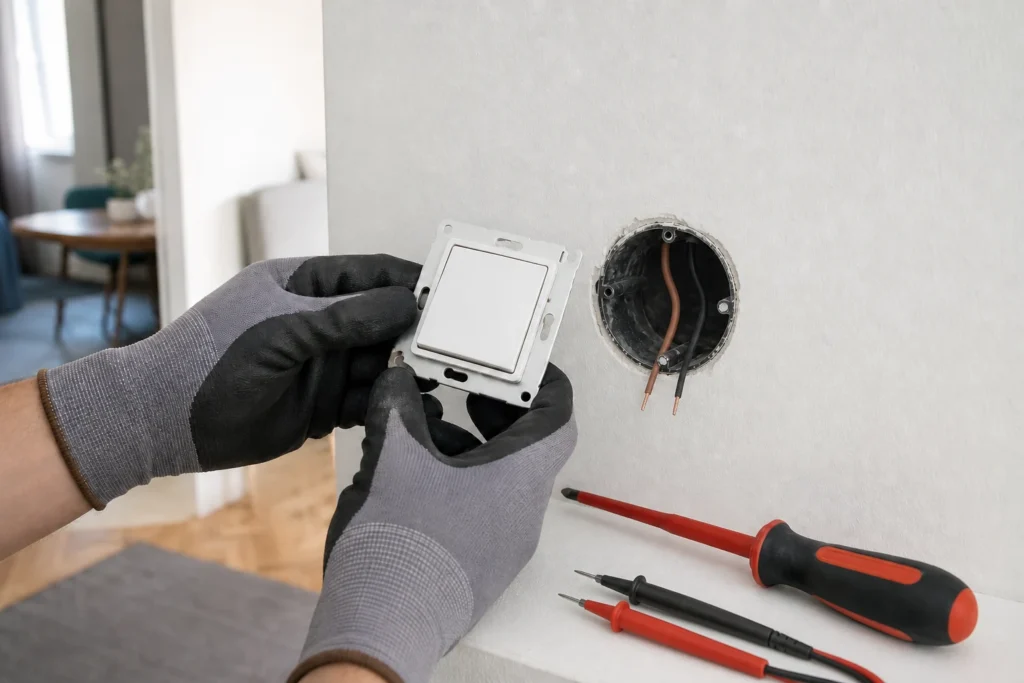
Replacing an ordinary single-pole light switch is a realistic DIY job as long as the box contains only the wires you'd expect and the mechanism isn't part of a more complex assembly with multiple gangs, a timer, or a smart module. The biggest practical difficulty isn't the wiring itself, but recognizing whether you really have a plain switch or some variant with an indicator light and an extra terminal. If you open the box and find more wires than expected, or earlier improvisation with electrical tape, stop and call an electrician.
You need basic handling of an insulated screwdriver and a voltage tester. It helps if you can read the L marking on the mechanism, though on the simplest switches the layout of the two wires is often mechanically straightforward.
⚠ Safety note: This guide involves working with electricity. If you're not completely sure about every step, stop and call a licensed professional. Before you start, always switch off the power at the breaker or close the main water/gas valve.
1 Switch off the lighting circuit and set up lighting
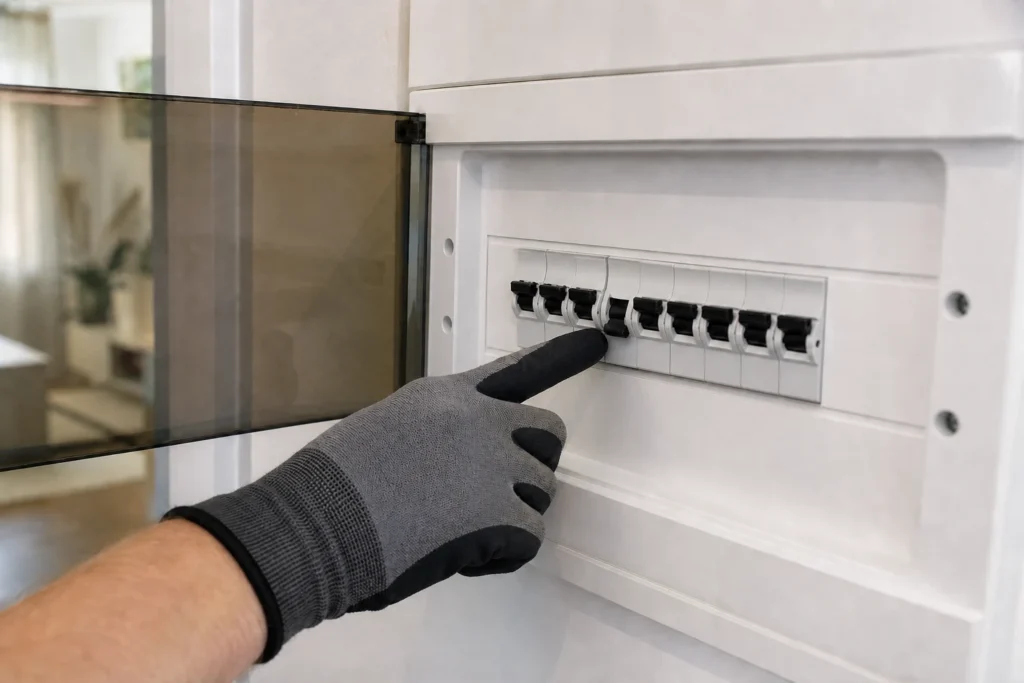
Switch off the correct breaker and immediately have a flashlight or headlamp ready, because working in dim light leads to poorly tightened terminals and wrong connections. If you're not sure which breaker feeds the switch, switch off the main breaker and work more slowly, but without risk.
2 Check there's no voltage and that the tester works
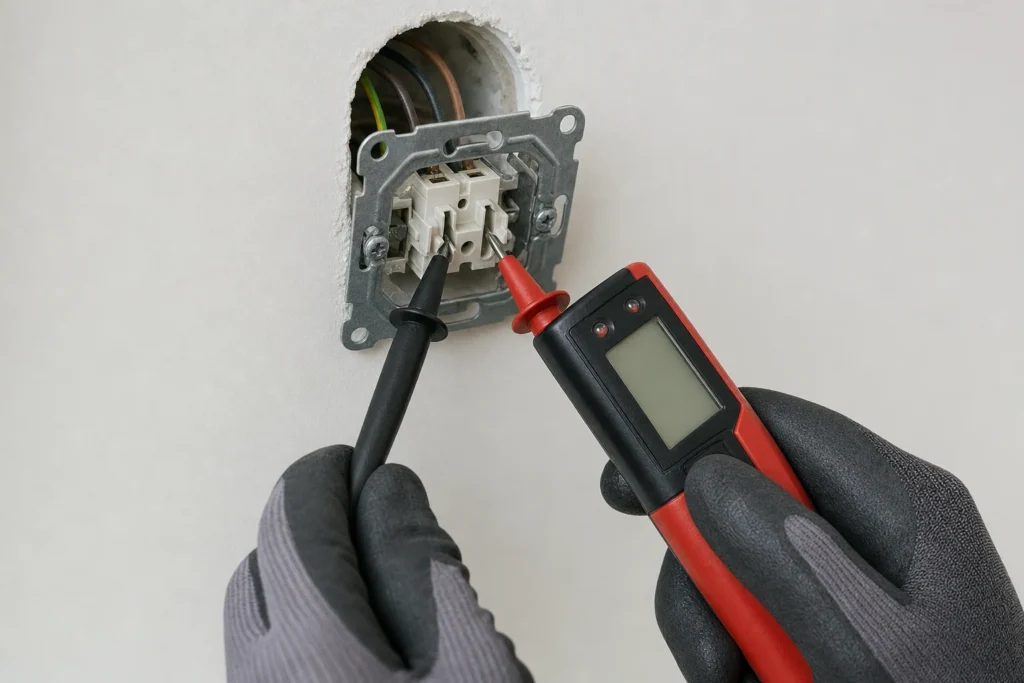
As with any small electrical repair, first test the tester on a known live source, then on the switch you're taking apart. Only once you're sure there's no voltage on the incoming wire and the metal parts should you keep removing the cover plate and mechanism.
3 Remove the cover plate and see how the old switch is mounted
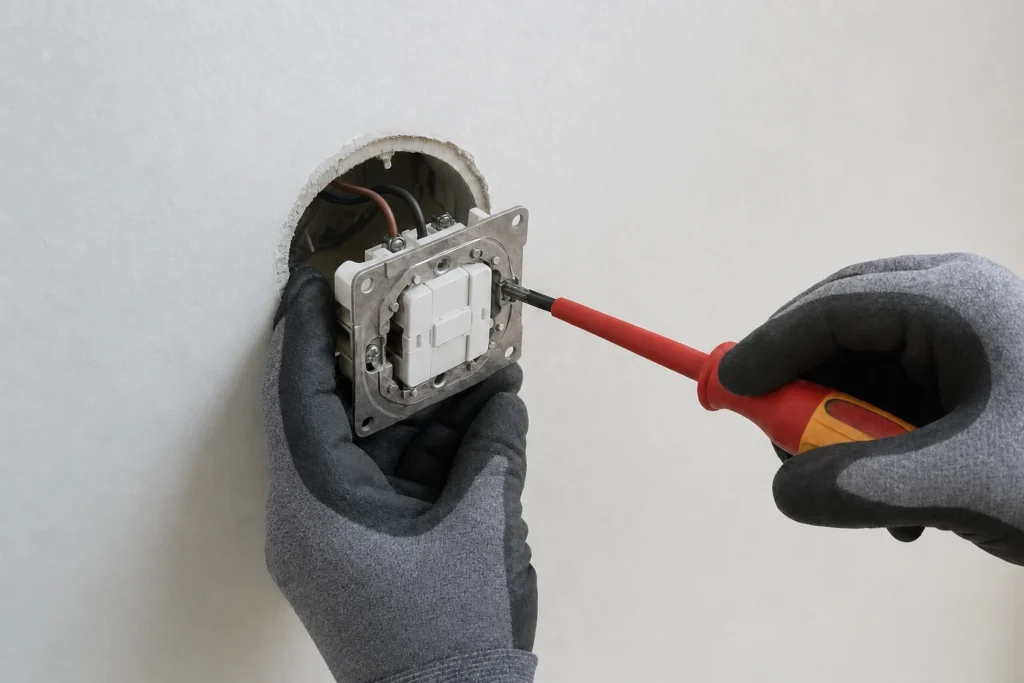
On some models the mechanism is held by side clips, on others screws grip directly into the box, so it's useful to see before disconnecting what you'll be putting back in the same order. Also check whether there's enough room in the box and whether the wires are sound or were damaged earlier during tightening.
4 Label the wires before disconnecting
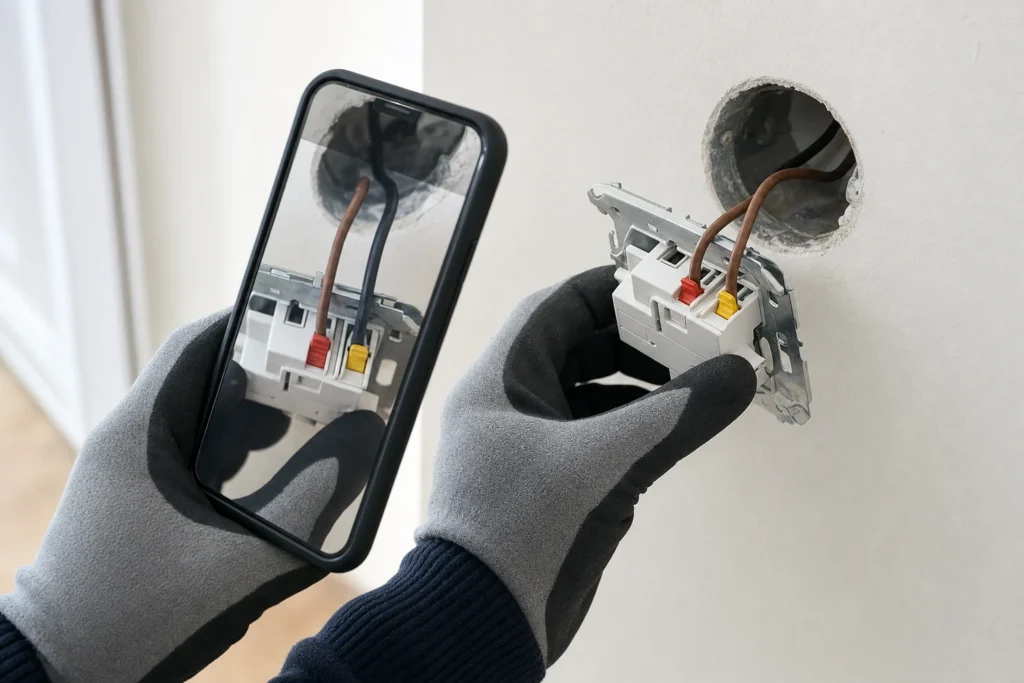
Even when you think it's 'just two wires', a photo and a quick marker label often save time when reconnecting. Pay special attention if the switch has an indicator light or an extra terminal, because then the new model might not wire up the same way as the old one.
5 Compare the old and new mechanism
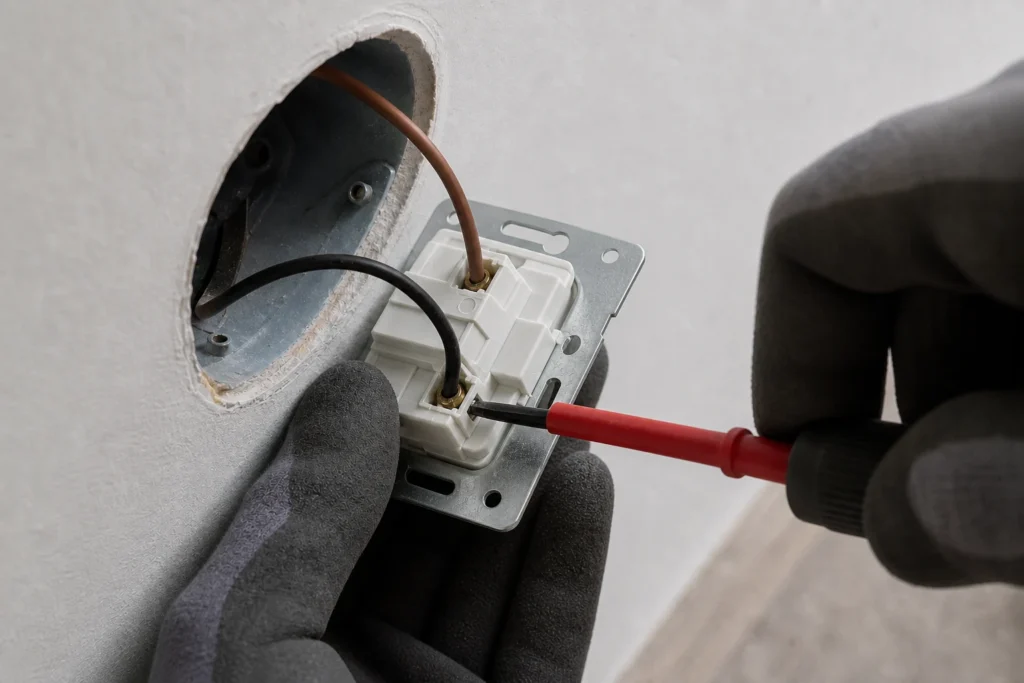
Before wiring, look at the markings on the new switch: where the incoming L terminal is, whether the terminals are screw-type or self-clamping, and whether the frame fits the existing box. If you're switching to a different design, be sure to also check the depth of the mechanism, since a nice cover plate doesn't help if the switch can't sit flush in the wall.
6 Connect the wires and check they hold in the terminals
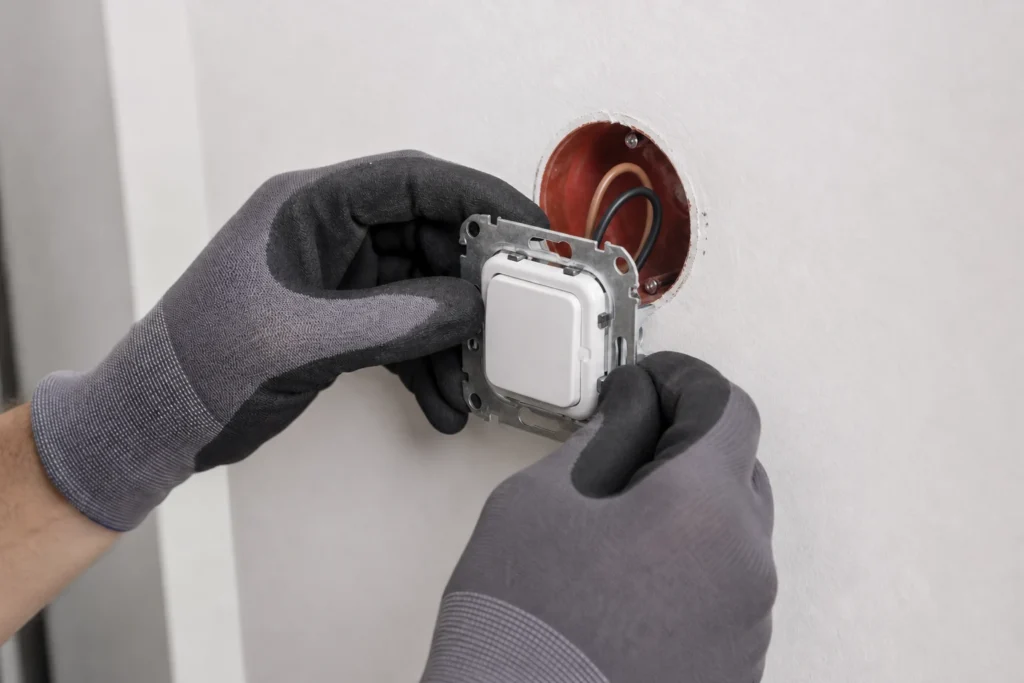
Insert the conductors all the way in, re-strip the wire end to the correct length if needed, and tighten without excessive force. After tightening, gently tug each wire; if it moves even slightly, take it apart and redo it, because a loose terminal later causes heating and intermittent operation.
7 Put the switch back, refit the cover plate, and test operation
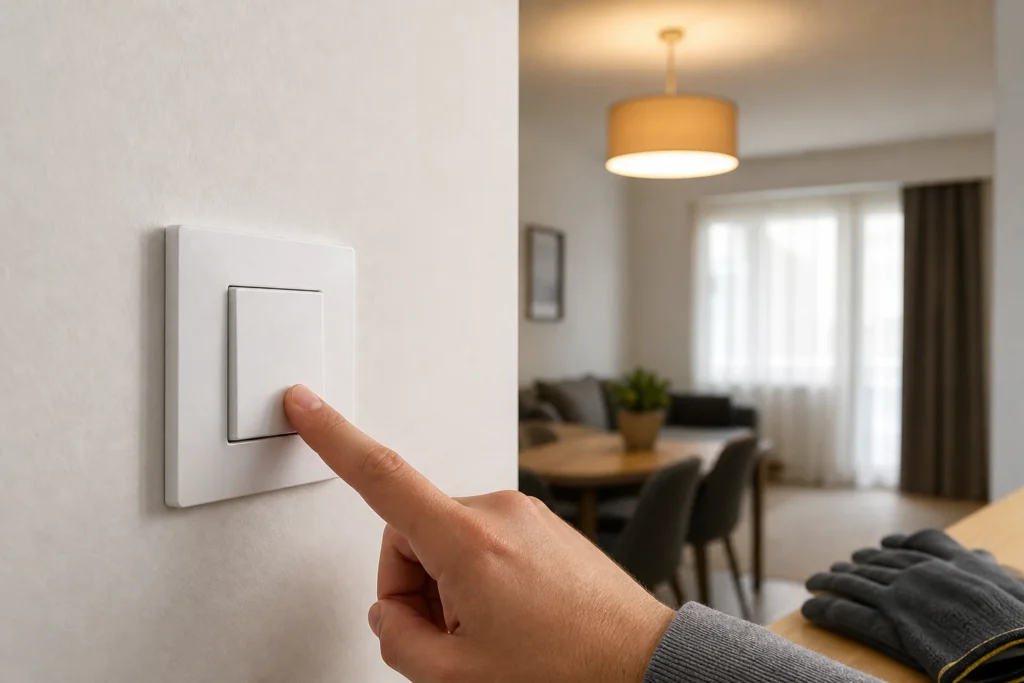
Fold the wires so they don't push the mechanism crooked, then level the switch and fasten it so the cover plate sits flush against the wall. After switching the breaker back on, turn the light on and off several times to check there's no sticking, creaking, or small sparking.
When to call a professional: If the job involves changes to the electrical panel, the main gas line, or load-bearing walls/beams — or if you're not sure how it will turn out — this is not a DIY task. Hire a licensed professional.
Final check
- The light turns on and off without sticking, odd sounds, or the smell of hot plastic.
- The switch sits flush in the wall and the cover plate doesn't shift when you press it with a finger.
- No wire pokes out of a terminal, and the mechanism doesn't push deeper into the box under pressure.
- If the switch has an indicator light, it works exactly as the manufacturer intends, without the bulb glowing unintentionally.
Common problems
- The new switch clicks, but the light doesn't come on at all.
- First check whether you connected the incoming live and the wire going to the lamp into the correct terminals, especially if the new model has a clearly marked L terminal. On some switches with an indicator light, the wrong layout produces exactly this symptom.
- The switch wobbles and can't be tightened firmly.
- A common cause is a worn or too-shallow box, or the clips not gripping evenly. If the model allows it, fasten it with screws directly into the box instead of relying only on the side clips.
- After replacing the light bulb with an LED, it glows faintly when the light is off.
- This often happens when a switch with an indicator light is installed, or with a very sensitive LED bulb. Try a plain switch without an indicator light, or an LED model that better tolerates a small parasitic current.