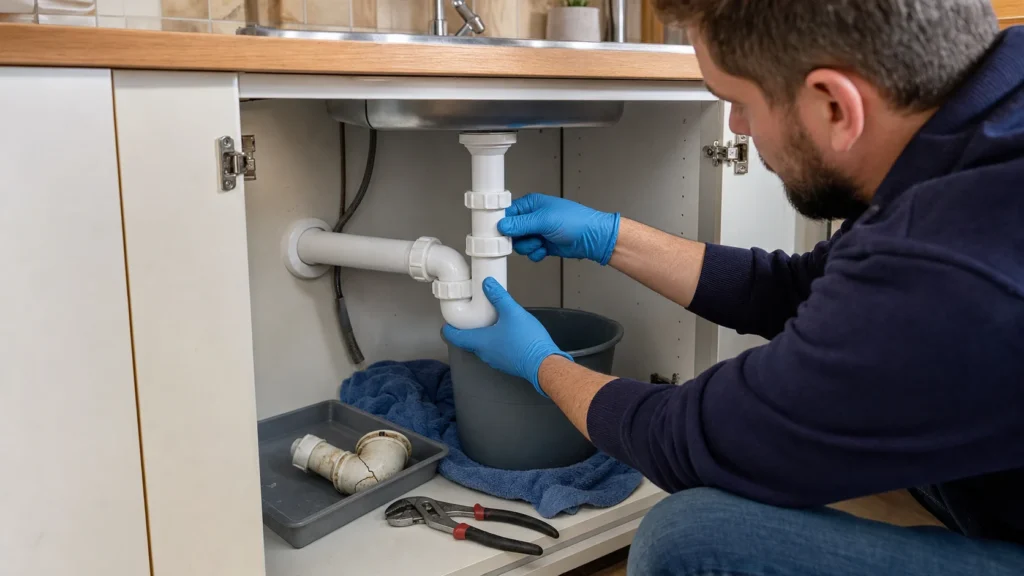
A kitchen sink siphon usually leaks due to cracked gaskets, cracked plastic threads, or the age of the material. Replacement is a half-hour job that requires no experience – a new siphon costs only a few marks and can be unscrewed by hand. You do not need to shut off the main water supply, just do not run the tap while the siphon is removed, and keep a bucket underneath.
n
No special prior knowledge is required – all nuts on the plastic siphon are unscrewed and tightened by hand.
n
⚠ Safety note: This guide involves working with plumbing. If you're not completely sure about every step, stop and call a licensed professional. Before you start, always switch off the power at the breaker or close the main water/gas valve.
1 Stop using the faucet

The siphon is not under constant water pressure, but empty standing water from the sink and inform household members not to use the faucet temporarily while you work beneath it.
2 Place a bucket and a cloth under the siphon
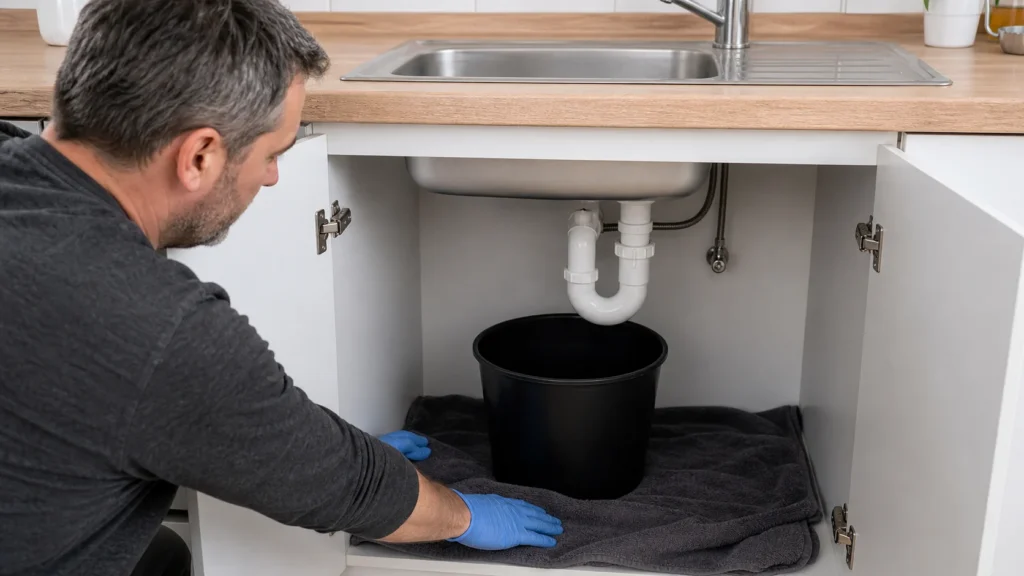
Some residual water always remains in the U-bend of the siphon and will drain as soon as you disconnect it, so place a bucket and spread an old cloth underneath.
3 Unscrew the old siphon

Unscrew the ring nuts connecting the siphon to the sink drain and to the wall or floor pipe by hand or with a wrench, then carefully remove the entire assembly.
? Tip: Bring the old siphon with you (or photograph it) when buying a new one – drain pipe diameters (usually 32 mm or 40 mm) vary, and the wrong size means another trip to the store.
4 Clean the threads and flanges
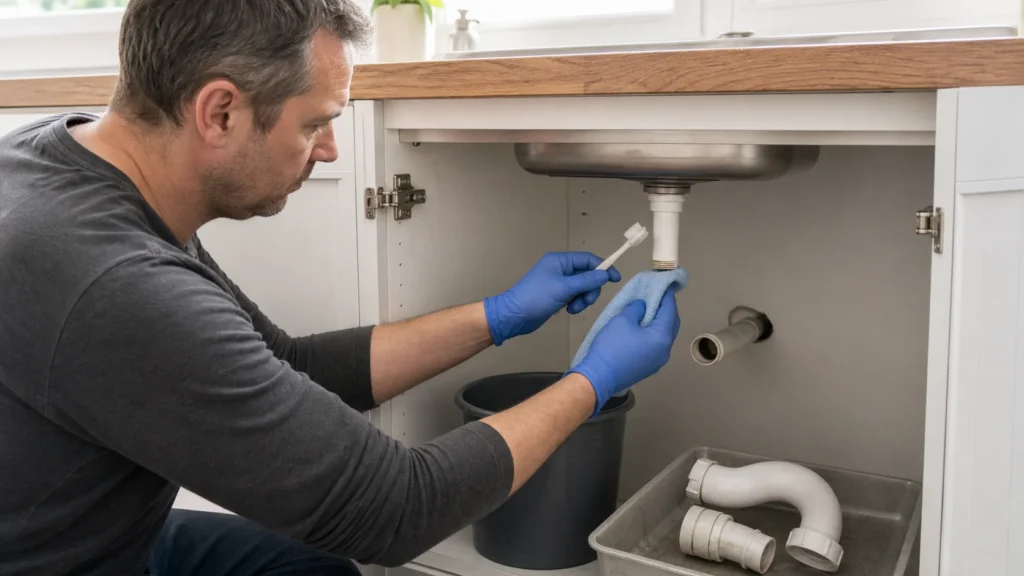
Remove remnants of the old gasket, scale, and dirt from the wall/floor pipe and the sink drain, as the new gasket must seat on a clean surface.
5 Install the new siphon
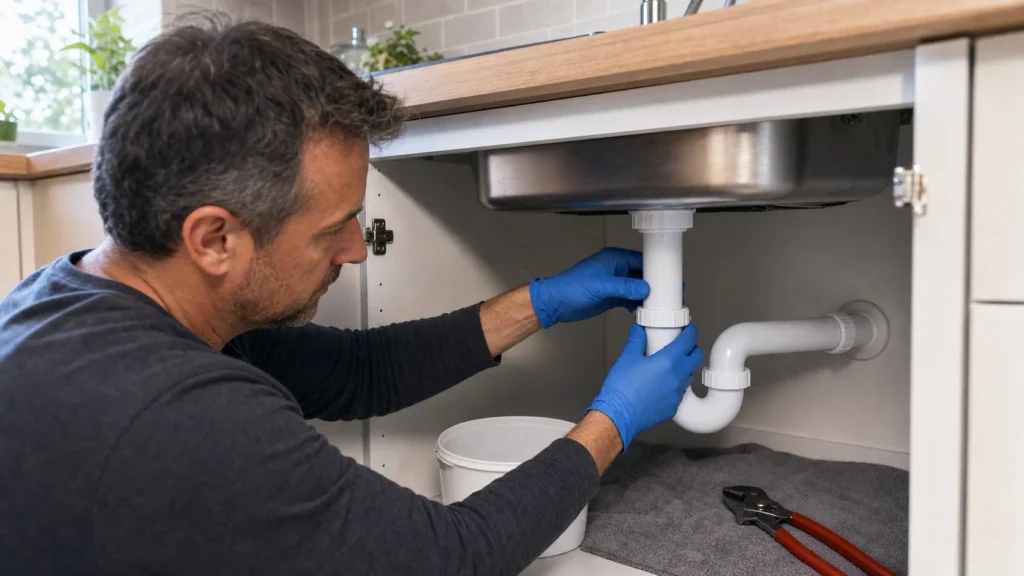
Assemble the parts according to the manufacturer’s instructions, insert rubber seals at each joint, and hand-tighten the nuts, then tighten them with a wrench for only an extra half-turn.
⚠️ Warning: Overtightening plastic nuts is a common cause of cracked threads – hand-tightening plus a gentle extra turn with a wrench is sufficient.
6 Check alignment and height
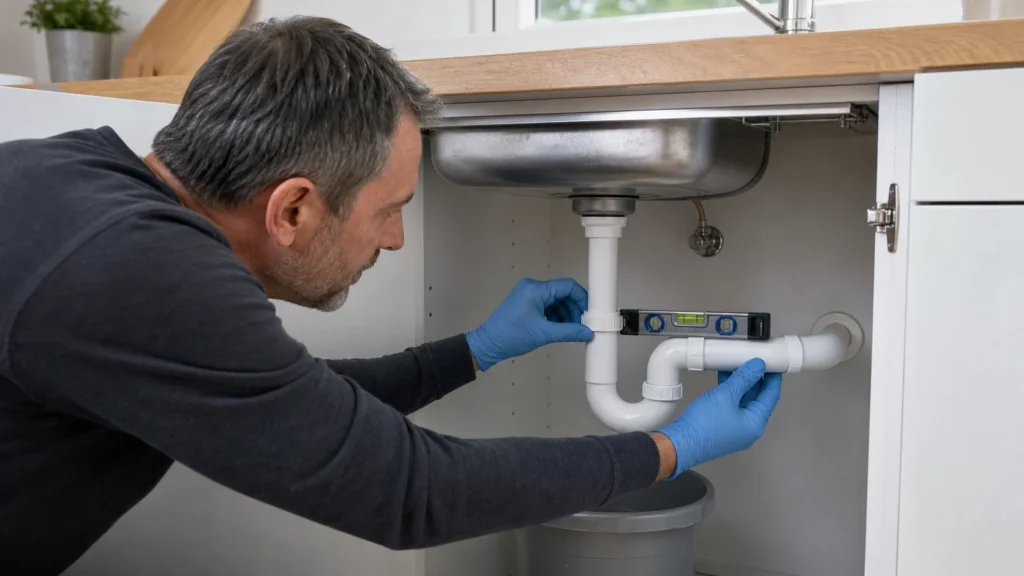
The siphon must align with the drain pipe without strain, as a skewed joint will start to leak over time.
7 Run the water and check for leaks
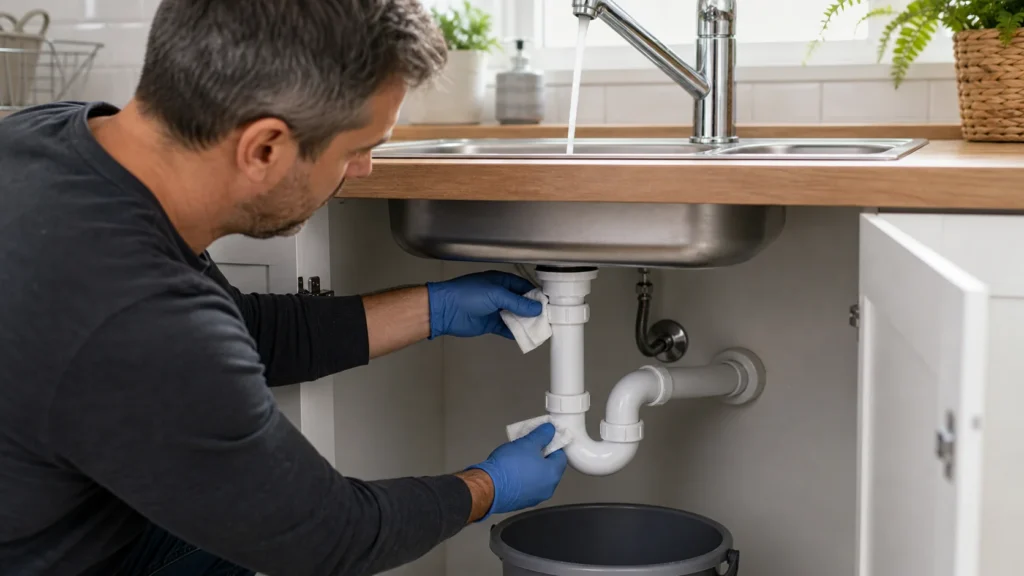
Open the faucet, let the water run for a minute or two, and inspect all joints; if it drips, tighten the corresponding nut by another quarter-turn.
Final check
- Run the faucet fully for 2–3 minutes and fill then drain the sink – all siphon joints remain dry
- Run a dry paper towel under each joint – there is no trace of moisture on the paper
- Check after a few hours that the bottom of the cabinet under the sink is still dry
Common problems
- The new siphon leaks at the connection with the drain pipe in the wall
- The conical gasket is upside down or not seated. Unscrew the nut, verify that the wider part of the cone faces the nut and the narrower part faces the pipe, align the pipe so it does not enter at an angle, and hand-tighten.
- The new siphon does not reach the drain – the height or spacing does not match
- Siphons have adjustable telescopic pipes – extend or shorten the pipe (plastic is easily cut with a knife or hacksaw) and use eccentric connectors. If the difference is large, buy a siphon with a flexible (bellows) outlet.